
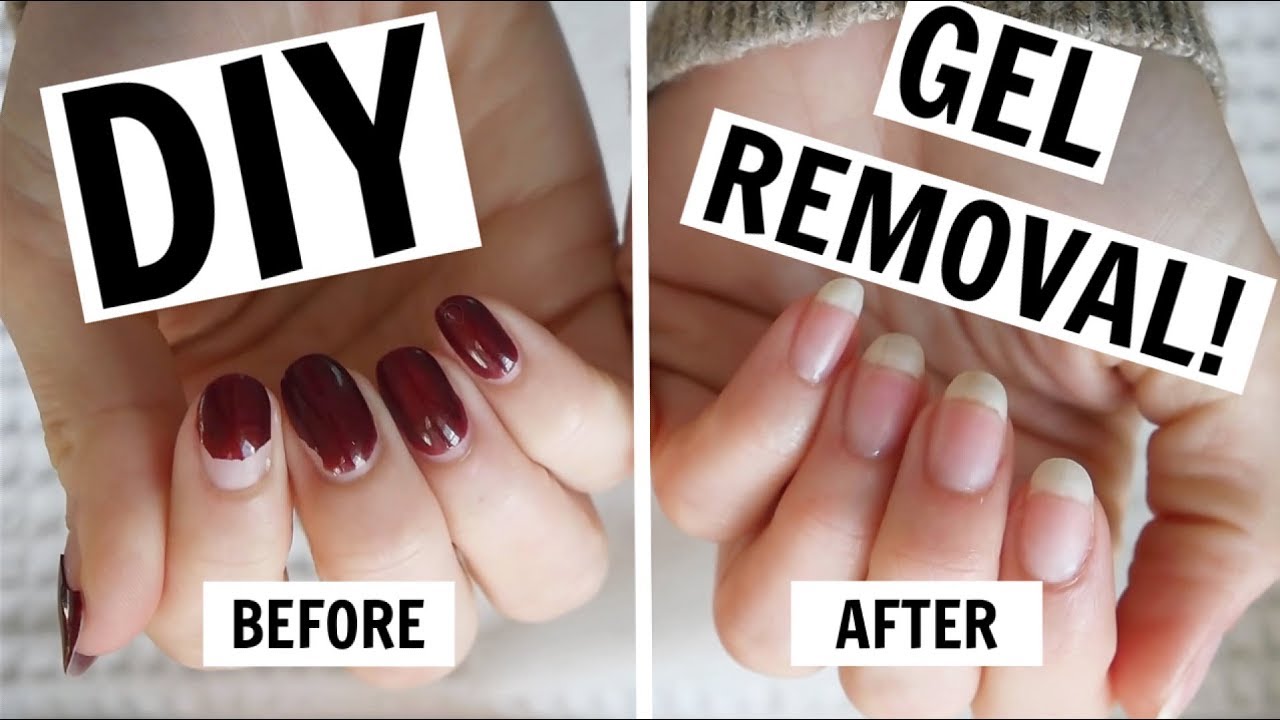
The Ultimate Guide to DIY Gel Nail Removal at Home
Here is the comprehensive approach on gel nail removal done at home! It is crucial to understand how to remove gel nails , regardless of experience level or lack thereof. We’ll walk you through the entire process of taking off gel paint without breaking your nails in this in-depth instruction. You can now enjoy hassle-free gel nail removal in the comfort of your own home and wave goodbye to pricey salon appointments.
Understanding Gel Nails
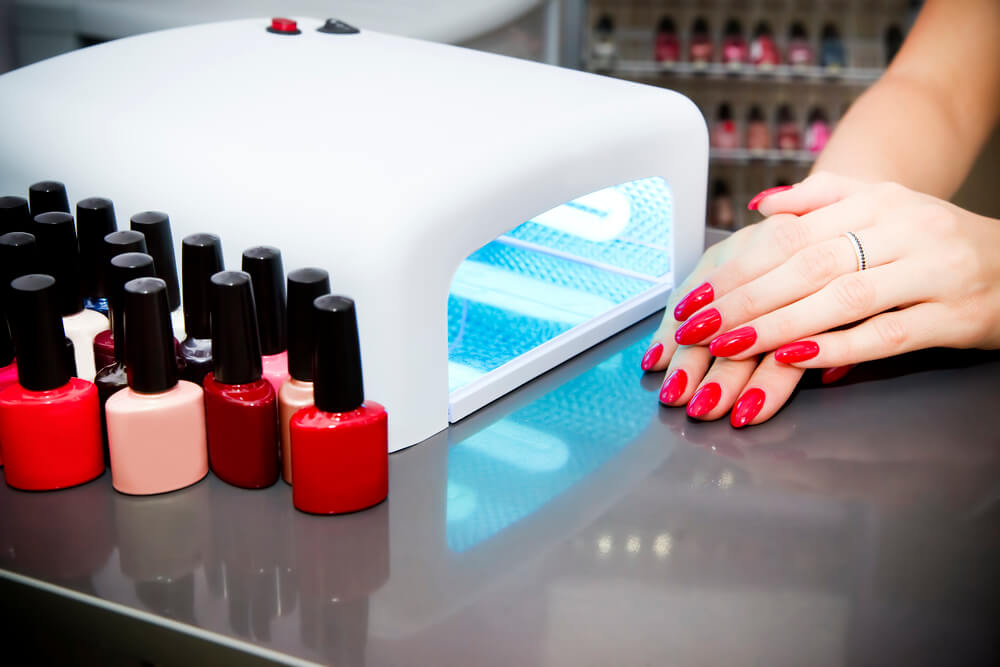
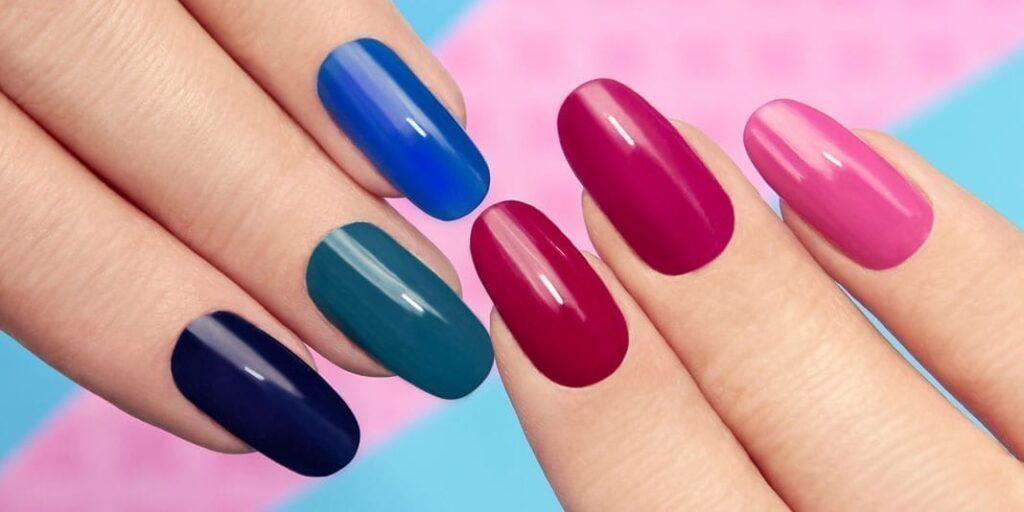
Let’s first go over what gel nails are and why certain removal methods are needed before we get started with the removal process. Artificial nail extensions called gel nails are cured under UV or LED light to produce a strong, long-lasting manicure. Gel polish, in contrast to conventional nail paint, creates a solid link with the natural nail, preventing chipping and peeling. Gel polish cannot be removed using a standard nail polish remover, despite its durability being wonderful for keeping nails perfect.
Supplies You’ll Need
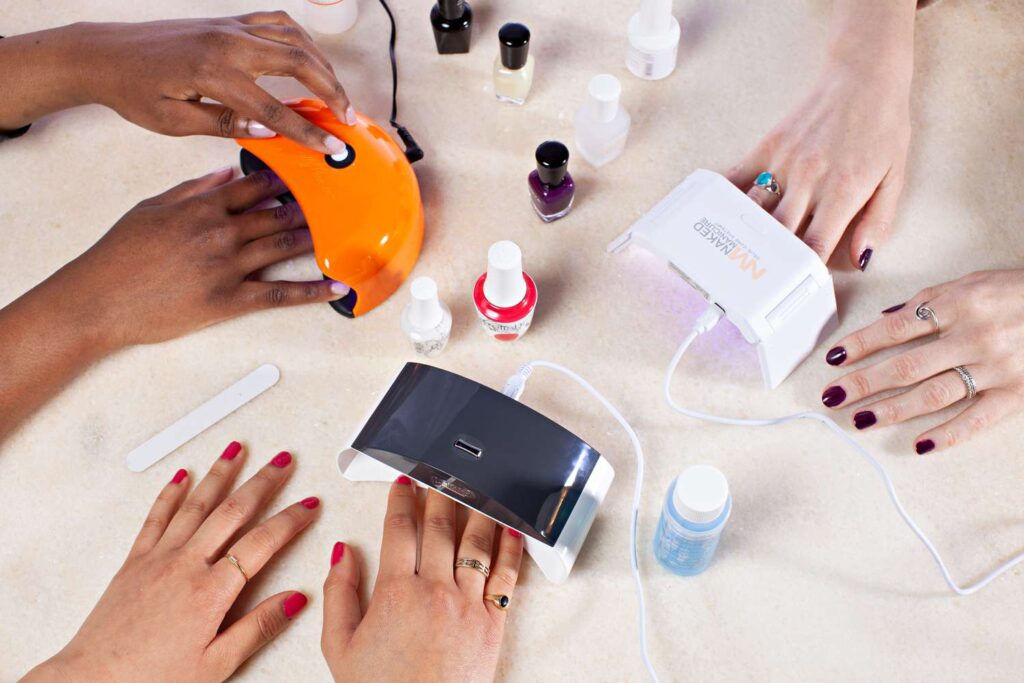
Before getting started, gather the following supplies:
Acetone
Cotton balls or pads
Aluminium foil
Nail buffer or file
Cuticle oil or moisturiser
Step-by-Step Gel Nail Removal Process
Step 1:
Prepare Your Work Area Find a well-ventilated area with a flat surface to work on. Lay out all your supplies within easy reach.
Step 2:
File the Top Coat Use a nail file or buffer to remove the shiny top coat from your gel nails. This will break the seal and allow the acetone to penetrate the layers of polish more effectively.
Step 3:
Soak Cotton Balls in Acetone Take small pieces of cotton balls or pads and saturate them with acetone. You’ll need one piece for each nail.
Step 4:
Wrap Your Nails Place a saturated cotton ball over each nail, then wrap the tip of your finger with a small piece of aluminium foil to secure it in place. Repeat this process for all ten nails.
Step 5:
Allow your nails to soak in the acetone for 10-15 minutes. You may want to set a timer to keep track of the time.
Step 6:
Remove Foil and Cotton After the soaking period; remove the foil wraps from your nails. The gel polish should appear softened and bubbly.
Step 7:
Gently Push off Gel Use a cuticle pusher or orangewood stick to push off the softened gel polish from your nails. Be careful not to force it or scrape too , as this can damage your natural nails.
Step 8:
Moisturise once all the gel polish has been removed; wash your hands with soap and water. Apply a generous amount of cuticle oil or moisturiser to hydrate and nourish your nails and surrounding skin.
Tips for Success of Gel Nail Removal
Here are some more tips for ensuring a successful DIY gel nail removal:
Be Patient:
Rushing through the removal process can lead to damaging your nails or causing discomfort. Take your time and allow the acetone to work its magic.
Use Pure Acetone:
Pure acetone is the most effective solvent for breaking down gel polish. Avoid acetone substitutes or diluted formulas, as they may not be as efficient.
Protect Your Skin:
Acetone can be drying to the skin, so it’s essential to protect your fingers and cuticles. Apply petroleum jelly or a thick hand cream around your nails before soaking them in acetone to create a barrier.
Warm the Acetone:
Heating the acetone can help speed up the removal process. You can warm the acetone by placing the container in a bowl of warm water for a few minutes.
Wrap Tightly:
Ensure that the foil wraps are snugly wrapped around your fingertips to prevent acetone from evaporating and to maximise the effectiveness of the removal process.
Check Progress Periodically:
After about 10-15 minutes of soaking, check the progress of the gel polish removal. If it’s not coming off , re-wrap your nails and continue soaking for a few more minutes.
Be Gentle:
When pushing off the softened gel polish, use gentle pressure and avoid scraping or picking at your nails. Aggressive scraping can damage the nail bed and lead to weakening or thinning of the nails.
Moisturise Afterwards:
After removing the gel polish, wash your hands with soap and water to remove any residual acetone. Then, apply a rich hand cream or cuticle oil to hydrate and nourish your nails and skin.
Conclusion of Gel Nail Removal
With the right tools and techniques, DIY gel nail removal at home is easier than you might think. By following the steps outlined in this guide and taking proper precautions, you can achieve salon-quality results without ever leaving the house. Say goodbye to stubborn gel polish and hello to healthy, beautiful nails!

Leave feedback about this