
Gel Nails or Acrylic? Which is Better?
Gel Nails:
Application Process:
Nail technicians create gel nails using a premixed gel solution.
They must be cured under a UV or LED lamp.
Options include hard gel (very durable) and soft gel (easier to remove).
Appearance:
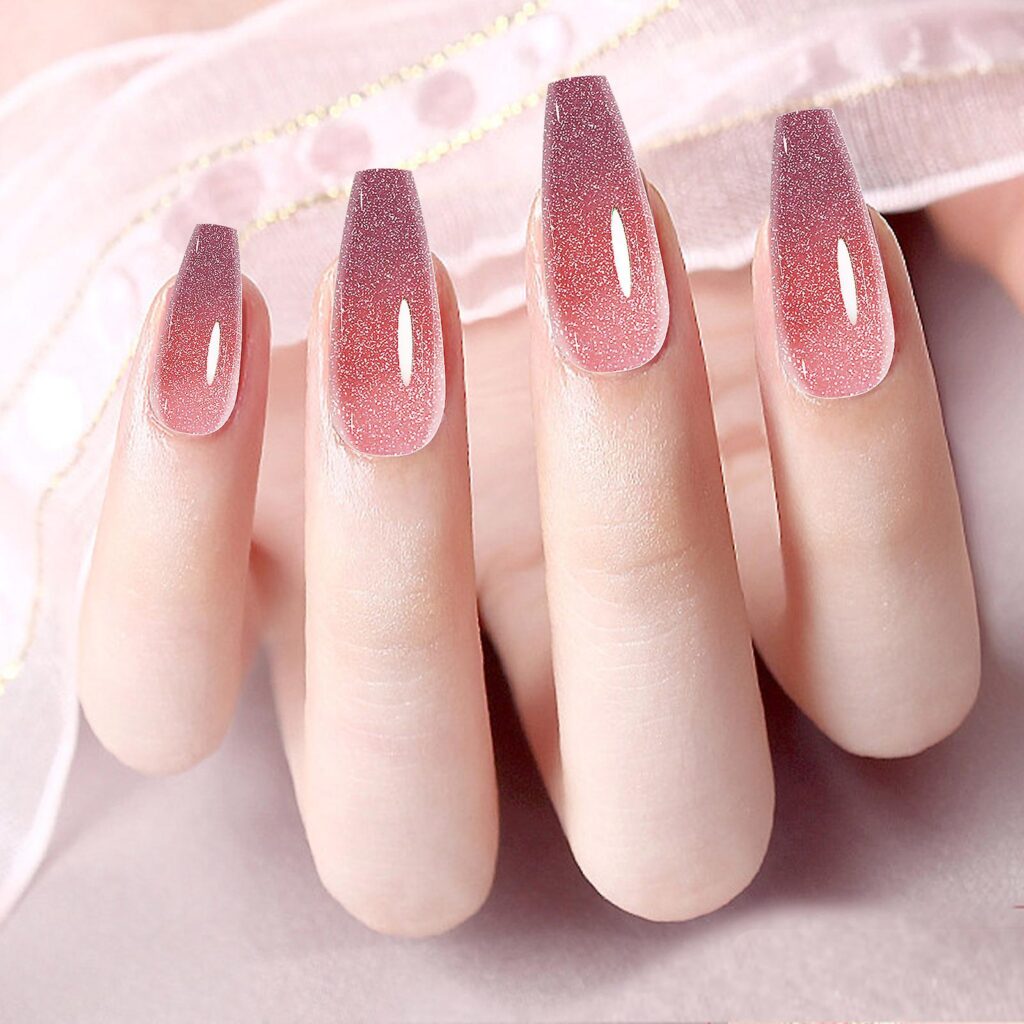
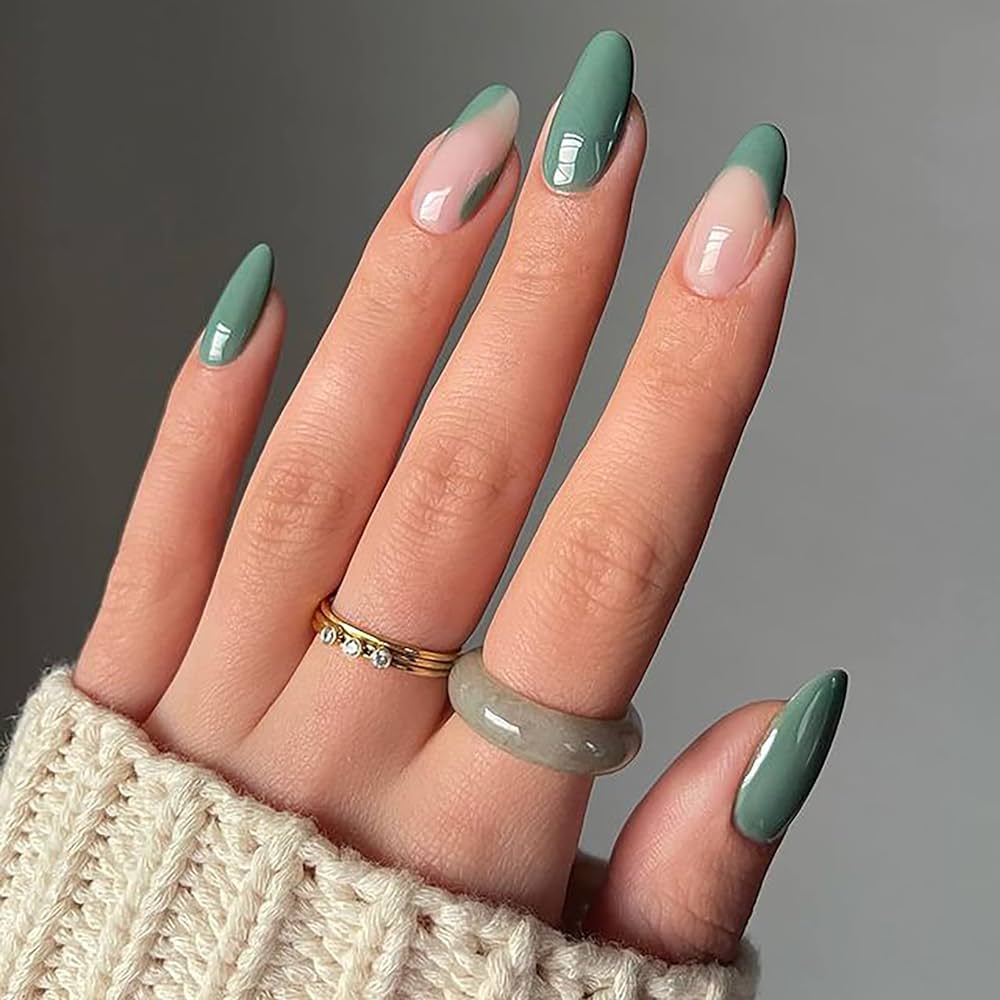
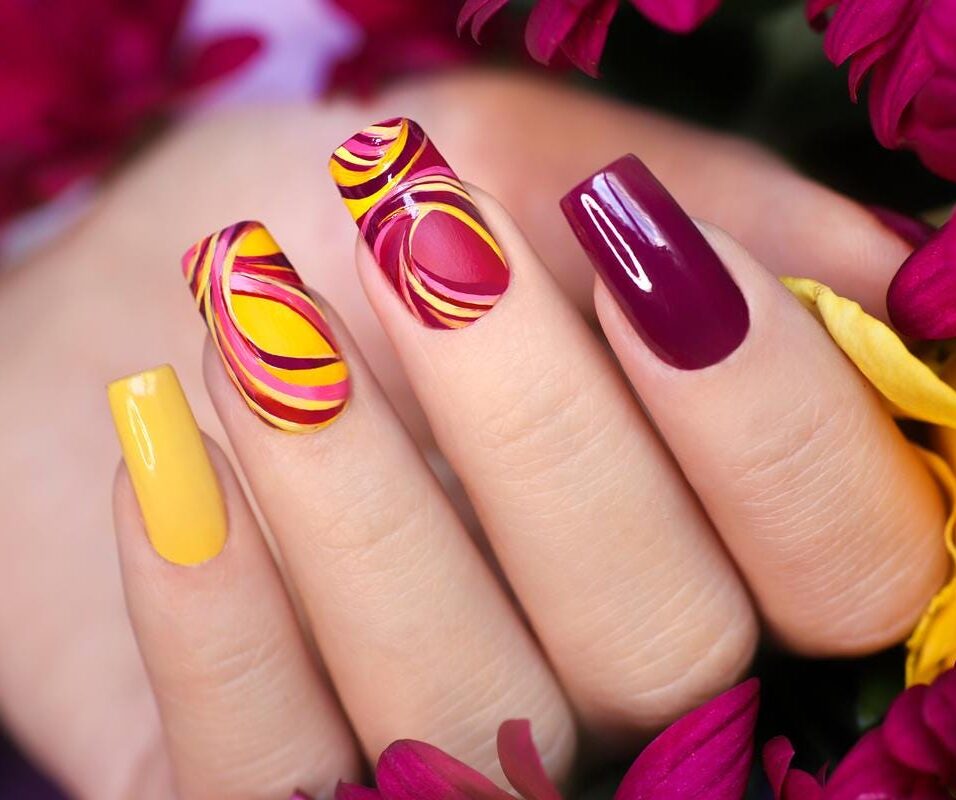
Gel nails have a glossier finish compared to acrylics.
They appear natural and thin.
Durability:
Gel nails are less damaging to natural nails.
They are ideal for those with strong, well-kept nails.
Cost:
Gel nails tend to be more expensive than acrylics.
Comfort:
Gel nails feel more natural and flexible.
Acrylic Nails:
Application Process:
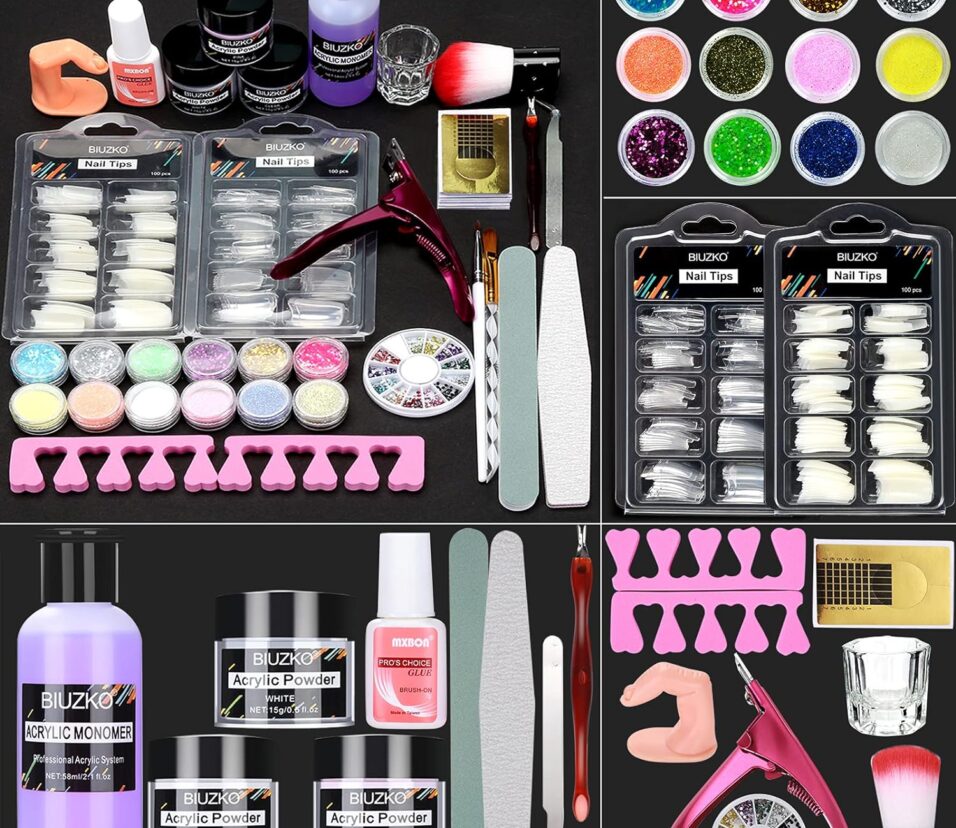
Acrylic nails use a combination of synthetic nail tips, powder (polymer), and a liquid (monomer).
A nail brush sculpts them, moulding them into various shapes.
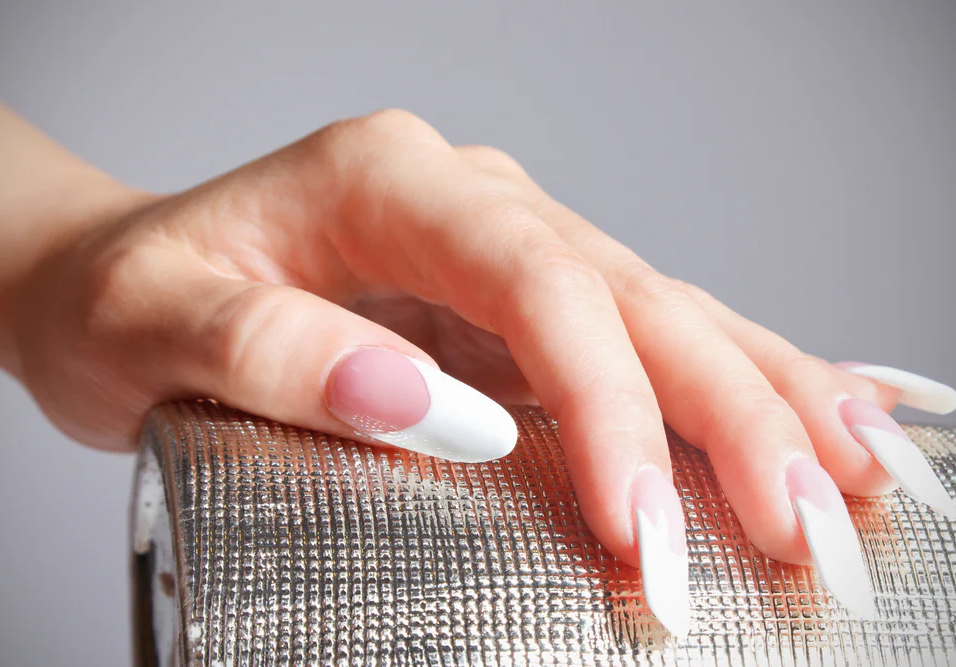
Appearance:
Acrylics can appear thicker and sometimes less natural.
They are great for those who want long nails.
Durability:
Acrylic nails are strong and long-lasting.
Yet, they can hurt the cuticle and nail bed if too much pressure is applied.
Cost:
Acrylic nails are generally more affordable.
Comfort:
Acrylics may feel stiffer due to their thickness.
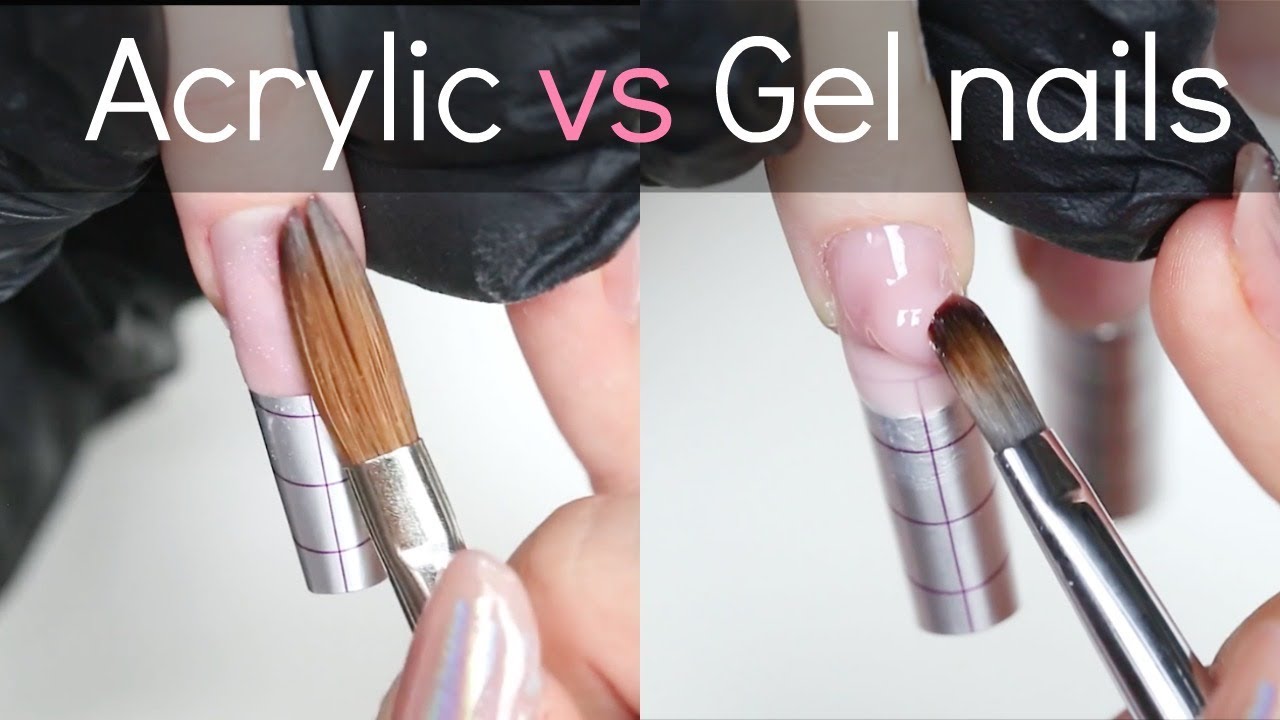
Is The Application The Same For Acrylic And Gel Nails?
No. gel nails or acrylic are applied in different ways.
The application process is one of the main differences between hard gel or soak-off gels and acrylics.
How are acrylic nails applied?
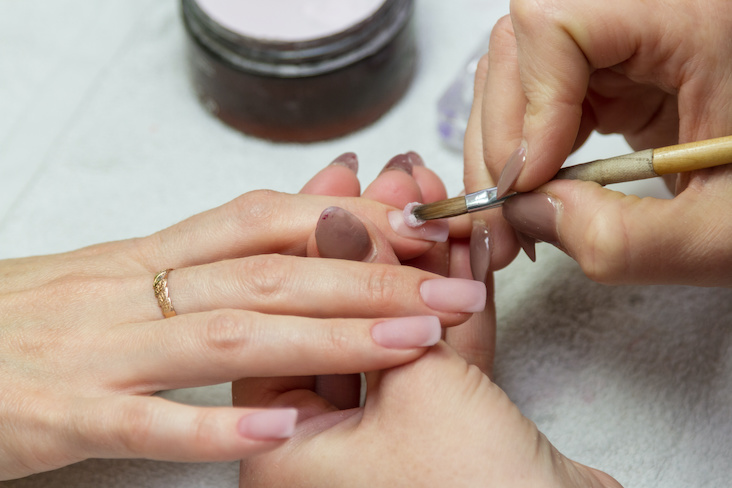
Acrylic nails are lengthening enhancements sculpted with a mix of powder and liquid monomer. A nail artist dips a brush into the acrylic liquid, creating a moldable acrylic bead by combining it with acrylic powder. This bead is then placed onto the nail bed, spreading it across the natural nail and any plastic tip used. Once you apply it, the acrylic cures and becomes ready for polishing. Depending on your desired nail look’s longevity, you can choose between regular polish or gel applications. Acrylic manicures strengthen and often lengthen the natural nail, making them a great choice for those seeking extra durability.
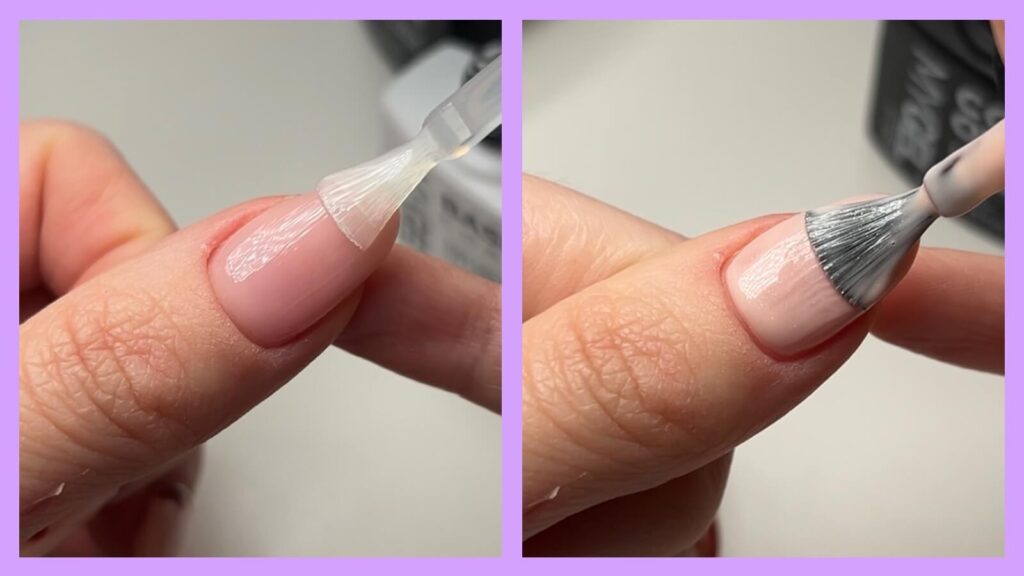
How are gel nails applied?
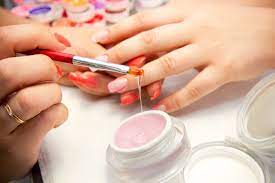
Gel nails are applied by following these steps: First, prep and shape your natural nails. Next, apply a thin layer of base coat, ensuring it doesn’t touch the skin. Then, add 1-2 layers of your chosen gel nail polish color and cure each layer under a UV or LED lamp. Finish with a clear top coat to protect the color, wipe off any tacky residue, and buff for added shine. Enjoy your beautiful gel manicure!
Which is Better: Gel or Acrylic?
Whether gel nails or acrylic is going to be better for you depends on 3 things.
The condition of your nails, your lifestyle, and the look you prefer.
What condition are your nails in?
The state of your natural nails must be the first thing you or your nail technician must think about. A gel nail product will provide you the flexibility you need to prevent breakages if your nails are hard and brittle. Nonetheless, an acrylic product will provide you with some more strength if your nails are soft and split.
Will gel or acrylic suit your lifestyle better?
It is also important to consider your lifestyle. Compared to gel nails or acrylics are more porous, which facilitates removal. However, it also implies that they will stain more . For example, applying hair color could cause the acrylic to soak through and destroy your nails!
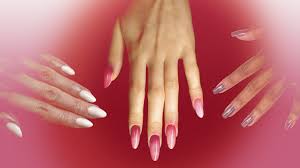
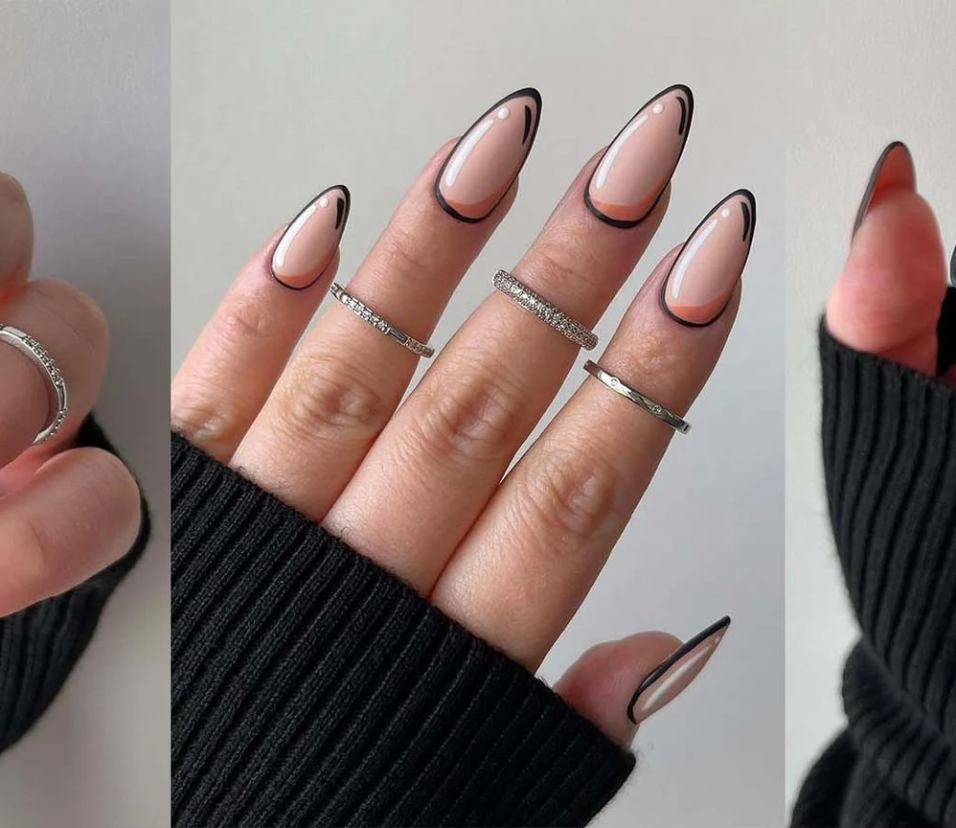
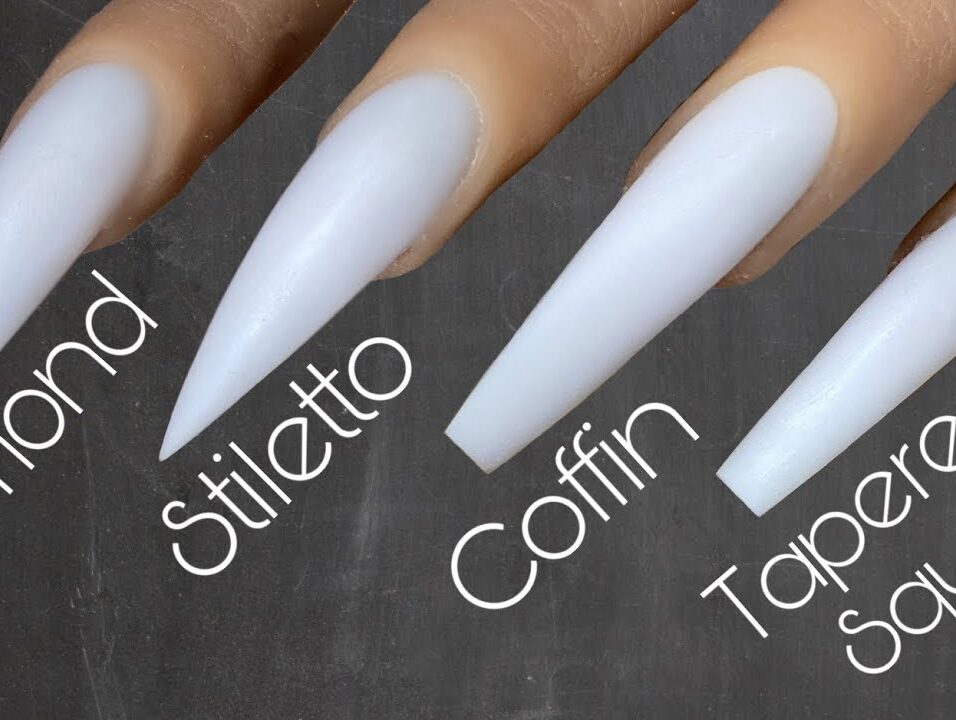
How do you want your nails to look?
The final consideration should be your desired appearance. Because acrylics are thicker than gel nails, they may seem “fake.” Some find this OK, while others would rather have a more organic appearance. Acrylics will generally last longer if you desire long nails. Gel nails have a somewhat more natural appearance and are thinner.
Removing Process Of Gel Nails or Acrylic
Removing Acrylic Nails:
Trim and File:
Trim your acrylic nail extensions as short as possible using nail clippers.
File the surface of the acrylics with a nail file to break the topcoat layer.
Soak in Acetone:
Fill a small bowl with acetone (not regular polish remover).
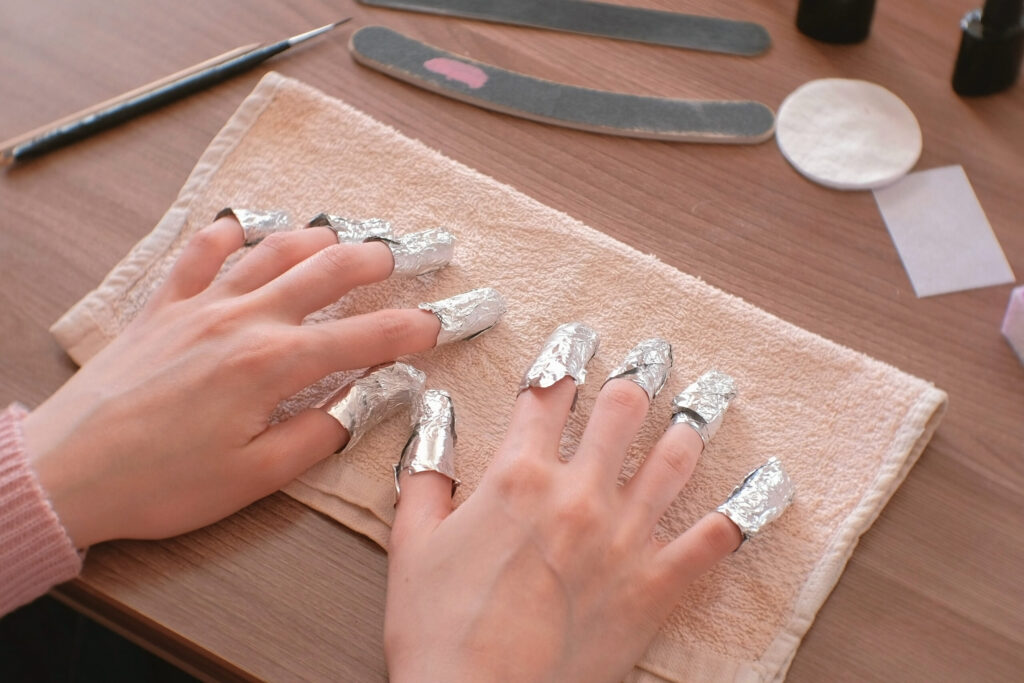
Dip cotton balls in acetone and place them on each nail.
Wrap your nails with tin foil to keep the cotton balls in place.
Wait for 10-15 minutes to allow the acetone to soften the acrylic.
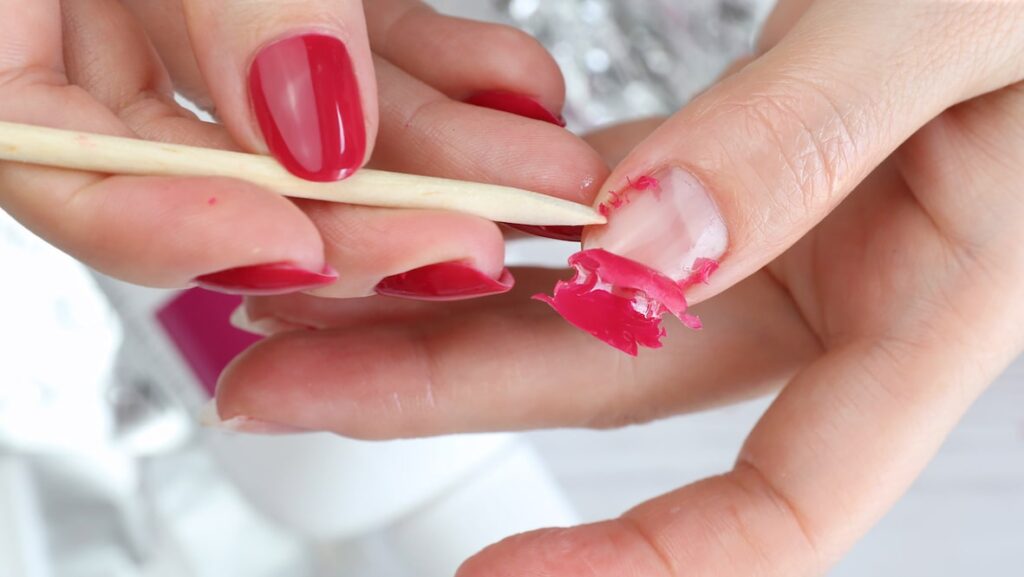
Scrape Off Acrylic:
Remove the foil one finger at a time.
Gently scrape off the softened acrylic using an orangewood stick.
Be patient and avoid forcing it off.
Buff and Shape:
After removing most of the acrylic, buff the natural nail to remove any remaining product.
Shape your nails as desired.
Hydrate and Strengthen:
Apply cuticle oil to restore hydration to your nails.
Removing Gel Nails:
File the Surface:
Use a 180-grit nail file to etch off the topcoat layer of your gel-covered nails.
Moisturise:
Apply moisturiser to your hands after filing.
Soak in Acetone:
Fill a small bowl with nail polish remover (pure acetone).
Soak your nails in the acetone for about 10-15 minutes.
Scrape Off Gel:
Remove the foil one finger at a time.
Gently scrape off the softened gel using an orangewood stick.
Post-Removal Care:
Take care of your nails by moisturising and allowing them to recover.
Conclusion of Gel Nails or Acrylic
Gel nails and acrylic nails each have their unique features. Gel nails offer a natural look, quick drying, and durability, while acrylics provide strength and versatility. Consider your preferences and lifestyle when choosing between the two. Happy nail styling!
Leave feedback about this