
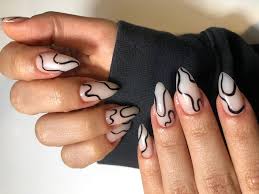
How to Do Your Own Acrylic Nails at Home: A Step-by-Step Guide

DIY beauty trends have been popular in recent years, with many people choosing to do their own beauty treatments at home. Applying acrylic nails at home is one such trend that provides a salon-quality appearance without the high cost. You’ve come to the right site if you’ve ever wondered how to get perfect acrylic nails in the convenience of your own house. We’ll take you through every stage of the procedure in this in-depth manual, from setup to application and upkeep. You may unleash your imagination and become an expert at acrylic nail art if you have the correct tools and skills.
Gather Your Supplies
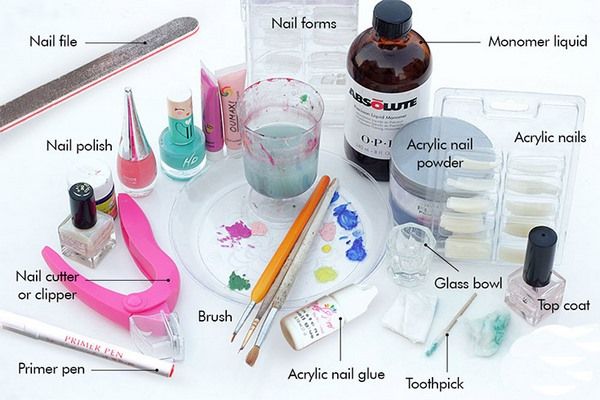
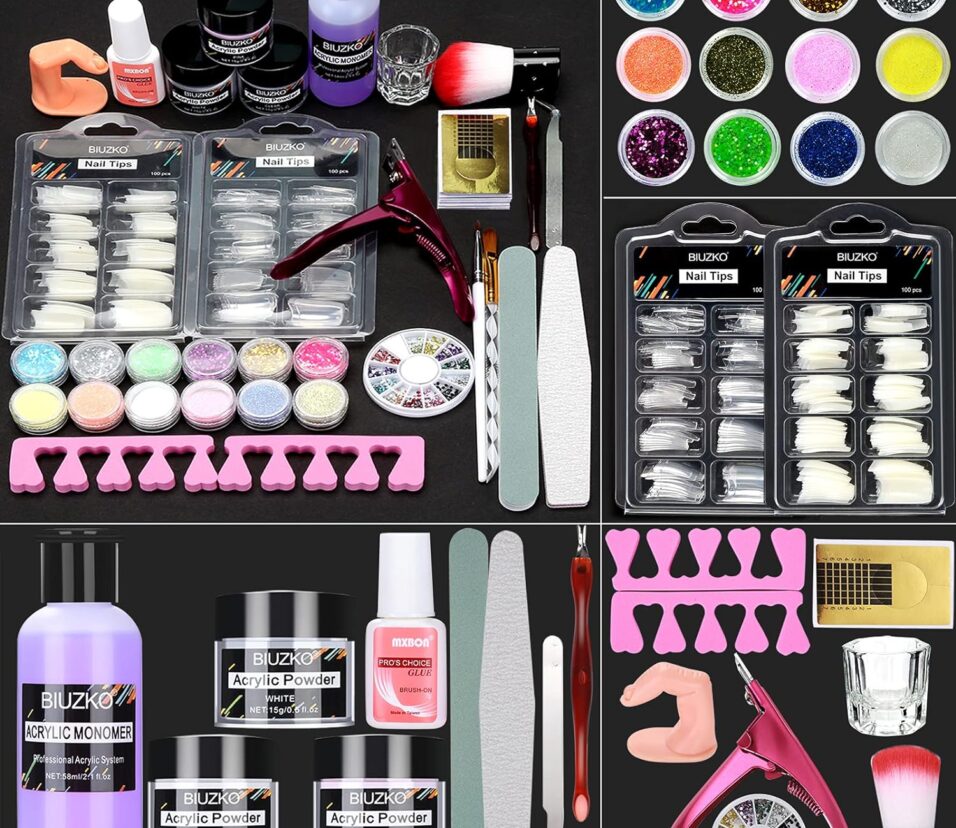
Before diving into the world of DIY acrylic nails at home, it’s essential to gather all the necessary supplies. You’ll need:
- Acrylic nail kit (including acrylic powder, liquid monomer, and brushes)
- Nail primer
- Nail forms or tips
- Nail file and buffer
- Cuticle pusher and nippers
- Nail polish remover
- Cotton balls or pads
- Hand sanitizer or alcohol wipes
- Nail polish
- Topcoat
Application Process Of Acrylic Nails at Home
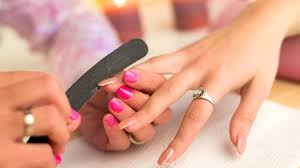
Prep Your Natural Nails
Proper preparation is key to achieving long-lasting acrylic nails. Start by removing any existing nail polish with a non-acetone remover and washing your hands . Use a cuticle pusher to push back your cuticles and trim any excess skin with cuticle nippers. Next, use a nail file to shape your nails to your desired length and style. Buff the surface of your nails to remove any shine and create a rough texture for better adhesion. Finally, cleanse your nails with alcohol wipes or hand sanitizer to remove any remaining oils or debris.
Apply Nail Forms or Tips
Once your natural nails are prepped, it’s time to apply nail forms or tips to create the desired length and shape for your acrylic nails. Nail forms are adhesive stickers that are applied under the free edge of your natural nails to provide a base for the acrylic extension. Or, you can use pre-made nail tips that are glued onto the ends of your nails. Choose the method that best suits your preferences and skill level.
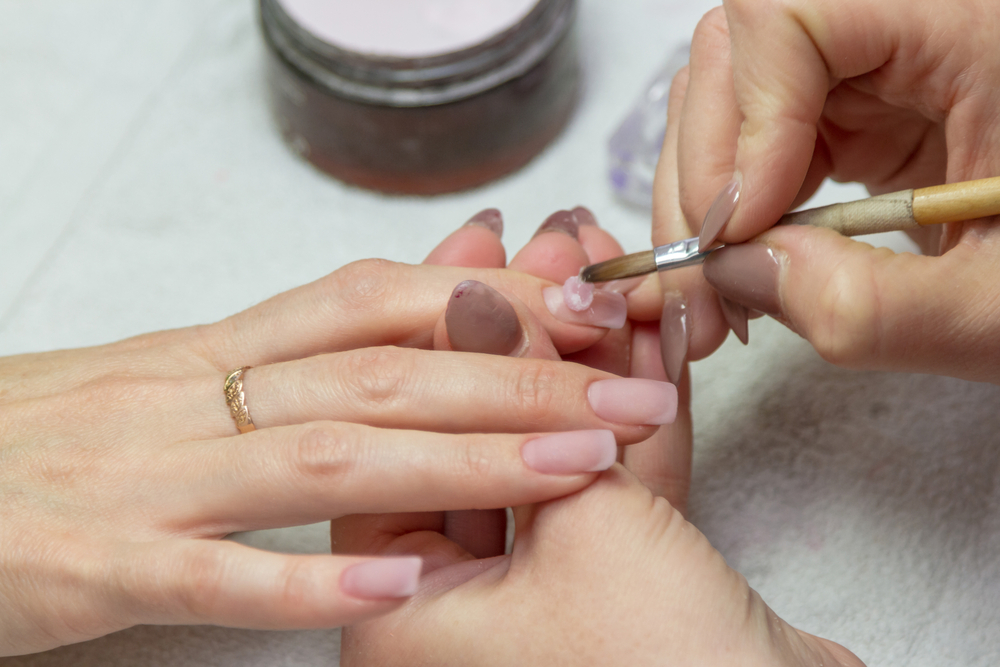
Mix and Apply Acrylic
Now comes the fun part – mixing and applying the acrylic nails at home! Start by pouring a small amount of liquid monomer into a dapper dish and dipping your acrylic brush into the liquid. Next, dip the brush into the acrylic powder, picking up a small bead of product. Place the bead of acrylic onto the nail form or tip, near the cuticle area, and use the brush to shape and spread the acrylic over the entire nail surface. Work quickly but carefully, as acrylic dries once it comes into contact with the air. Repeat this process for each nail, ensuring that the acrylic is applied.
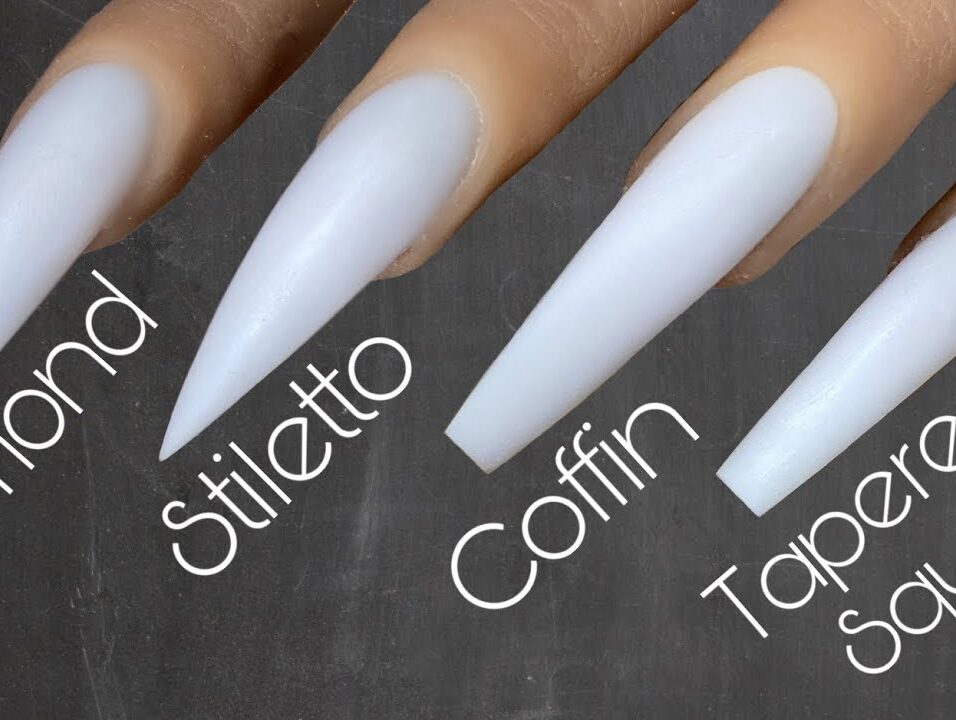
Shape and Buff
Once the acrylic has dried and hardened, remove the nail forms or tips to reveal your formed acrylic nails. Use a nail file to shape the nails to your desired length and style, filing away any rough edges or uneven areas. Be sure to file in one direction only to avoid damaging the acrylic. Once you’re happy with the shape, use a buffer to smooth the surface of the nails and remove any remaining imperfections.
Finish with Polish
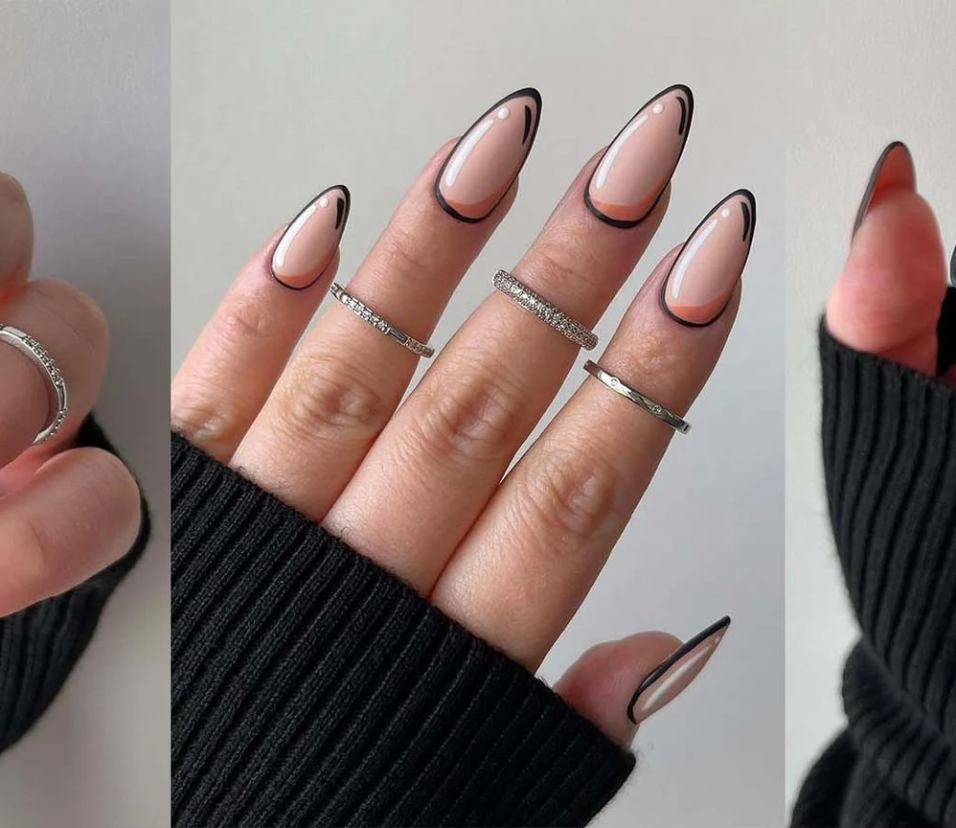
To complete your DIY acrylic nails, apply your favourite nail polish color or design. Start by applying a base coat to protect the acrylic and provide a smooth surface for the polish to adhere to. Once the base coat is dry, apply your chosen nail polish color in thin and even layers, allowing each coat to dry completely before applying the next. Finish with a topcoat to seal in the color and add shine to your nails. You now have gorgeous acrylic nails that you can flaunt with confidence.
Conclusion
With this step-by-step guide, you have all the knowledge and tools you need to master the art of DIY acrylic nails at home. Whether you’re a beginner or a seasoned nail enthusiast, experimenting with acrylics can be a fun and rewarding experience. Remember to practise patience and precision, and don’t be afraid to get creative with your designs. With time and practice, you’ll be able to achieve salon-quality results from the comfort of your own home.


Leave feedback about this