
Applying acrylic nails involves a process that requires skill and attention to detail. If you’re new to this, it’s recommended to practice on fake nails or seek professional training before attempting it on yourself or others. Here’s a general guide on how to apply acrylic nails:
Materials and Tools:
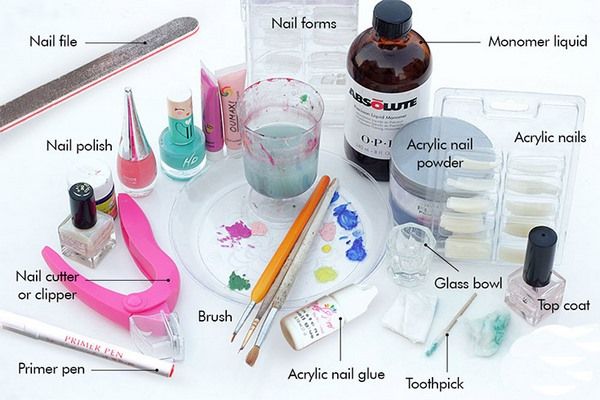
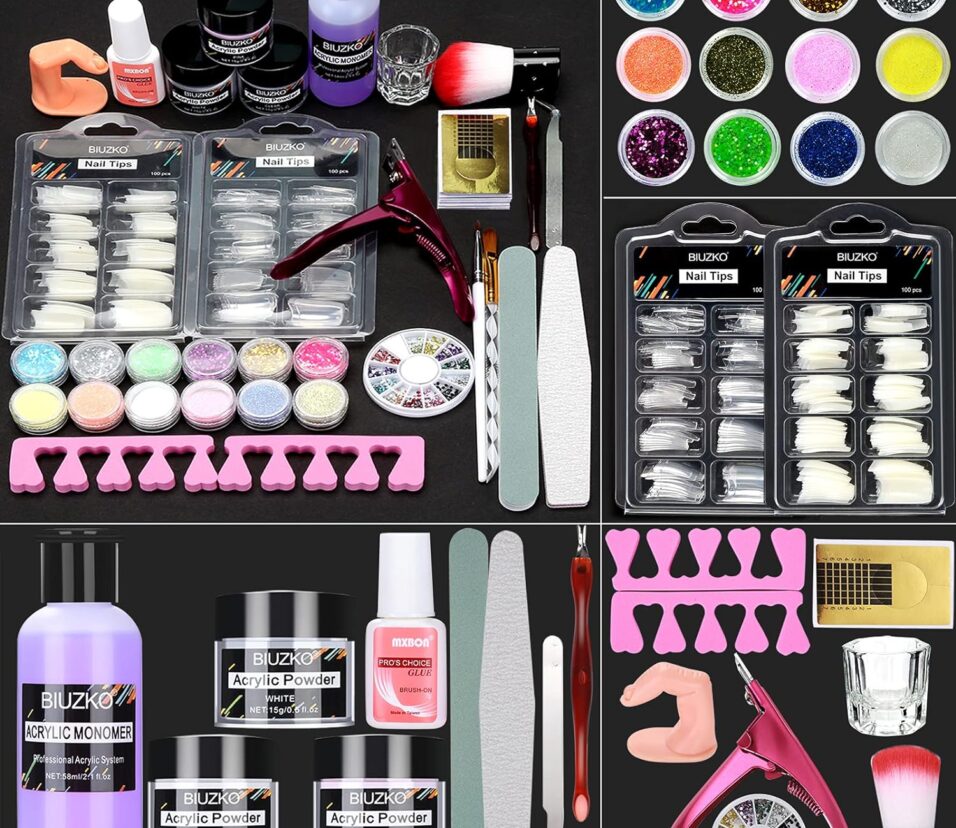
- Acrylic nail kit (includes acrylic powder and liquid monomer)
- Nail tips
- Nail glue
- Nail primer
- Acrylic brush
- Dappen dish (for liquid monomer)
- Nail file
- Buffer
- Cuticle pusher
- Paper towels or lint-free wipes
- Acetone (for cleaning)
Procedure:
- Prepare the Natural Nails:
- Clean the natural nails with soap and water.
- Push back cuticles using a cuticle pusher.
- Shape and file the natural nails to the desired length and shape.
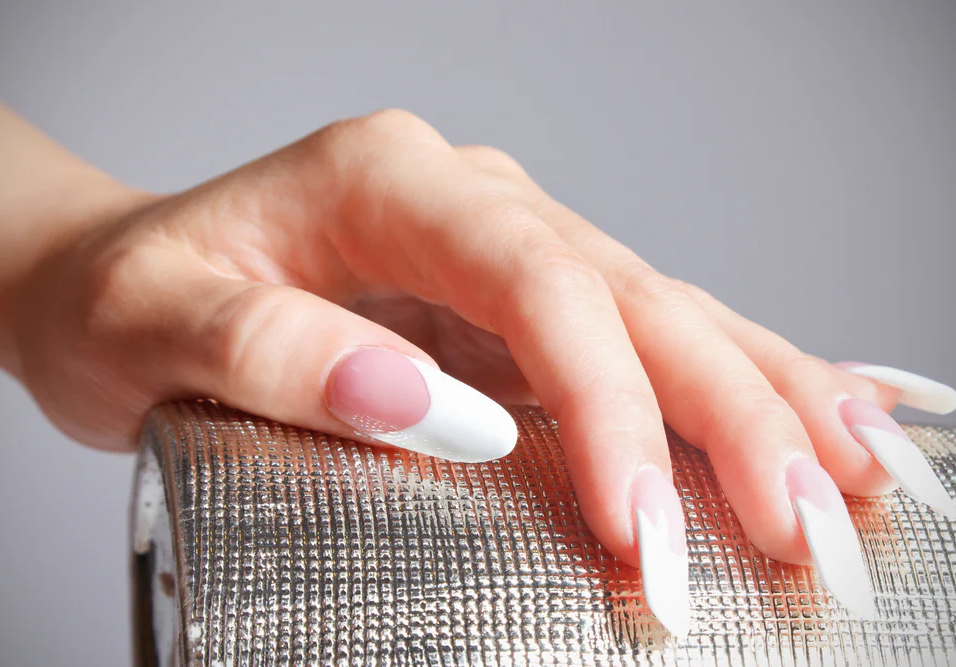
- Select and Apply Nail Tips:
- Choose the appropriate nail tips for each finger.
- Apply a small amount of nail glue to the tip and press it onto the natural nail, holding it in place for a few seconds to allow the glue to set.
- Trim and Shape the Tips:
- Trim the tips to the desired length using nail clippers.
- Shape the tips with a nail file.
- Apply Primer:
- Apply a small amount of nail primer to the natural nails. This helps the acrylic adhere better.
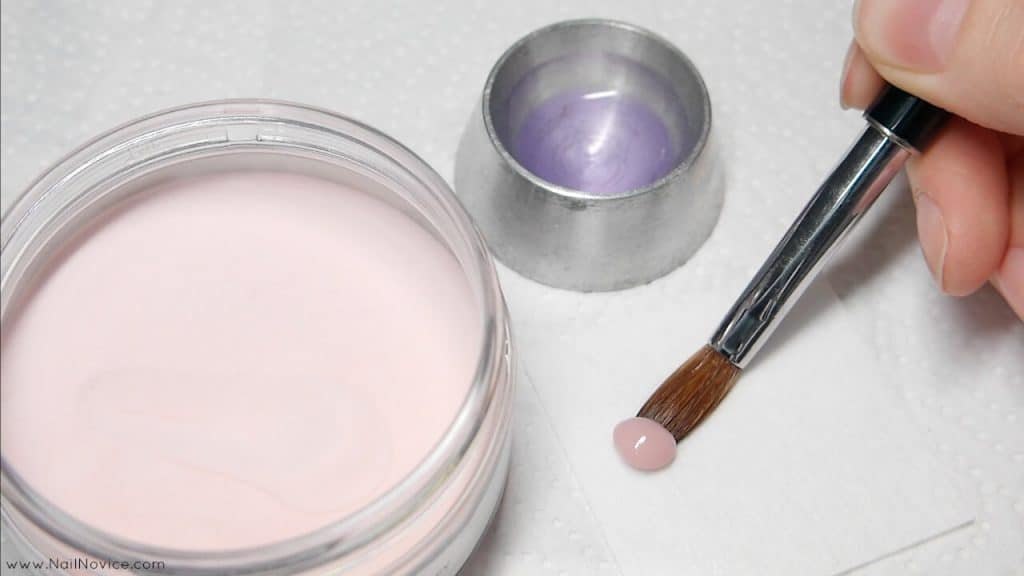
- Mix Acrylic Powder and Liquid:
- Pour a small amount of liquid monomer into a dappen dish.
- Dip the acrylic brush into the liquid, then into the acrylic powder. Mix until a bead forms on the brush.
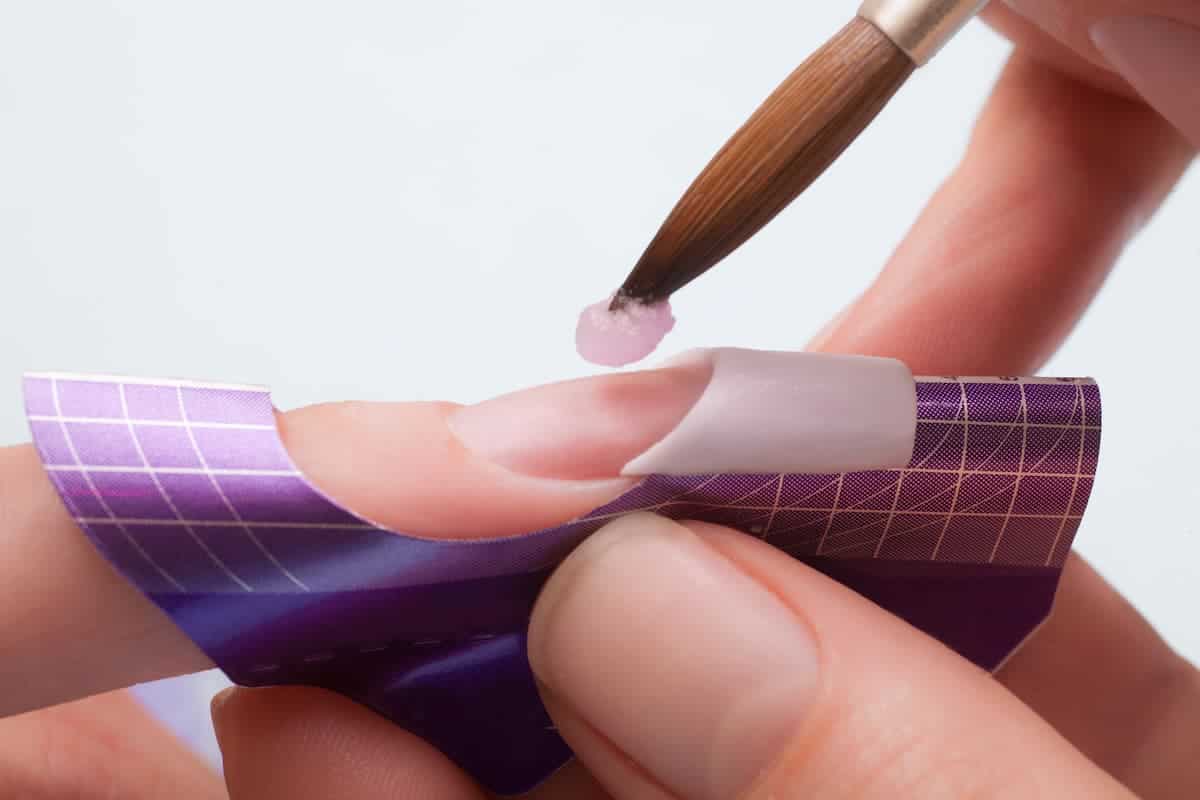
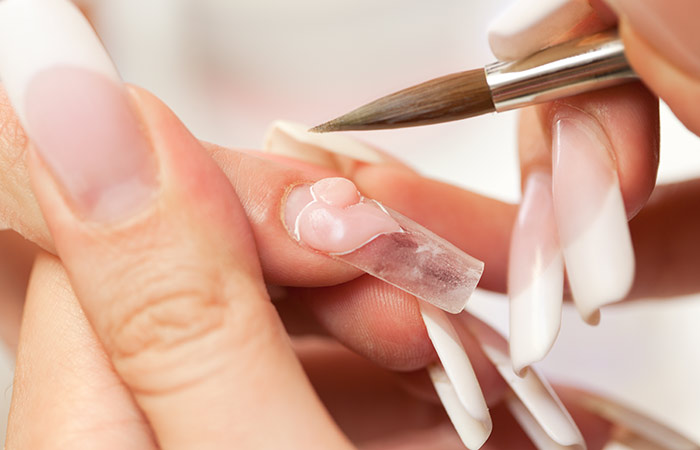
- Apply Acrylic Mixture:
- Place the bead of acrylic mixture onto the natural nail near the cuticle.
- Use the brush to spread and shape the acrylic, extending it to cover the entire nail surface.
- Smooth and Shape:
- Use the brush and monomer to smooth out the acrylic and create a seamless surface.
- Shape the acrylic with the brush or a file to achieve the desired nail shape.
- Repeat for Each Nail:
- Repeat the process for each nail, working one at a time.
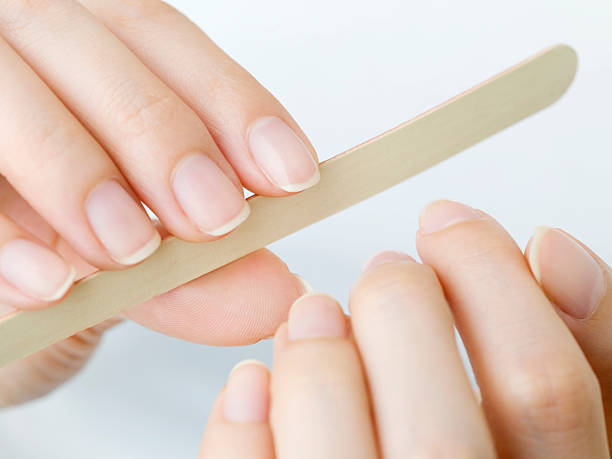
- Buff and File:
- Once the acrylic has dried, use a buffer to smooth the surface.
- Shape the nails further with a file, if needed.
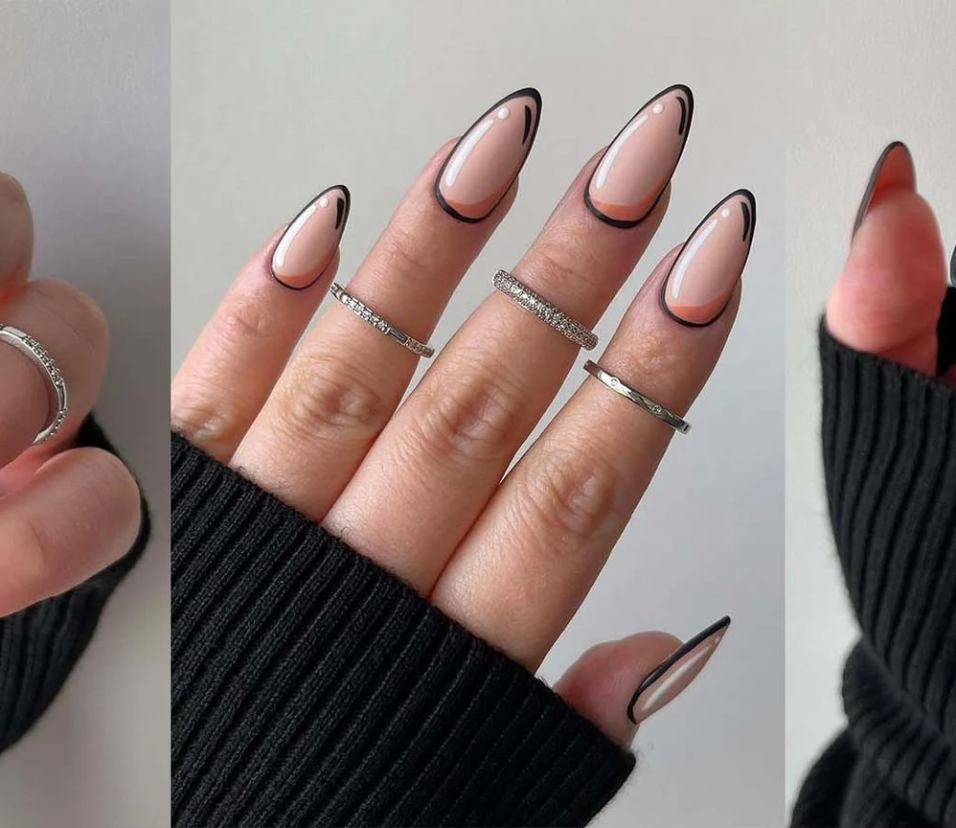
- Finish with Polish or Design:
- Apply nail polish or nail art as desired.
- Seal with Top Coat:
- Apply a top coat to seal and protect the acrylic nails.
Remember, practice is essential to mastering the technique. If you’re uncertain, consider seeking professional guidance or training to ensure the best results and avoid potential issues.
Certainly! Here are additional tips and information to help you with acrylic nail application:
Filling and Maintenance:
- Acrylic nails will grow out over time. To maintain them, you may need to fill in the gap between the cuticle and the acrylic with additional acrylic mixture. This is typically done every 2-3 weeks.
Cleaning and Prepping:
- Keep your tools and work area clean. Sanitize your tools before and after each use.
- Ensure that the natural nails are free of oils and residue before applying acrylics for better adhesion.
Be Mindful of Allergies:
- Some individuals may be sensitive or allergic to the chemicals in acrylic products. If you experience irritation, redness, or swelling, discontinue use and consult a healthcare professional.
Liquid-to-Powder Ratio:
- Mastering the right liquid-to-powder ratio is crucial for a smooth application. Too much liquid can make the acrylic runny, while too much powder can make it difficult to work with.
Patience is Key:
- Allow each layer to dry properly before proceeding to the next step. Rushing can lead to uneven application and a less durable result.
Use Monomer Wisely:
- Use monomers sparingly. Too much monomer can lead to overworking the acrylic, making it harder to control and shape.
Troubleshooting:
- If you encounter lumps or uneven surfaces, you can file and buff the acrylic to smooth out imperfections.
- If the acrylic starts to set before you’ve shaped it, dip the brush in monomer to make it more pliable.
Removal:
- To remove acrylic nails, soak them in acetone for about 15-20 minutes. Gently buff the softened acrylic away, and avoid forcing or prying the nails off to prevent damage to the natural nails.
Practice and Continued Learning:
- Acrylic application is a skill that improves with practice. Experiment with different techniques and styles to enhance your proficiency.
- Stay updated with new trends and techniques by attending workshops, watching tutorials, or joining online nail communities.
Remember that each person’s nails are unique, and the learning process may vary. It’s advisable to start with simple designs and gradually progress to more complex ones as you gain confidence and experience. If you’re unsure or encounter difficulties, seeking guidance from experienced nail technicians or educators can be immensely helpful.
Work in a Well-Ventilated Area:
- Acrylic fumes can be strong, so it’s important to work in a well-ventilated area or use an acrylic nail system with low odor. Consider using a nail dust collector to minimize inhalation of acrylic dust.
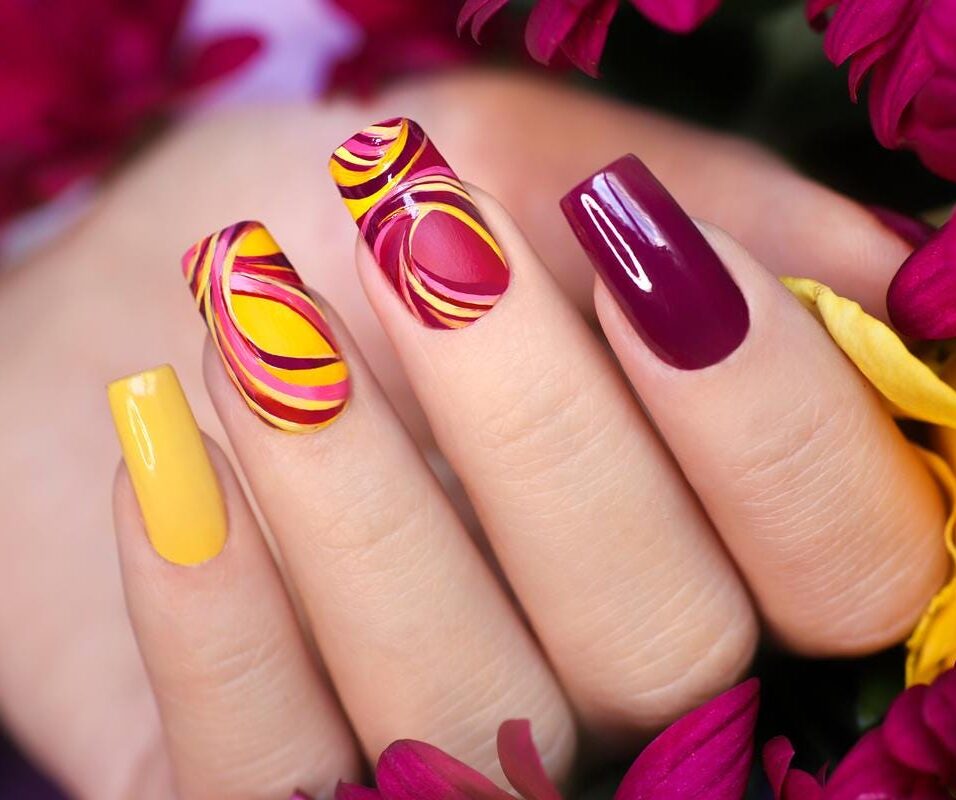
Experiment with Colors and Designs:

- Acrylic nails can be a canvas for creativity. Experiment with different acrylic colors, glitters, and nail art to achieve unique designs.
Care for Your Cuticles:
- Regularly moisturize your cuticles and nails to prevent them from becoming dry or damaged. Healthy cuticles contribute to the overall appearance of the acrylic nails.
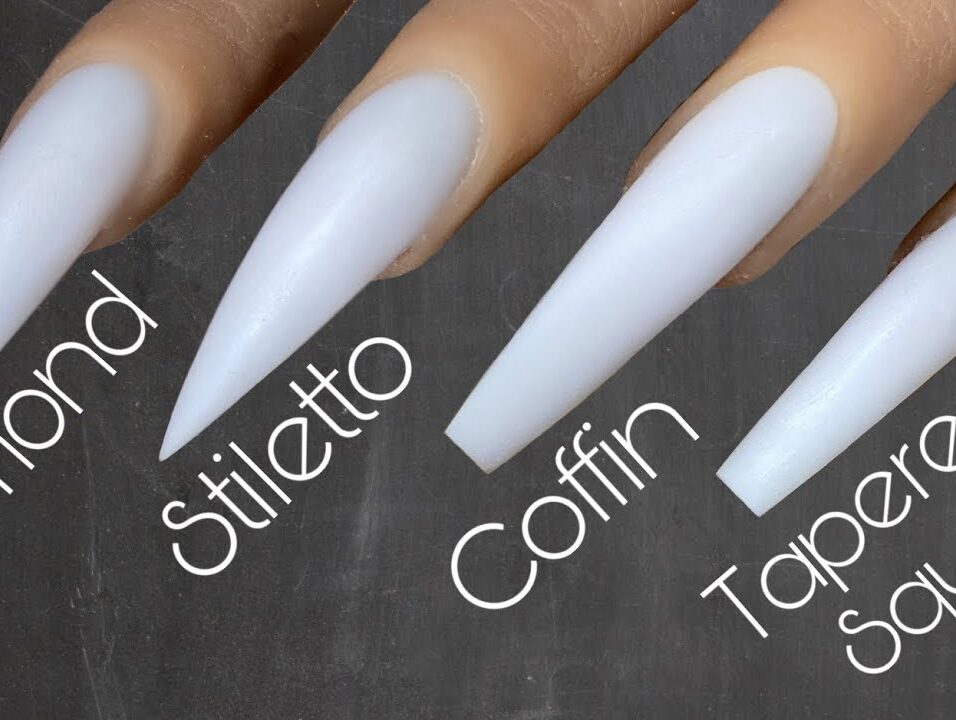
Consider Nail Forms:
- Instead of using nail tips, you can also sculpt acrylic nails using nail forms. Classic Nail forms help create custom-shaped nails directly on the natural nail.
Temperature Matters:
- Acrylic may set faster or slower depending on the room temperature. Warmer temperatures can speed up the drying process, so be mindful of your working environment.
Invest in Quality Products:
- Using high-quality acrylic products can make a significant difference in the durability and appearance of the acrylic nails. Invest in reputable brands for better results.
Practice Filing Techniques:
- Filing is a crucial step in achieving a polished look. Practice filing techniques to create smooth, well-shaped nails without over-filing or causing damage.
Maintain Consistency:
- Try to maintain consistency in the thickness and shape of each acrylic nail for a cohesive and professional appearance.
Learn from Mistakes:
- If you make a mistake during the application, don’t be discouraged. Learn from the mistake, adjust your technique, and continue to refine your skills.
Client Consultation:
- If you’re doing acrylic nails for others, have a thorough consultation to understand their preferences, nail health, and any potential allergies or sensitivities.
Nail Care Education:
- Educate yourself on nail anatomy, common nail issues, and proper nail care. This knowledge can help you address specific concerns and provide better services.
Stay Informed About Trends:
- Stay informed about current nail trends and techniques in the beauty industry. This can help you offer a variety of styles to your clients or keep your own nails on-trend.
Remember that mastering acrylic nail application takes time and practice. Don’t hesitate to seek advice from experienced nail technicians, attend workshops, or join online communities to exchange tips and tricks with fellow enthusiasts and professionals.
Lorem ipsum dolor sit amet, consectetur adipiscing elit. Nibh vel sed amet, ut adipiscing elit fermentum. Orci, feugiat ullamcorper molestie maecenas tincidunt
Leave feedback about this