
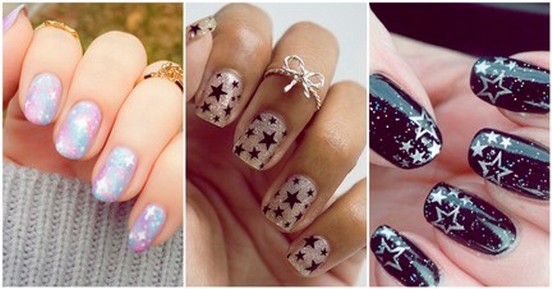
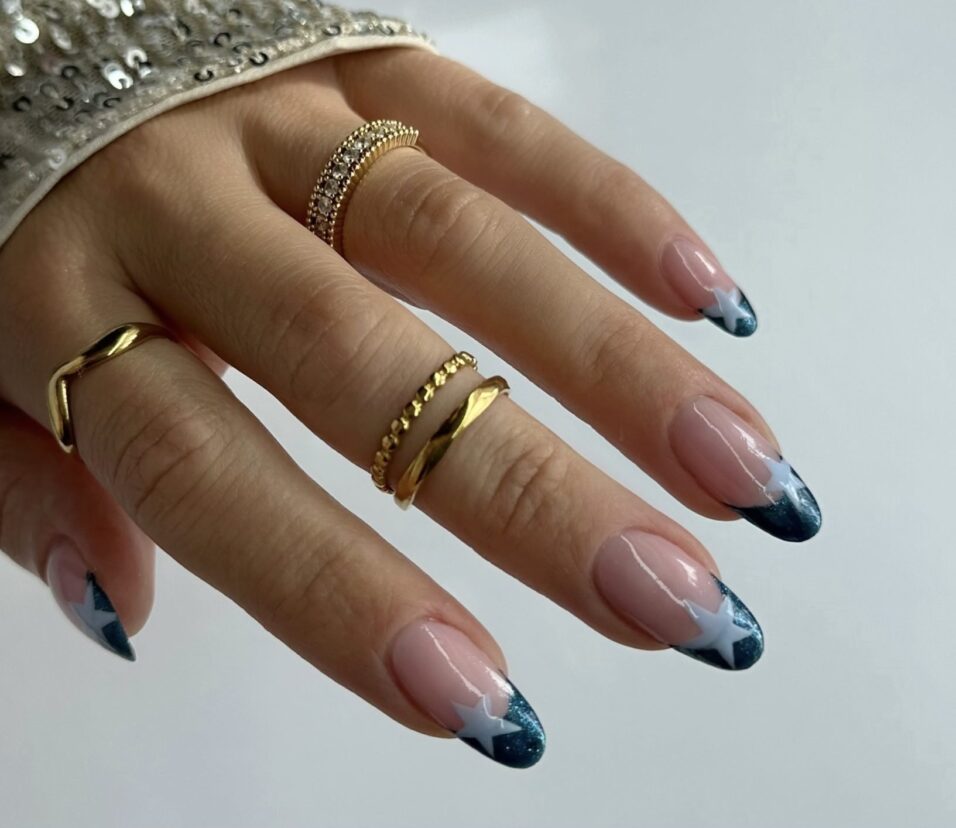
How To Use Glitter for Star Nails
1. Prepare your nails:
– To Apply Glitter for Star Nails Start with clean, dry nails. Trim and file them to your desired shape.
– Apply a base coat to protect your natural nails.
2. Apply the base color:
– Paint your nails with a solid color of nail polish. Choose a base color that complements the glitter you’ll be using.
– Let the base color dry completely.
3. Add the glitter:
– Decide on the placement of your star nails design. You can place the stars randomly or in a specific pattern.
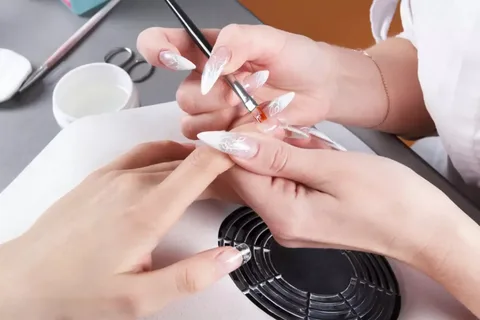
– Dip a small brush, toothpick, or the tip of your finger into the glitter.
– Gently dab the glitter onto your nails, creating small star nails shapes.
– Ensure the glitter adheres well to the base color.
4. Seal the design of Star Nails:
– Once the glitter is in place, apply a top coat over your nails. This will help the glitter stay in place and create a smooth, glossy finish.
– Be careful not to smudge the glitter on star nails while applying the top coat.
5. Optional: Add additional details:
– If desired, you can add extra touches to your star nails, such as connecting the stars with glitter lines or adding small rhinestones.
Tips of Star Nails
– Use a fine, holographic or iridescent glitter for a more dramatic star effect.
– Apply the glitter in small, controlled amounts to avoid excessive glitter fallout.
– Be patient and allow each layer to dry completely before moving to the next step.
– Finish with a high-quality top coat to ensure the design lasts.
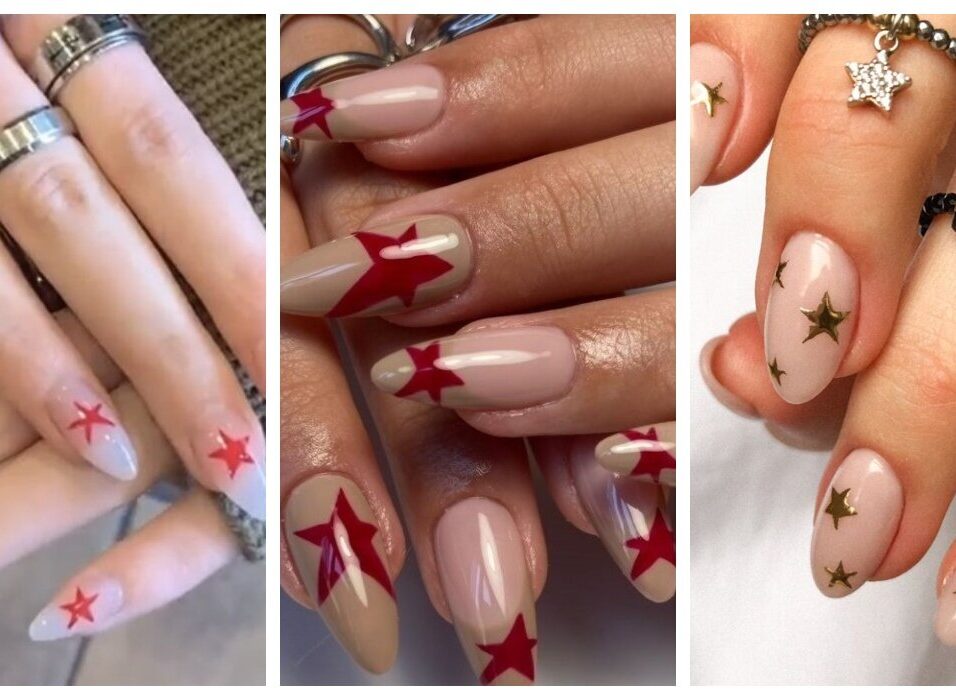
7. Nail shape and length:
– Square or almond-shaped nails work best for star designs, as the flat surface allows the glitter to adhere evenly.
– Shorter nails may be easier to work with, as longer nails can make it challenging to control the glitter placement.
8. Glitter selection:
– Choose a glitter that has a fine, chunky, or holographic finish for maximum impact.
– Mix and match different sizes and shapes of glitter for added dimension.
– Opt for glitters in colors that complement your base polish color.
9. Application techniques:
– Use a small, dense brush to precisely place the glitter where you want the stars to appear.
– Dip the brush into the glitter and lightly dab it onto the nails, rather than sweeping the brush across.
– For a bolder look, you can apply a layer of clear nail polish and then sprinkle the glitter on top before sealing with a top coat.
10. Cleanup:
– Avoid getting glitter on the skin around your nails. Use a small, pointed cotton swab dipped in nail polish remover to clean up any stray glitter.
– Apply a layer of cuticle oil or petroleum jelly around the nails before applying the glitter to make cleanup easier.
11. Durability and longevity:
– Use a gel or shellac base coat and top coat for longer-lasting wear.
– Reapply the top coat every few days to keep the glitter firmly in place.
– Gently file the nails before reapplying the top coat to remove any lifting or chipping.
12. Creativity of Star Nails:
– Experiment with different patterns and placements of the stars, such as a cluster in the center, a diagonal line, or a scattered design.
– Try combining the star glitter with other nail art techniques, like striping, stamping, or ombré effects.
13. Negative space designs:
– Create a negative space star design by painting the base color, then carefully applying the glitter stars, leaving some of the natural nail exposed.
– This minimalist look can be very striking and elegant.
14. Gradient star nails:
– Blend different shades of glitter polish or loose glitters to create a gradient effect on your nails.
– Start with a lighter shade at the cuticle and gradually build up to a darker shade towards the tip.
– Add star-shaped glitters on top for a dimensional, galaxy-inspired look.
15. Holographic star nails:
– Use a holographic or iridescent glitter polish as your base color.
– Apply the star-shaped glitters on top, allowing the holographic base to shine through.
– This creates a mesmerizing and multi-dimensional effect.
16. Glow-in-the-dark star nails:
– Use a glow-in-the-dark nail polish as the base color.
– Apply star-shaped glitters on top, and they will appear to “glow” in the dark.
– This is a fun and unexpected twist on the classic star nail design.
17. 3D star nails:
– Build up the star-shaped glitters to create a 3D effect on your nails.
– Apply a generous amount of glitter and seal it with a thick, high-shine top coat.
– The layered glitter will create a unique, textured look.
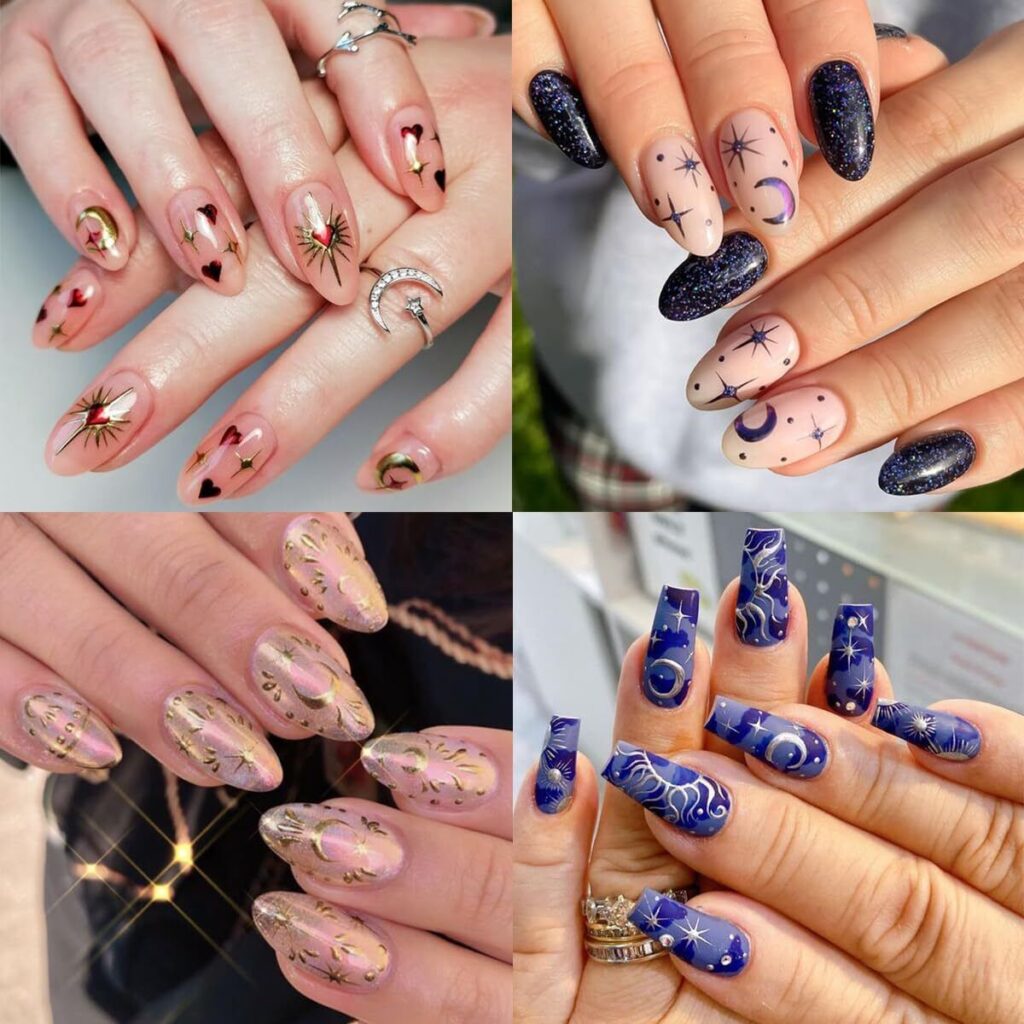
18. Constellation nail art:
– Take your star nails to the next level by creating a full constellation design.
– Use a dotting tool or a small brush to carefully paint tiny dots and lines, mimicking the patterns of the night sky.
– Incorporate different sizes and shapes of glitters to represent the varying sizes of stars.
Remember, the key to creating stunning star nails is to experiment with different glitter types, application techniques, and design elements. Don’t be afraid to try new ideas and find what works best for your personal style. Have fun and let your creativity shine!

Leave feedback about this