
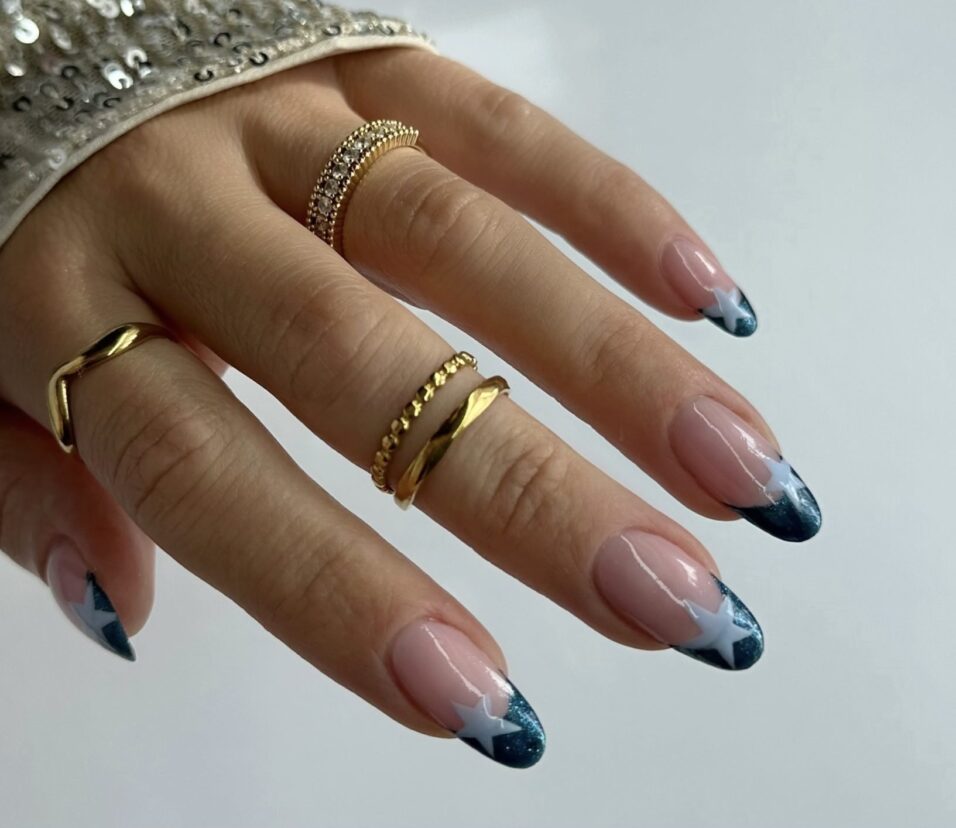
How to Fix Mistakes in Star Nails Art
Correct Small Mistakes:
– If you’ve made a mistake with the placement or size of a star, you can try to carefully paint over it with the base colour of the nail.
– Use a small detail brush and be very precise to cover up the error.
Remove and start over:
– For larger mistakes or if the entire nail design is off, you may need to remove the polish completely and start over.
– Use a nail polish remover or acetone to thoroughly remove the existing design.
– Make sure to clean and dehydrate the nail surface before reapplying the base coat and redoing the star pattern.

- Use a nail art brush:
– Invest in a high-quality nail art brush with a fine, pointed tip.
– This will give you more control when painting the stars and making corrections.
– Dip the brush in the polish and gently touch it to the nail to create the star shapes.
- Practice patience:
– Star nail art can be tricky, especially when it comes to getting the placement and size just right.
– Don’t get discouraged if you make mistakes – take your time and continue practicing.
– The more you do it, the better your skills will become.
- Finish with a top coat:
– Once you’re satisfied with the star design, seal it in with a clear, glossy top coat.
– This will help protect the design and give it a smooth, professional finish.
- Use nail polish corrector pens:
– Nail polish corrector pens have a small, precise applicator that can help you clean up smudges or misplaced stars.
– Dip the tip into the corrector and carefully paint over the mistake, blending it into the surrounding color.
- File away mistakes:
– For larger mistakes or if you’ve built up too many layers of polish, you can carefully file away the affected area.
– Use a fine-grit nail file and lightly buff the surface to remove the unwanted polish.
– Be sure not to file too aggressively, as this can damage the natural nail.
- Apply a second coat of polish:
– If the star pattern seems uneven or the coverage is spotty, try applying a second coat of the base color.
– This can help smooth out the surface and provide a more even base for the star designs.
- Use a dotting tool:
– A dotting tool can be a great alternative to a nail art brush for creating precise star shapes.
– Dip the tip of the dotting tool into the polish and gently press it onto the nail to form the star points.
- Try different techniques:
– Experiment with different methods for creating the star designs, such as using a toothpick, paperclip, or even a pencil eraser.
– See what works best for your skill level and the desired look.
- Use a nail art striping brush:
– A striping brush has a very fine, thin brush tip that can help you create crisp, precise star points.
– Dip the tip into the polish and gently drag it across the nail to form the star shape.
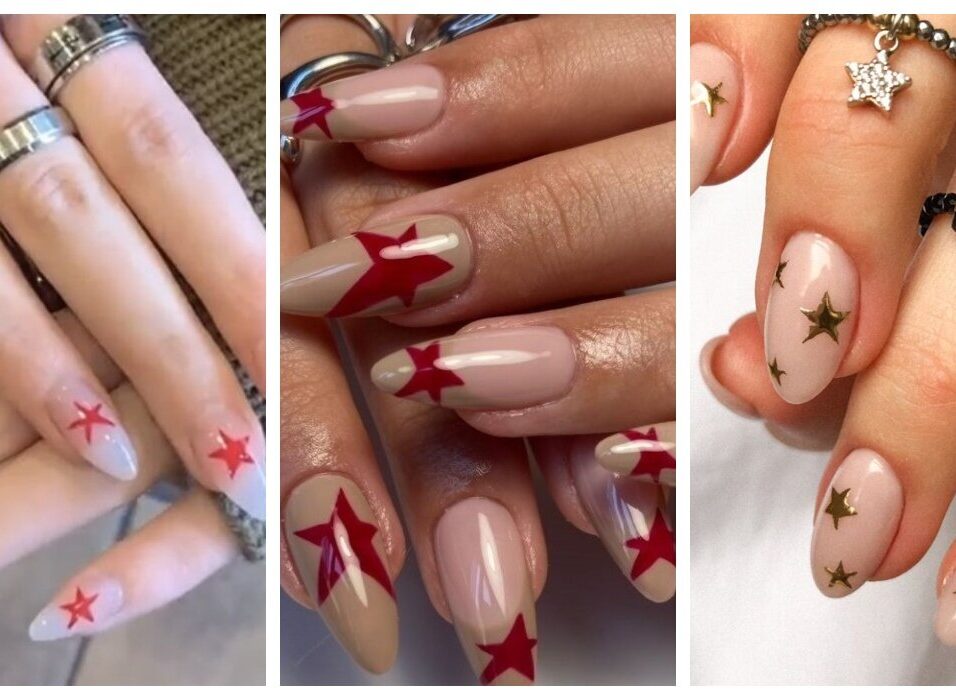
- Try a star nail stencil:
– Nail art stencils with star designs can be a helpful tool for getting the shapes just right.
– Simply place the stencil on the nail, polish over it, then carefully peel it off to reveal the perfect star.
- Apply a glitter top coat:
– If you have some minor imperfections in your star design, you can try covering them up with a glitter top coat.
– The sparkles will distract from any small mistakes and give your nails a fun, eye-catching look.
- Use a makeup sponge for gradients:
– To create a gradient effect around your star designs, use a makeup sponge to dab on a contrasting polish color.
– Start with the lightest shade at the edges and work your way inward for a professional-looking ombré effect.
- Seal with a matte top coat:
– For a modern, minimalist look, try sealing your star nails with a matte top coat.
– This can help camouflage any uneven edges or polish lines, creating a smooth, cohesive finish.
Use a nail art stamper:
– Nail art stamping is a great technique for creating perfect, uniform star designs.
– Use a stamping plate with star patterns and a stamper to transfer the image directly onto your nails.
– This can help you achieve intricate star designs quickly and consistently.
- Try a galaxy or nebula effect:
– For a more dynamic, celestial look, try creating a galaxy or nebula-inspired star nail design.
– Start with a deep blue or black base, then use sponging, dry brushing, and dotting techniques to layer on different shades of blue, purple, and silver.
– Finish with small white dots to represent the stars.
- Incorporate 3D elements:
– Take your star nails to the next level by adding 3D elements like rhinestones, pearls, or tiny star-shaped charms.
– Carefully place these embellishments onto the nail design to create a dimensional, textured look.
- Experiment with negative space:
– Instead of painting the entire nail with stars, try using negative space to create a striking, minimalist design.
– Paint just the stars, leaving the natural nail color peeking through for a modern, sophisticated look.
- Use a nail art pen for precision:
– Invest in a high-quality nail art pen with a very fine, precise tip.
– This can be an excellent tool for creating tiny, intricate star designs or making corrections to your existing artwork.
- Take your time:
Rushing through the process is a common cause of mistakes. Slow down, focus on each step, and don’t be afraid to take breaks if needed.
- Watch tutorial videos:
Seeing techniques demonstrated visually can be very helpful. Look for detailed nail art tutorial videos on YouTube or other platforms.
- Keep a nail art journal:
Document your experiments, successes, and failures. Note what worked well and what you’d do differently next time. This can help you learn and improve over time.
- Invest in quality tools:
Using the right brushes, dotting tools, and other nail art supplies can make a big difference in the precision and consistency of your designs.
- Seek out an in-person class or workshop:
If available in your area, hands-on instruction from an experienced nail artist can be invaluable for developing your skills.
Read More :
How To Use Glitter for Star Nails

Leave feedback about this