
How to Do Star Nails on Short Nails
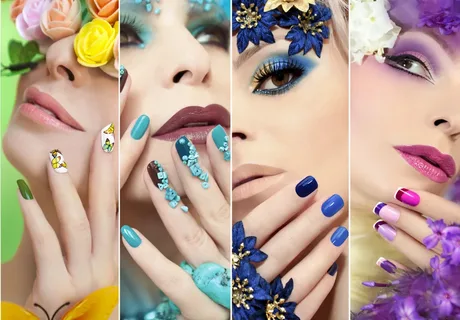
Before we dive into the tutorial, let’s take a moment to understand what star nails are. Star nails involve creating a star-shaped design on the nail surface using nail polish or acrylics. This design can range from simple to elaborate, depending on your preference and skill level. With the right technique and tools, you can achieve eye-catching star nails that are sure to turn heads.
Step-by-Step Guide of Star Nails
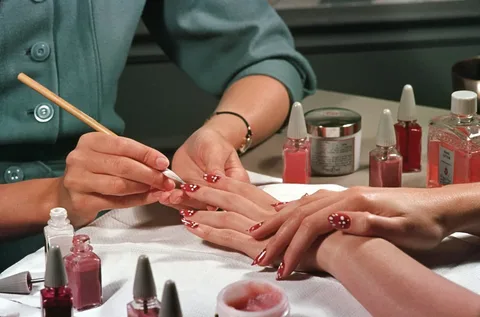
Preparation:
Begin by preparing your nails for the manicure. This includes shaping and buffing the nails to your desired length and style. Short nails are ideal for star nail designs as they provide a compact canvas to work on. Ensure that your nails are clean and free from any residue.
Base Coat:
Apply a thin layer of base coat to protect your nails and provide a smooth surface for the nail polish or acrylics. Allow the base coat to dry completely before moving on to the next step.
Choose Your Colours:
Select the colours you want to use for your star nails. Consider using contrasting colours to make the star design stand out. You can also opt for glitter or metallic shades for added sparkle.
Create Background:
Apply your chosen nail polish color as the background for your star nails. Make sure to apply it evenly and allow it to dry before proceeding.
Outline the Star:
Using a fine nail art brush or a nail art pen, carefully outline the shape of a star on each nail. Start from the centre of the nail and work your way outwards, creating five points for the star. Take your time to ensure precision and symmetry.
Fill in the Star:
Once you’ve outlined the star shape, fill it in with your chosen nail polish color. You can use a small nail art brush or a toothpick for more precision. Alternatively, you can use acrylic paint for a bold and opaque finish.
Add Details:
Get creative and add additional details to your star nails, such as dots, stripes, or rhinestones. These embellishments can enhance the overall look of your nail design and make it more unique.
Seal with Top Coat:
Once you’re satisfied with your star nails design, seal it with a layer of top coat to protect the artwork and add shine. Be sure to apply the top coat evenly and allow it to dry completely.
Star Nails Designs for Short Nails
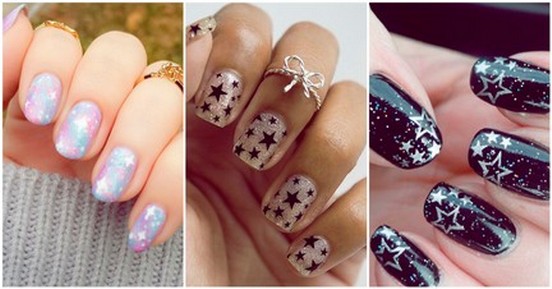
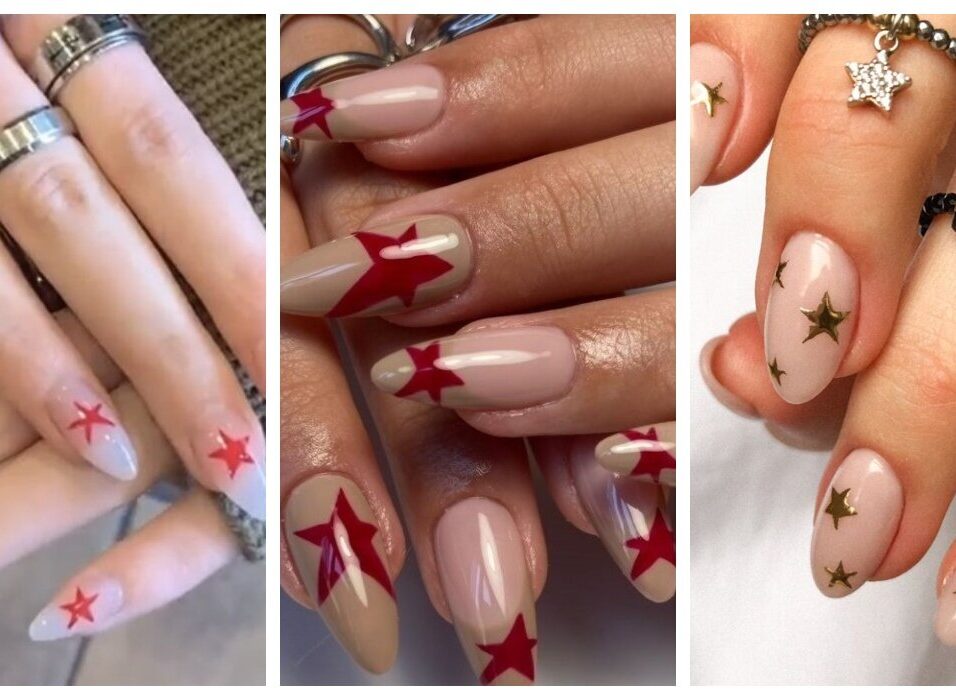
Classic Starburst Design
The classic starburst design is a timeless favourite that never fails to impress. To create this look, start by painting your nails with a dark base color such as navy blue or black. Then, using a thin nail art brush, carefully draw a star shape at the centre of each nail, radiating outward with thin lines. Fill in the star with a contrasting color for a striking effect. Finish off with a layer of top coat to seal in the design and add shine.
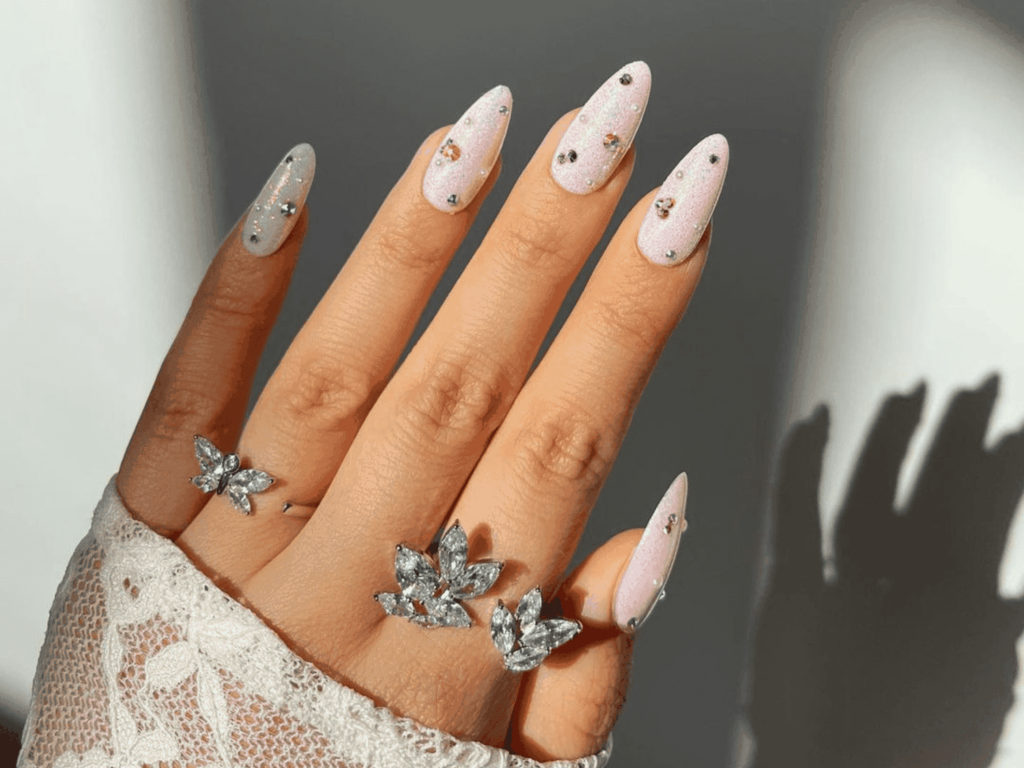
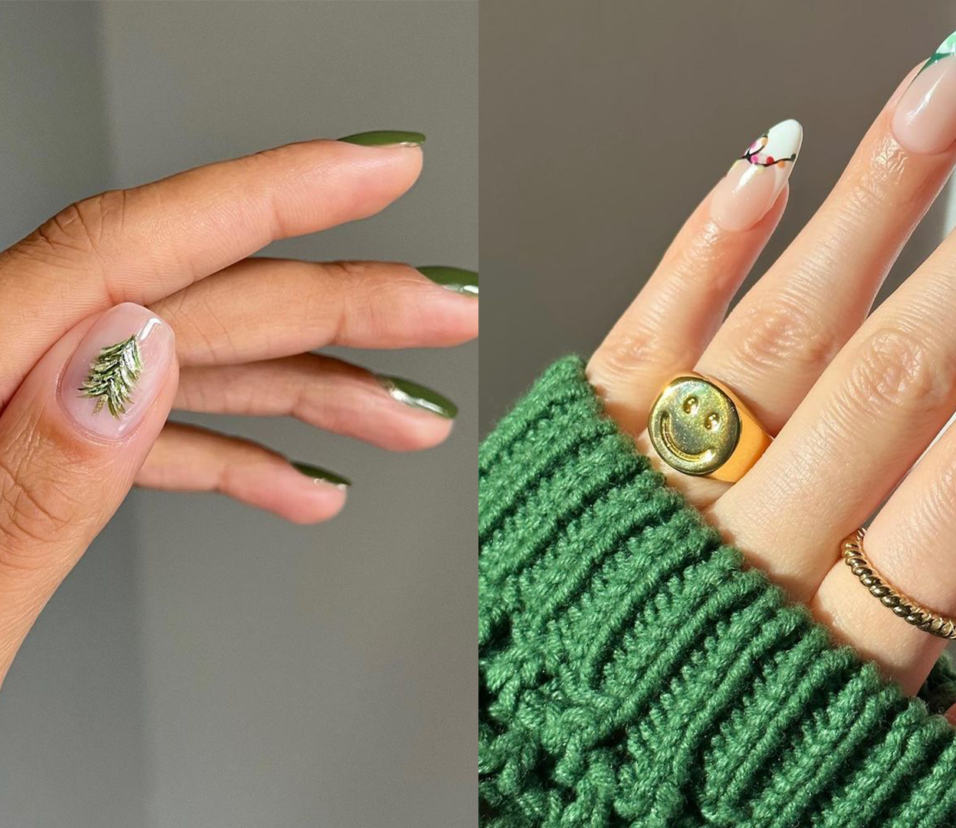
Minimalist Stars
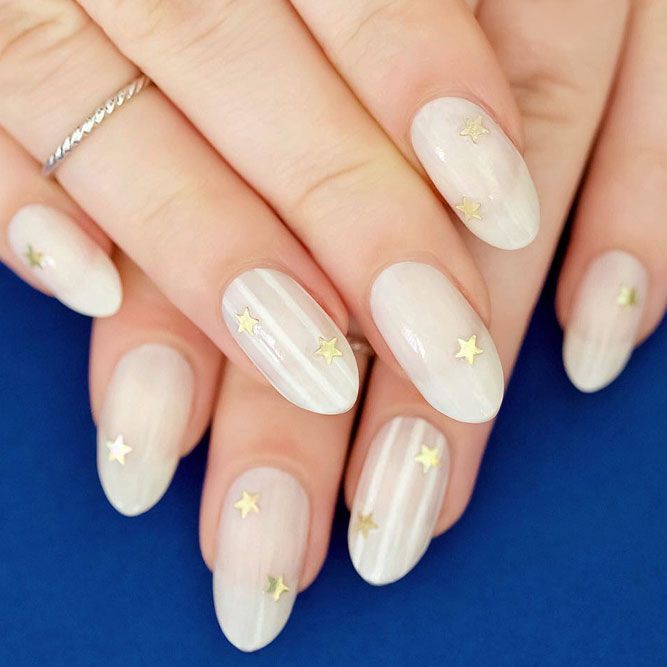
For those who prefer a more understated look, minimalist star nails are the perfect choice. Begin by painting your nails with a neutral base color such as nude or white. Then, using a fine nail art brush, create simple star outlines on each nail. You can vary the size and placement of the stars for added interest. Leave some nails bare or add a single star accent for a subtle yet chic look.
Galaxy-Inspired Stars
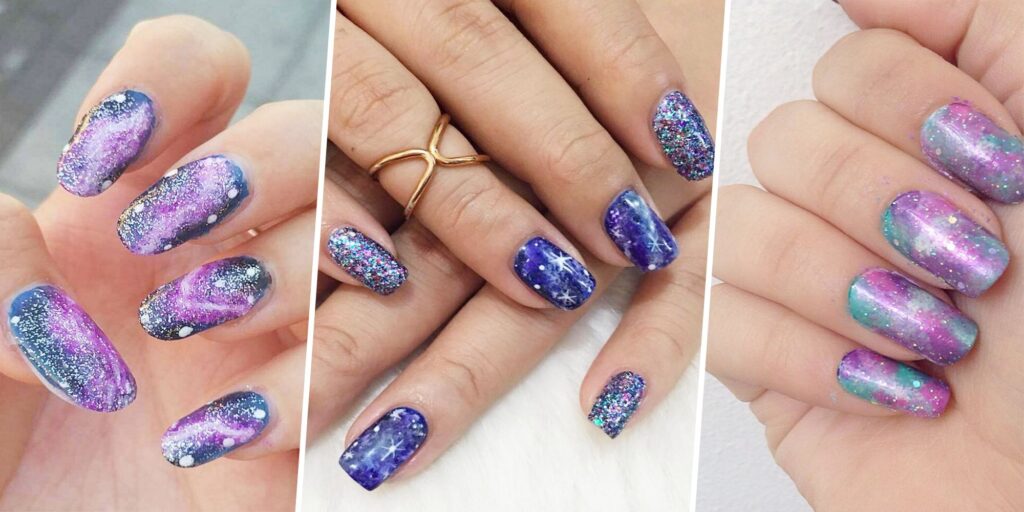
Embrace your inner space enthusiast with galaxy-inspired star nails. Start by sponging on a gradient background using shades of blue, purple, and black to mimic the depths of outer space. Once dry, use a small nail art brush or a toothpick to add clusters of stars in various sizes using white or silver nail polish. You can also incorporate glitter or holographic nail polish for an extra celestial touch. Finish with a layer of top coat to enhance the galaxy effect.
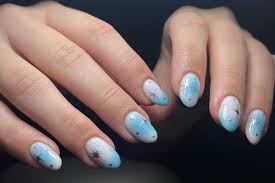
Starry French Tips
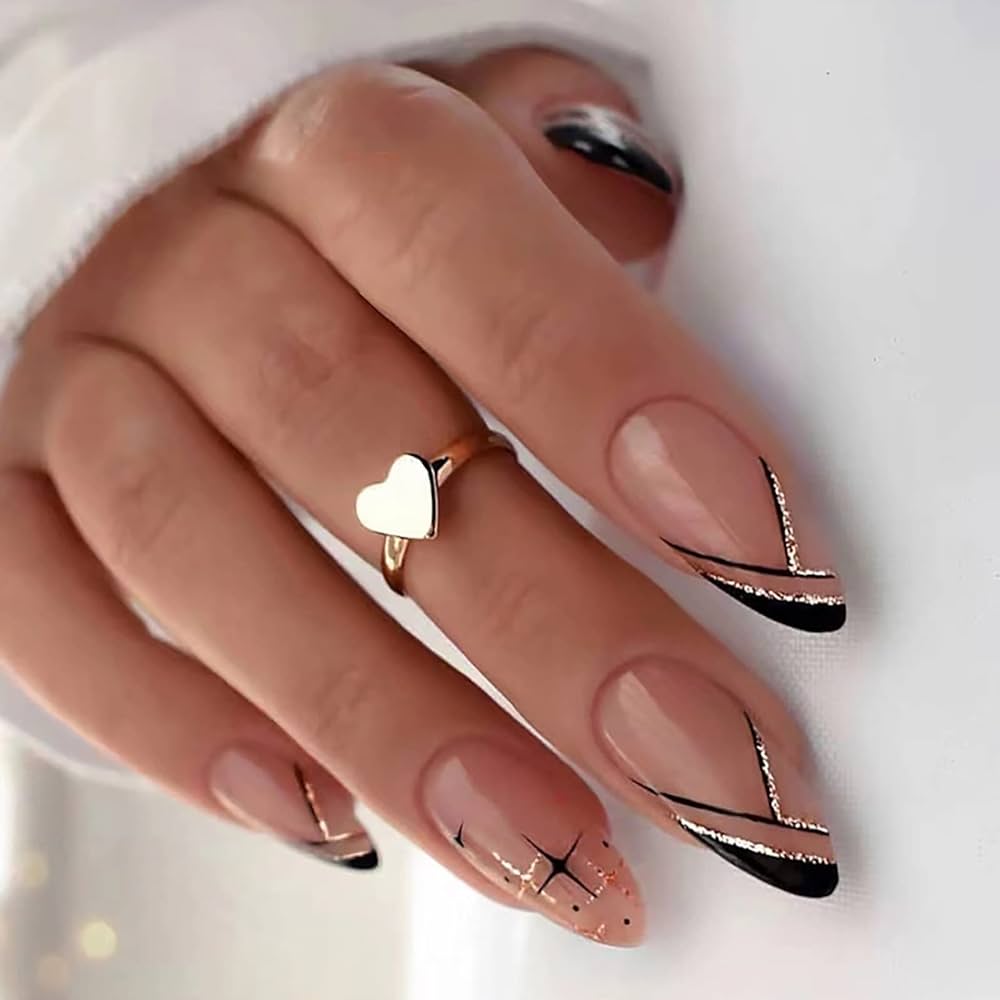
Put a modern twist on the classic French manicure with starry French tips. Begin by painting your nails with a sheer pink or nude base color. Then, using a fine nail art brush, create a thin line of stars along the tips of each nail. You can alternate between solid stars and outlines for added dimension. Finish with a glossy top coat to complete the elegant look.
Geometric Stars
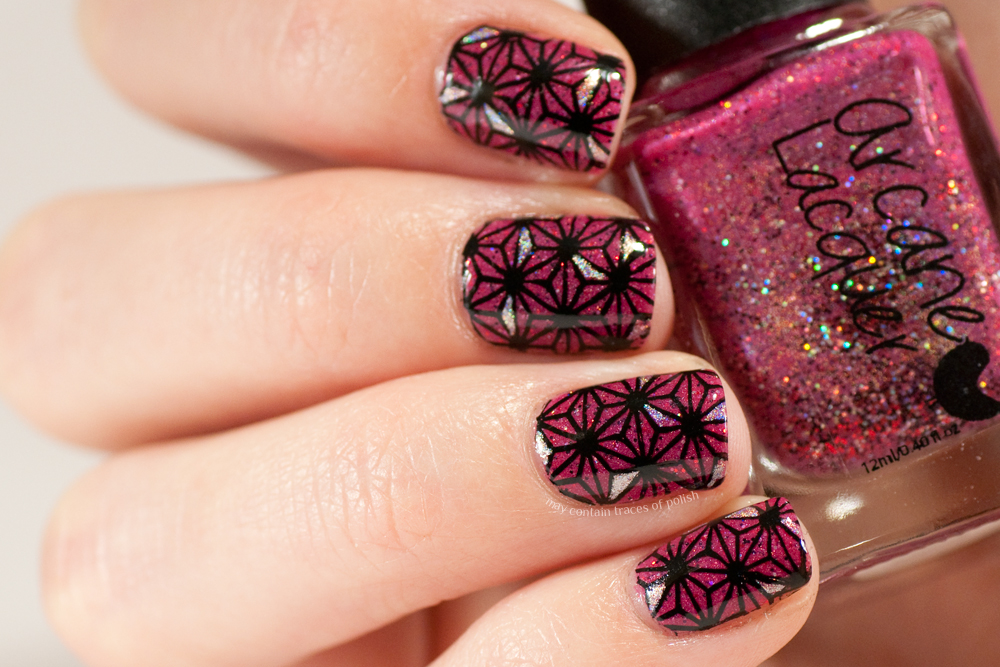
Give your star nails a contemporary edge with geometric star designs. Start by painting your nails with a solid base color such as grey or taupe. Then, using striping tape or nail stencils, create geometric shapes such as triangles or squares on each nail. Fill in some of the shapes with star outlines or solid stars for a modern, abstract look. Peel off the tape or stencils carefully and seal with a top coat for a polished finish.
Tips for Success of Star Nails
Practice makes perfect:
Don’t be discouraged if your first attempt at star nails doesn’t turn out exactly as you envisioned. Keep practising and experimenting with different techniques until you find what works best for you.
Invest in quality tools:
Using high-quality nail art brushes, nail polishes, and other tools can make a significant difference in the outcome of your star nail design.
Experiment with different styles:
Don’t be afraid to get creative and try out different variations of star nails, such as ombre stars or galaxy-inspired designs.
Conclusion of Star Nails
With the right technique and a bit of creativity, achieving stunning star nails on short nails is well within your reach. Follow this step-by-step guide, experiment with different colours and styles, and let your imagination soar. Whether you’re getting ready for a special occasion or simply want to express your personality through nail art, star nails are sure to make a statement. So go ahead, unleash your inner nail artist, and dazzle the world with your starry creations!

Leave feedback about this