
Awaken the Force With Star Wars Nails Art
Creating Star Wars-themed nail art is a fantastic way to showcase your love for the iconic franchise. Here’s a step-by-step guide to help you awaken the Force with your star wars nails:
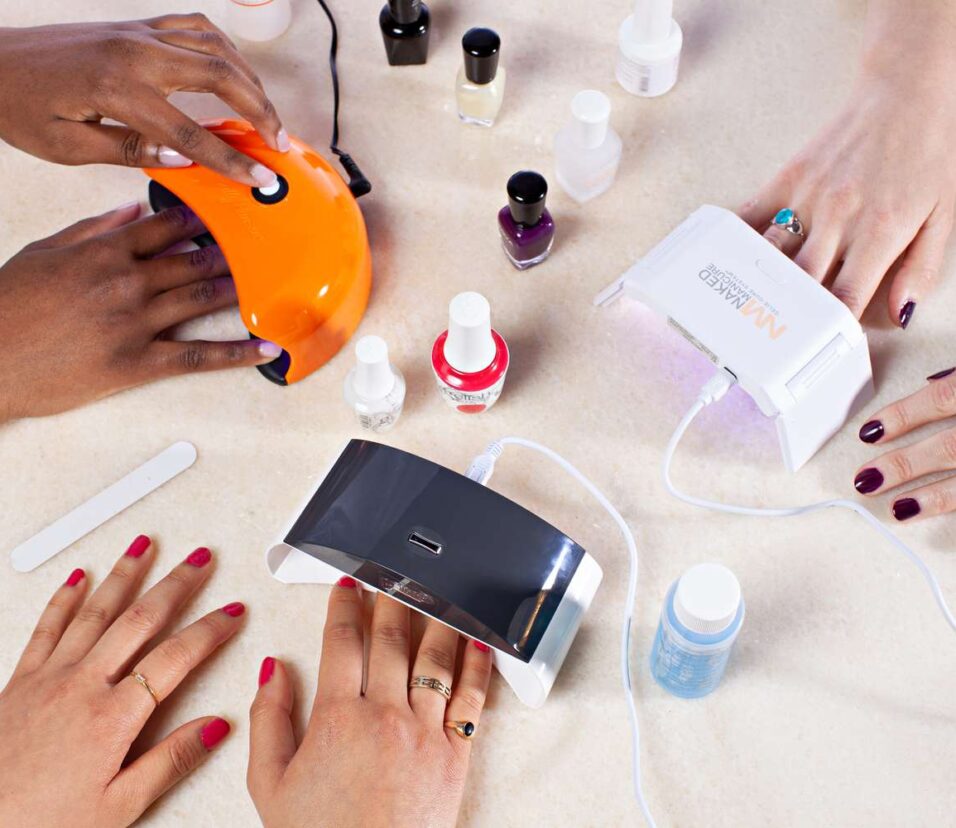
Gather Your Supplies:
- Nail polish in various colors (black, white, red, blue, silver, gold, etc.)
- Nail art brushes or toothpicks
- Nail dotting tools
- Base coat and top coat
- Nail polish remover (for clean-up)
- Nail decals or stickers (optional)
Prepare Your Nails:
- Start with clean, dry nails.
- Apply a base coat to protect your star nails and help the polish adhere better.
Choose Your Designs:
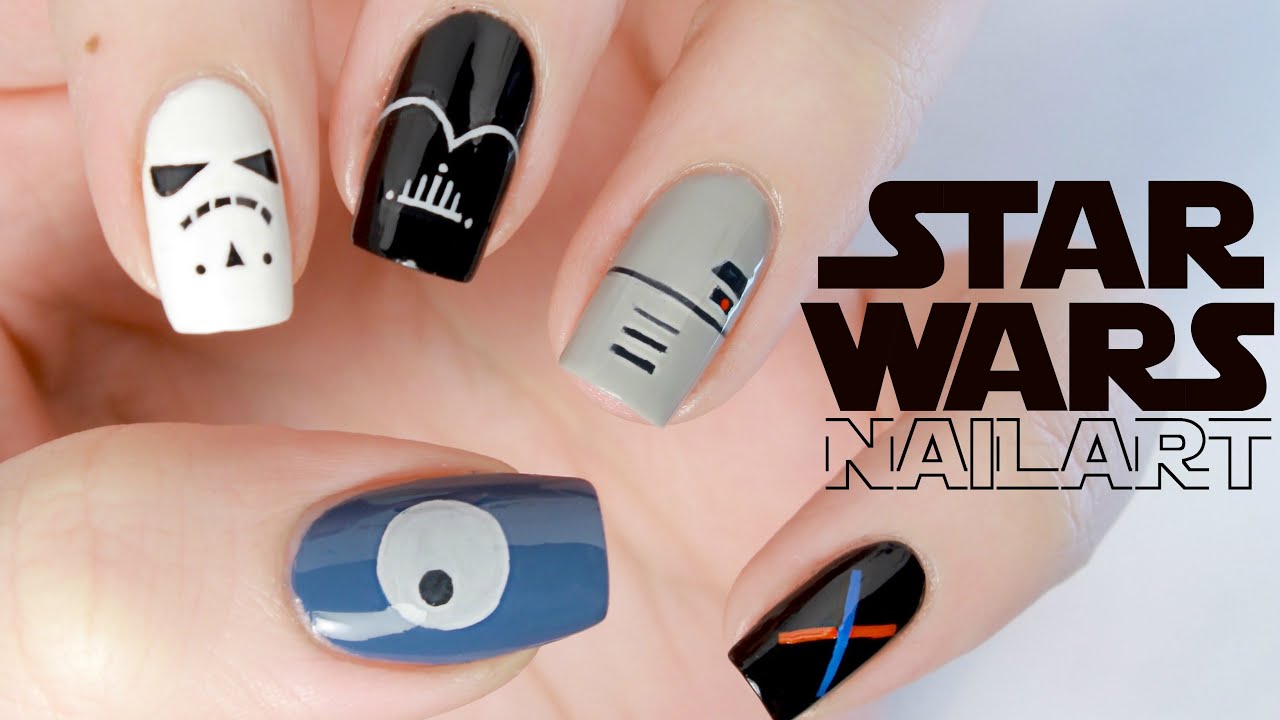
- Decide which Star Wars characters, symbols, or scenes you want to feature on your nails. Options include lightsabers, the Death Star, R2-D2, Darth Vader, Yoda, Stormtroopers, etc.
Paint Your Base Colors:
- Apply a base color to each nail. You might choose a black or dark blue base to represent space, or opt for colors that match specific characters or themes.
Create Your Designs:
Use your nail art brushes, toothpicks, or dotting tools to paint or dot on your chosen Star Wars designs. For example:
- Lightsabers: Paint thin lines using blue, green, or red polish for different lightsaber colors.
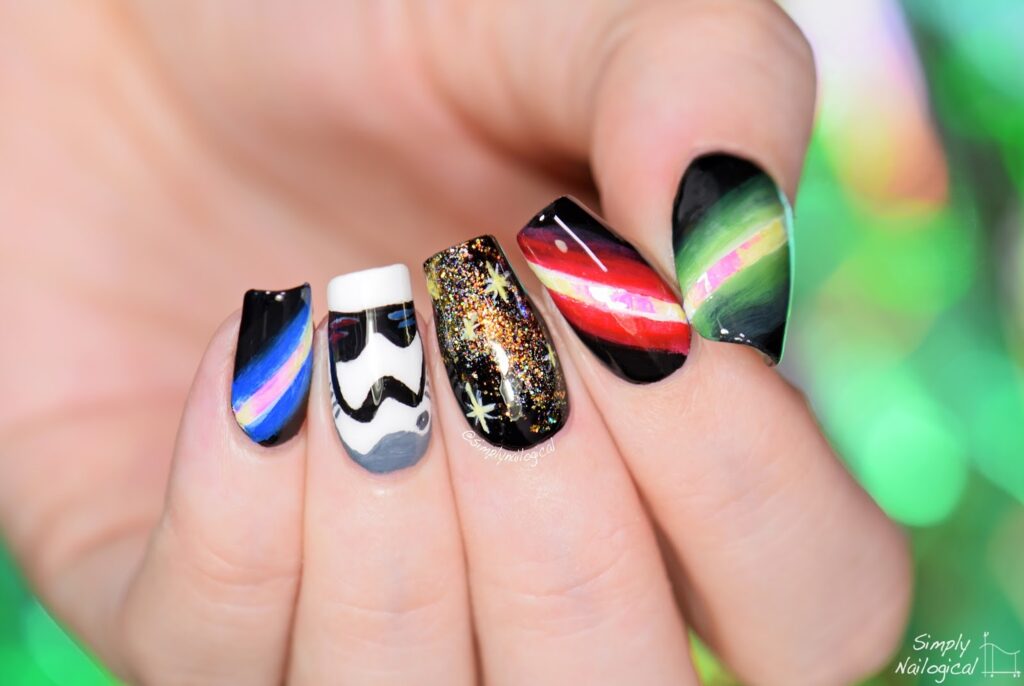
- Characters: Use white polish as a base for characters like Stormtroopers or R2-D2, then add details with black, silver, and other colors.
- Symbols: Draw the Rebel Alliance or Galactic Empire symbols using a combination of colors.
Don’t worry about perfection—small imperfections can add character to your design!
Add Details:
- Once your base designs are dry, add details like eyes, mouths, or other features using a fine nail art brush or toothpick.
- Finishing Touches:
- Apply a top coat to seal in your design and add shine.
- If desired, you can add nail decals or stickers for extra flair.
- Clean Up:
- Use a small brush dipped in nail polish remover to clean up any polish that may have gotten on your skin or cuticles.
- Let Dry:
- Allow your nails to dry completely before handling anything to avoid smudging your beautiful designs.
Show Off Your Star Wars Nails:
Once your nails are dry, proudly display your Star Wars nail art to friends and fellow fans!
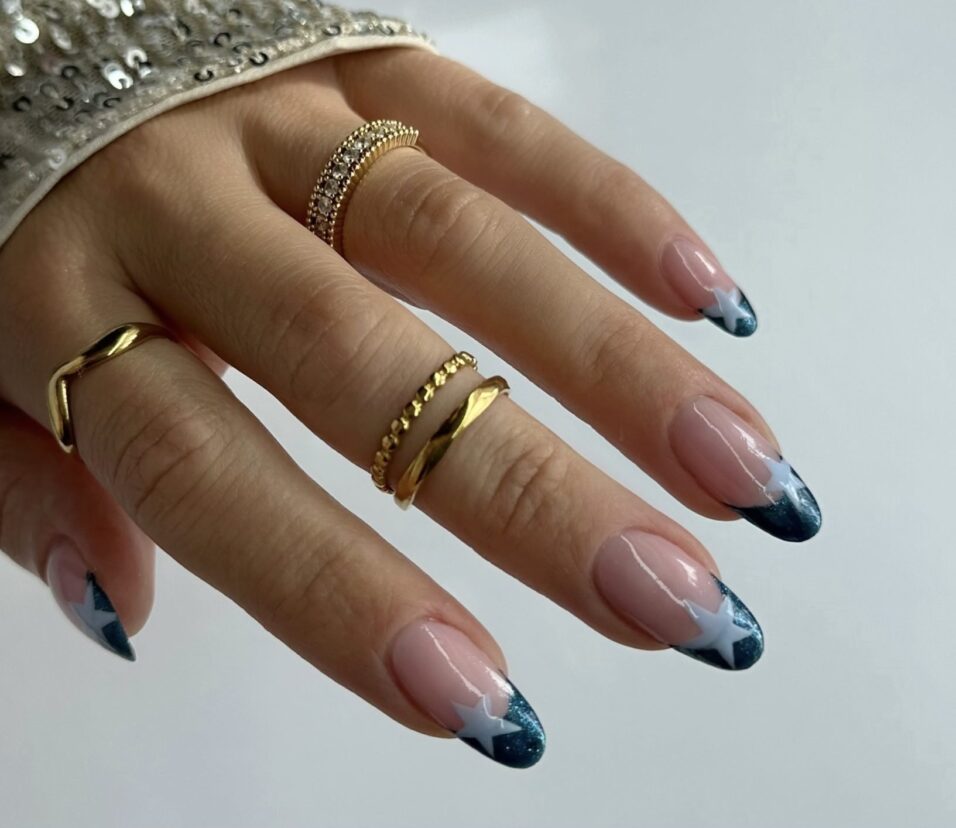
Galactic Sky Nails:
- Start with a dark blue or black base for your nails to represent the vastness of space.
- Use a sponge to lightly dab on different shades of blue, purple, and silver to create a galaxy effect.
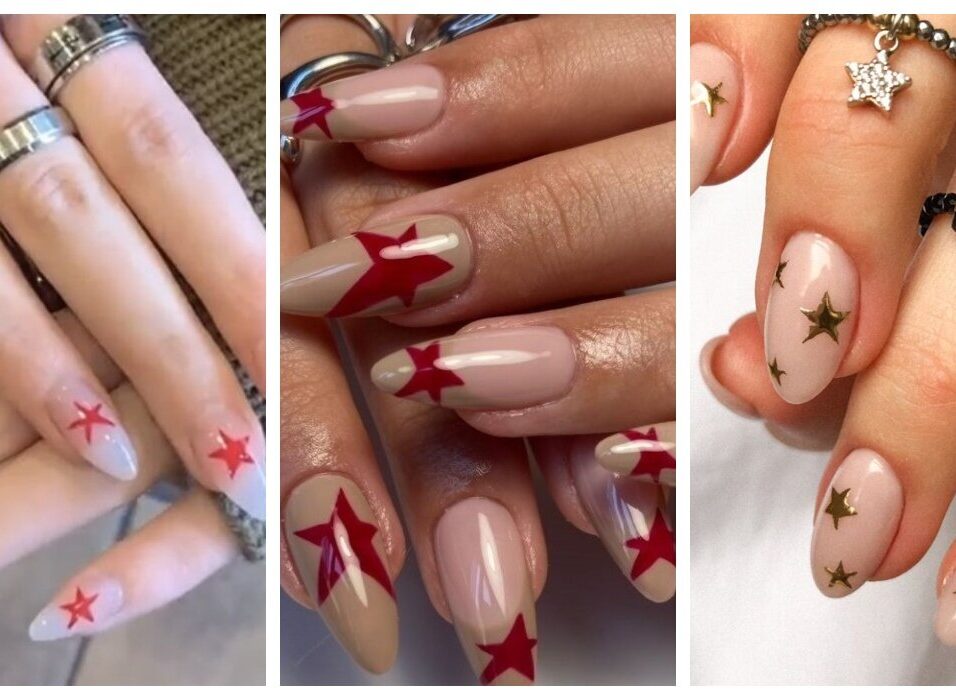
- Add small white dots or stars using a fine nail art brush or dotting tool.
- Optionally, you can add a larger planet design or the Death Star on one or two nails for added detail.
Lightsaber Nails:
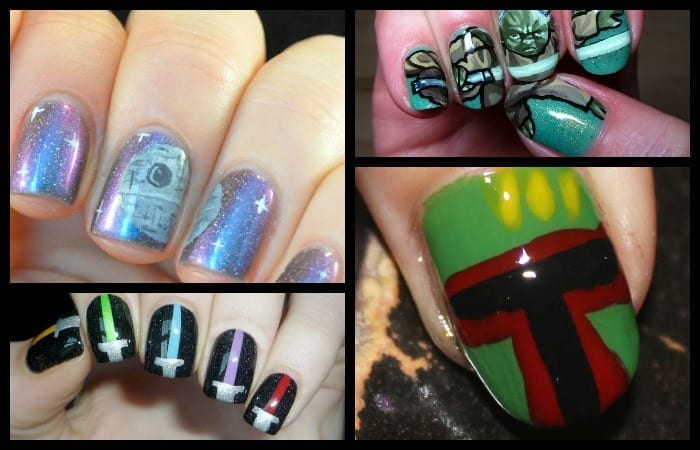
- Choose a base color that corresponds to your favorite lightsaber color (blue, green, or red).
- Paint a thin strip of silver down the center of your nail to represent the lightsaber hilt.
- Use a nail art brush to paint a thin line of your chosen lightsaber color on either side of the silver strip, leaving a small gap in the middle.
- Add a white or silver dot at the tip of your nail to represent the lightsaber blade’s glow.
Droid Nails:
- Start with a white or silver base for nails that will feature droid designs (such as R2-D2).
- Use black polish to paint the droid’s dome shape near the tip of your nail.
- Add blue, red, and silver details to represent the droid’s features and panels.
- Use a fine brush to add small black lines and circles for additional detail.
Rebel Alliance vs. Galactic Empire:
- Choose a different base color for each hand to represent the Rebel Alliance (e.g., white) and the Galactic Empire (e.g., black).
- Paint the respective faction’s symbols on each nail using contrasting colors (e.g., white symbol on black base and black symbol on white base).
- Add small accent details such as stars, ships, or blaster fire to complete the theme.
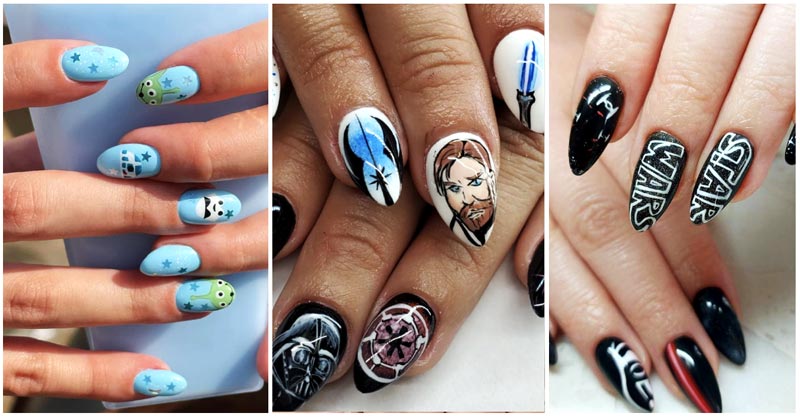
Character Portrait Nails:
- Select your favorite Star Wars characters and paint their portraits on your nails.
- Use a white or light-colored base and carefully paint the character’s features using various colors.
- Add details like lightsabers, blasters, or other iconic accessories to complement the character’s look.
Space Battle Nails:
- Paint a dark blue or black base on your nails to represent space.
- Use a fine brush to paint tiny X-wing and TIE fighter silhouettes in white or gray, positioned as if engaged in a dogfight across your nails.
- Add small bursts of orange or red to represent blaster fire or explosions.
Yoda and Darth Vader Silhouette Nails:
- Choose a light green base for Yoda and a dark base (like black or deep red) for Darth Vader.
- Paint the silhouette of Yoda’s head on one nail and Darth Vader’s helmet on another using a contrasting color.
- Add small details like Yoda’s ears or Vader’s breathing apparatus to enhance the designs.
Princess Leia Buns Nails:
- Paint a neutral base color on your nails.
- Use a fine brush to paint small bun shapes near the base of each nail, representing Princess Leia’s iconic hairstyle.
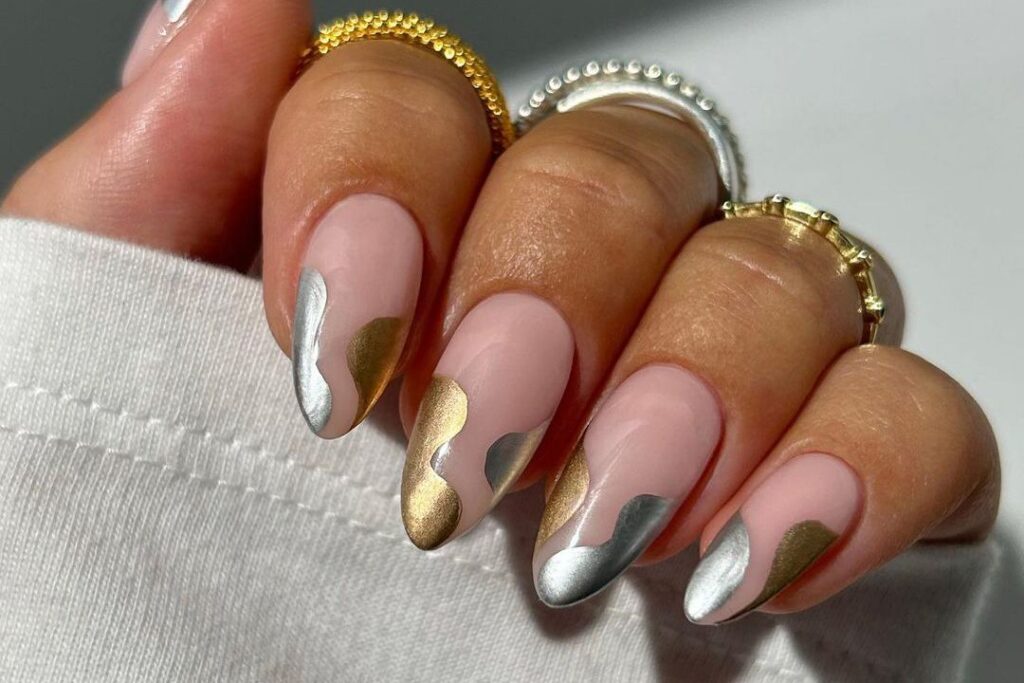
- Add small white dots or lines to represent hair strands and embellish with silver or gold accents for added detail.
Star Wars Logo Nails:
- Choose a dark base color (like black or navy blue).
- Use a fine brush or nail art pen to carefully write “Star Wars” in white or yellow across your nails, mimicking the iconic logo.
- Add stars or small galaxy accents around the logo for a dynamic effect.
Mandalorian Helmet Nails:
Select a metallic base color (such as silver or bronze) for your nails.
Paint the distinctive T-shaped Mandalorian helmet on each nail using black or dark gray polish.
Add small details like scratches or weathering to give the helmets a worn appearance.
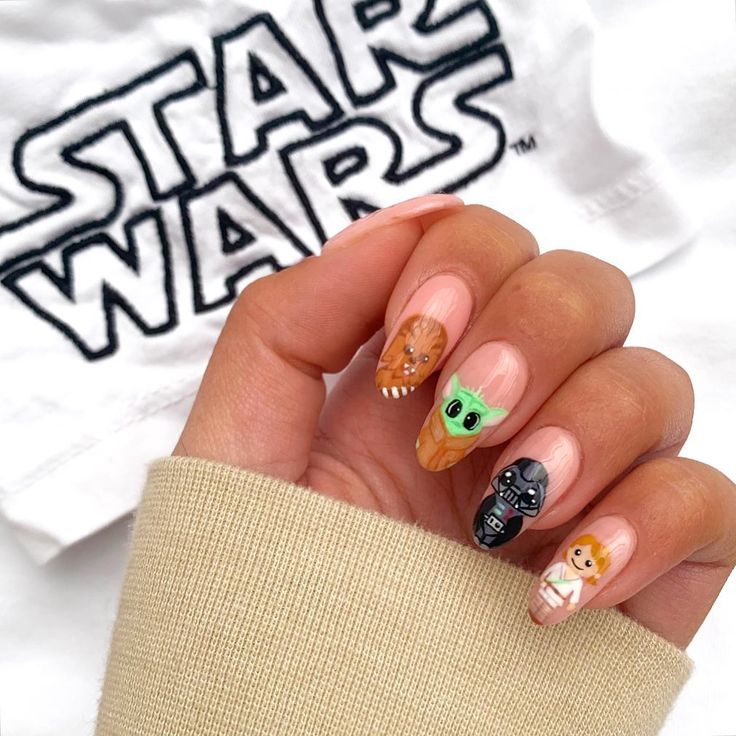
Chewbacca Fur Nails:
- Start with a brown base color for your nails.
- Use a nail art brush or dotting tool to create a furry texture by making short, random strokes with a lighter shade of brown or beige.
- Add small black dots or lines to represent Chewbacca’s nose and eyes.
- Optionally, you can add a bandolier design across one or two nails for an extra touch.
C-3PO Metallic Nails:
- Begin with a gold metallic base for your nails.
- Use a fine brush to paint thin lines and geometric shapes on each nail to represent C-3PO’s intricate design.
- Add small red or black dots for the eyes and other details.
Rogue Squadron Nails:
- Paint a sky-blue base on your nails to represent the sky.
- Use a fine brush to paint the Rogue Squadron logo, featuring a stylized bird in flight, on one or two nails.
- Add small star accents around the logo to complete the space-themed design.
Porg Nails:
- Choose a light blue base color for your nails to represent the sky.
- Paint adorable Porg faces on each nail using white, black, and orange polish.
- Add small wing details and expressive eyes to capture their charming personalities.
Tatooine Sunset Nails:
- Start with a sandy beige or light brown base for your nails.
- Use a sponge to create a gradient effect using shades of orange, yellow, and red to represent the sunset.
- Add small black silhouettes of iconic Tatooine elements like twin suns, moisture vaporators, or Bantha herds for a picturesque desert scene.
These additional ideas should spark your creativity and help you create even more captivating Star Wars nail art designs. Have fun experimenting with different characters, scenes, and motifs from the beloved franchise!

Leave feedback about this