
Creating your own acrylic nails at home can be a fun and cost-effective way to achieve a salon-like manicure. However, it’s important to note that working with acrylics requires some skill and practice. Here’s a step-by-step guide to help you do your own acrylic nails:
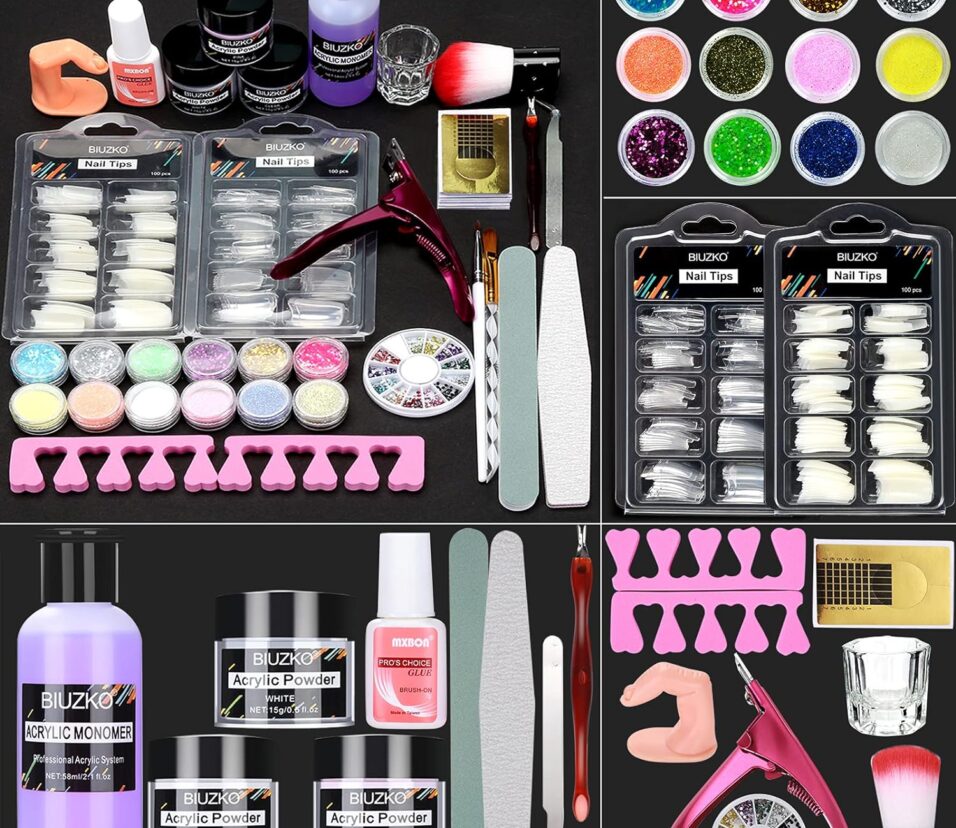
Materials Needed:

- Acrylic nail kit (includes acrylic powder, acrylic liquid, and acrylic brush)
- Nail tips
- Nail glue
- Nail file
- Buffer
- Cuticle pusher
- Nail dehydrator or rubbing alcohol
- Primer
- Clear topcoat
- Acetone (for cleaning brushes)
Step-By-Step Guide:

- Prepare Your Nails:
- Remove any existing nail polish.
- Trim and shape your natural nails using a nail clipper and file.
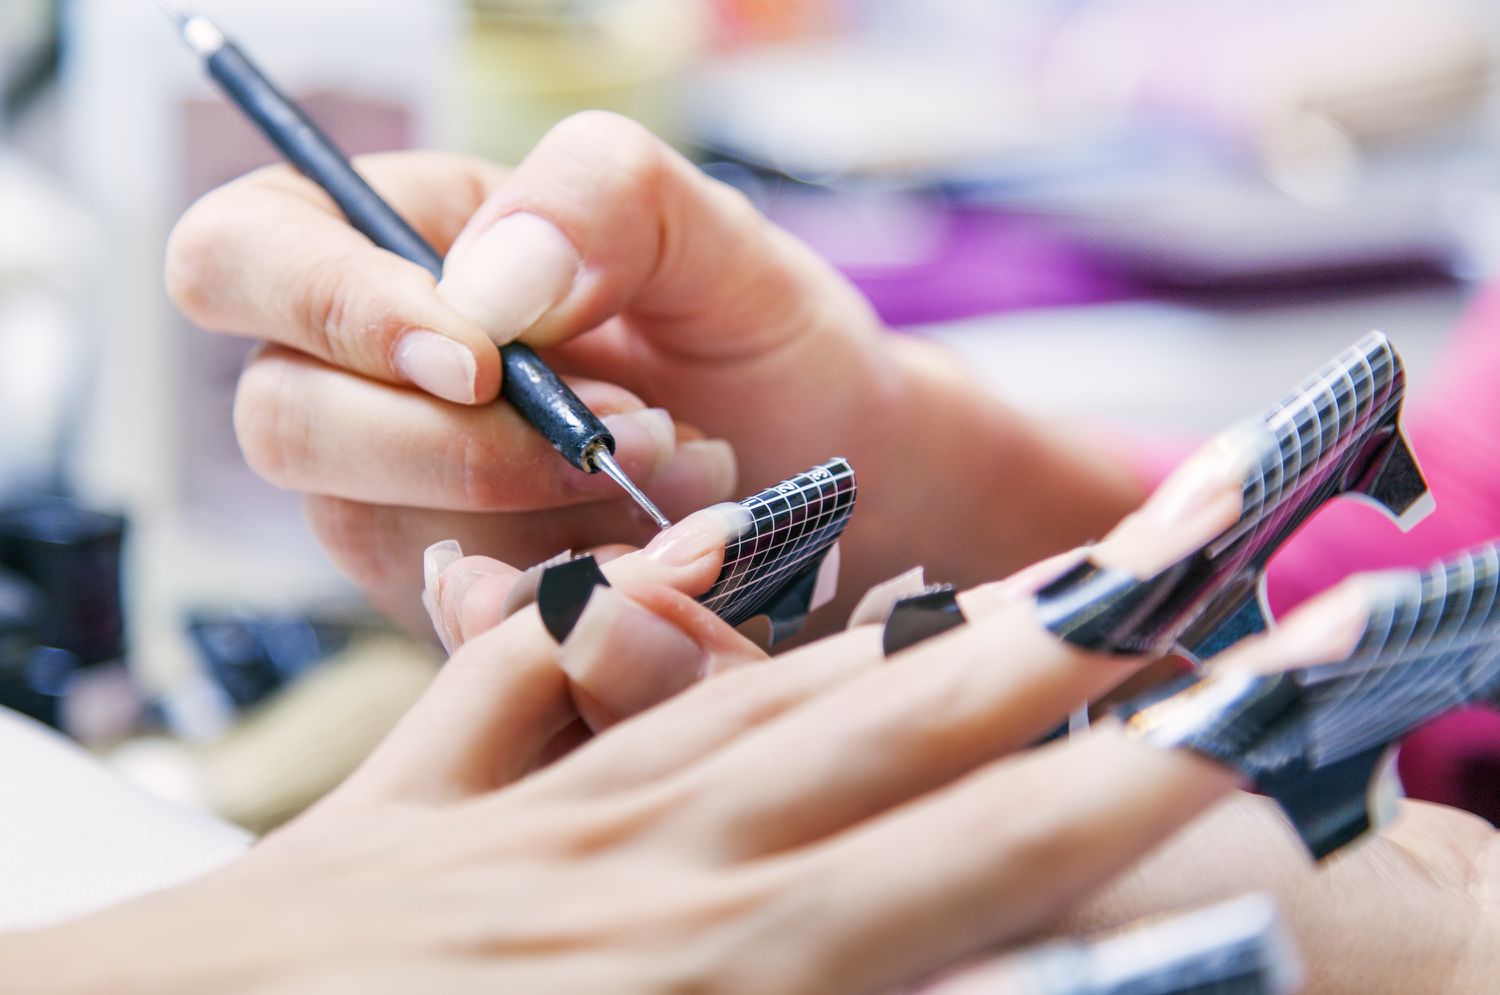
- Apply Nail Tips:
- Choose the appropriate size of nail tips for each nail.
- Apply a small amount of nail glue to the tip and press it onto your natural nail.
- Trim the tips to your desired length.
- File and Shape:
- Use a nail file to shape the tips and blend them with your natural nails for a seamless look.
- Apply Dehydrator or Rubbing Alcohol:
- Apply a nail dehydrator or wipe your nails with rubbing alcohol to remove any oils and prepare the nails for acrylic application.
- Apply Primer:
- Apply a thin layer of primer to each nail. This helps the acrylic adhere better to your natural nails.
- Mix Acrylic Powder and Liquid:
- Follow the instructions in your acrylic nail kit to mix the acrylic powder and liquid on a plastic or glass dish.
- Apply Acrylic Mixture:
- Dip the acrylic brush into the liquid and then into the powder, creating a small bead.
- Apply the bead to the nail, starting from the cuticle and working towards the tip. Use the brush to shape and smooth the acrylic.
- Repeat for Each Nail:
- Work on one nail at a time, repeating the process for each nail.
- File and Shape Acrylics:
- Once the acrylic is dry, use a nail file to shape and refine the nails to your desired length and shape.
- Buff and Smooth:
- Use a buffer to smooth the surface of the acrylic nails for a polished finish.
- Clean Up:
- Clean any excess acrylic around the cuticles with a cuticle pusher.
- Apply Topcoat:
- Apply a clear topcoat to seal and protect your acrylic nails.
Remember, practice is key, and it may take some time to master the technique. Be patient and take your time to ensure a professional-looking result. Additionally, follow the instructions provided in your Classic nail kit for best results.
Certainly! Here Are Some Additional Tips To Help You Achieve Better Results When Doing Your Own Acrylic Nails:

- Practice Proper Ventilation:
- Acrylic fumes can be strong, so make sure you’re working in a well-ventilated area to avoid inhaling the fumes. You may also consider using a nail dust collector.
- Use an Acrylic Brush:
- Invest in a good quality acrylic brush. A high-quality brush will help you control the application of acrylic and achieve a smoother finish.
- Maintain a Consistent Bead Size:
- When applying the acrylic mixture, try to maintain a consistent bead size to ensure even application and a natural-looking result.
- Be Mindful of Acrylic Ratios:
- Follow the recommended acrylic powder to liquid ratios provided in your kit. Too much liquid can lead to a runny mixture, while too much powder can result in a clumpy application.
- Work Quickly but Precisely:
- Acrylic dries relatively quickly, so work efficiently. However, take your time to shape and refine each nail for a polished look.
- Clean Your Brushes:
- Clean your acrylic nail brush regularly during the application process using acetone. This prevents the acrylic from hardening on the brush and ensures smooth application.
- Fix Mistakes Promptly:
- If you make a mistake or notice an uneven application, fix it immediately before the acrylic dries. You can use a clean brush with a bit of liquid to smooth out imperfections.
- Prevent Lifts:
- Ensure that the acrylic does not touch your cuticles, as this can lead to lifting. Lifted acrylic can result in an uneven and less durable manicure.
- Finishing Touches:
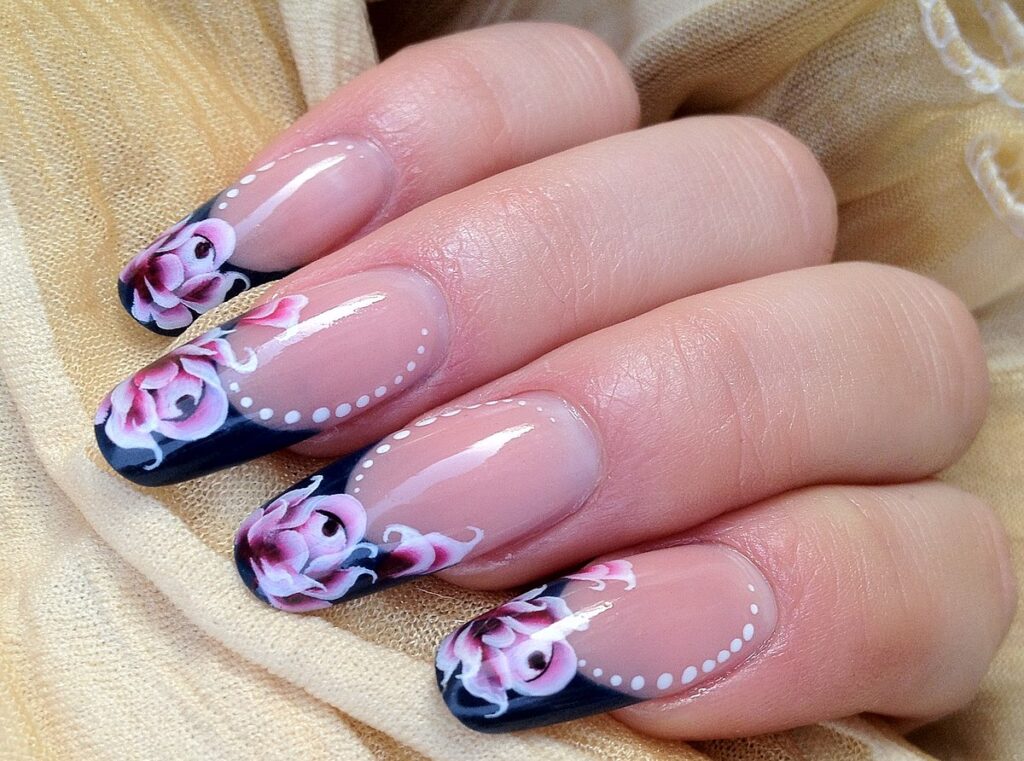
- After applying the topcoat, you can add additional decorations like nail polish, nail art, or rhinestones for a customized look.
- Maintenance:
- Keep your nails clean and moisturized. Regularly apply cuticle oil to maintain the health of your natural nails and the acrylics.
Remember, The First Few Attempts May Not Be Perfect, So Don’t Be Discouraged If It Takes Time To Master The Technique. Practice And Patience Are Key To Achieving Professional-Looking Acrylic Nails At Home.
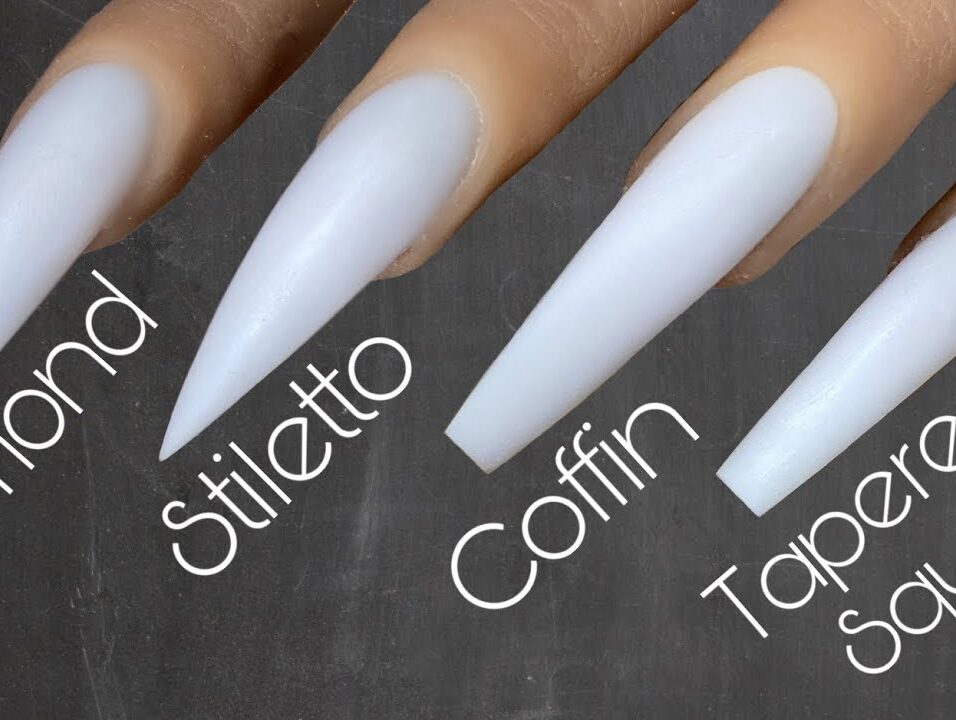
- Choose the Right Size Nail Tips:
- Select nail tips that closely match the width of your natural nails. Choosing tips that are too wide or too narrow can affect the overall appearance and durability of the acrylic nails.
- Avoid Overfilling:
- When applying the acrylic mixture, be mindful not to overfill the nails. Excess acrylic can lead to a thick and less natural-looking result.
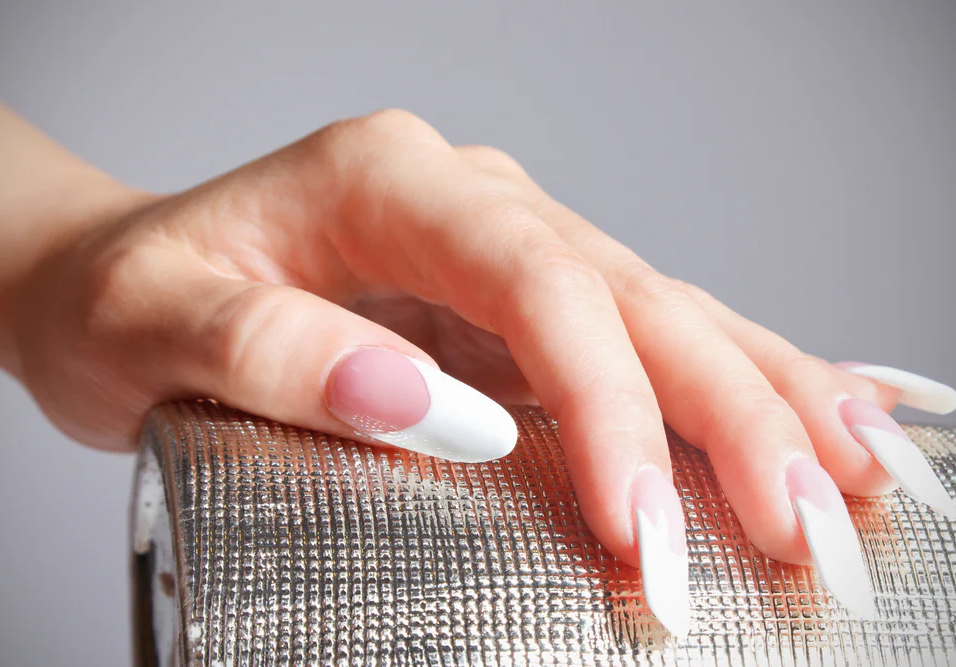
- Perfect the Smile Line:
- If you’re creating a French manicure or any design with a smile line, use a nail guide or freehand to achieve a smooth, even curve.
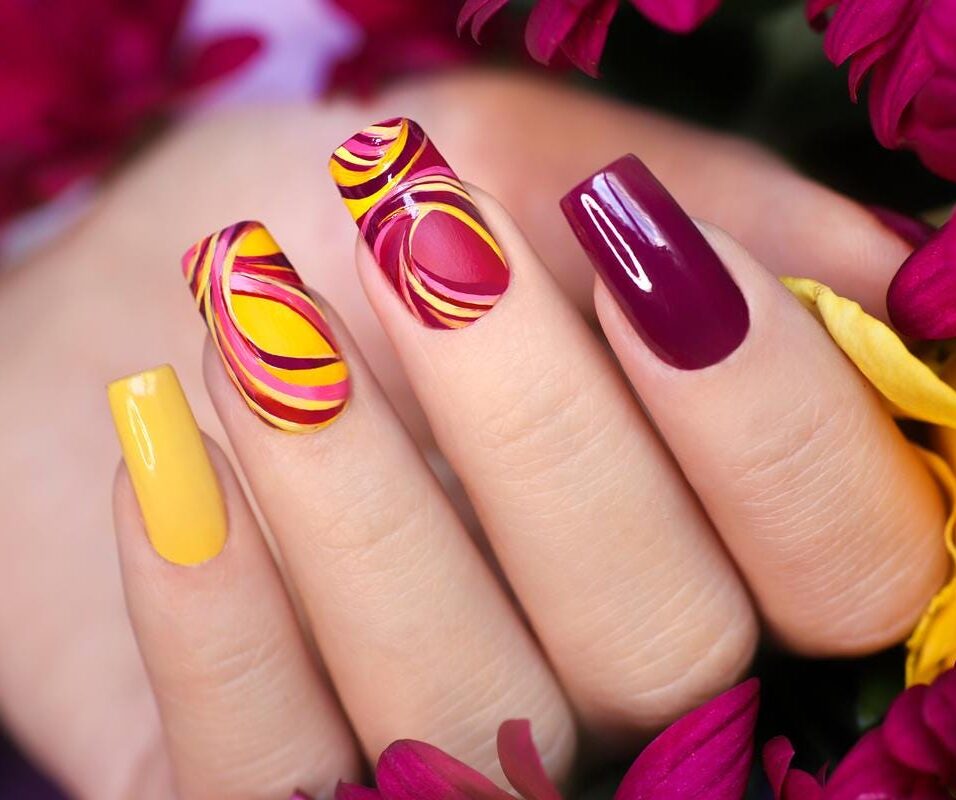
- Experiment with Colors and Designs:
- Acrylic nails offer a canvas for creativity. Experiment with different acrylic powder colors, nail art, or ombre effects to achieve unique and personalized designs.
- Invest in Quality Products:
- Choose a reputable brand for your acrylic kit to ensure the quality of the products. High-quality acrylics are easier to work with and provide a longer-lasting result.
- Nail Maintenance:
- As your natural nails grow, you may need to fill in the gap between the cuticle and the acrylic. Schedule regular maintenance to fill in the regrowth and keep your nails looking fresh.
- Learn to Remove Acrylics Safely:
- When it’s time to remove your acrylic nails, avoid picking or forcefully removing them, as this can damage your natural nails. Instead, follow proper removal procedures using acetone.
- Take Breaks Between Applications:
- Give your natural nails a break between acrylic applications. If you notice any signs of damage or weakness, take a break from acrylics to allow your natural nails to recover.
- Follow Nail Health Guidelines:
- Keep your nails and cuticles healthy by moisturizing regularly, avoiding excessive exposure to water, and wearing gloves when doing tasks that can potentially damage your nails.
- Learn from Tutorials and Resources:
- There are plenty of online tutorials and resources that can provide additional guidance and tips. Watch videos from experienced nail technicians to pick up valuable techniques and insights.
Remember that practice and continuous learning will contribute to improving your skills in creating beautiful acrylic nails at home. Enjoy the creative process and have fun experimenting with different styles and designs!
Lorem ipsum dolor sit amet, consectetur adipiscing elit. Nibh vel sed amet, ut adipiscing elit fermentum. Orci, feugiat ullamcorper molestie maecenas tincidunt
Leave feedback about this