

Unlocking the Secrets of Acrylic (Liquid and Powder) Nails
Are you curious about acrylic (Liquid and powder) nails and how they can transform your nail game? Look no further! In this comprehensive guide, we’ll delve into everything you need to know about acrylic nails, from the basics to addressing common questions. Let’s explore the wonderful world of acrylic nails!

What Is Acrylic?
Acrylic Nails is a versatile family of chemicals commonly used in the production of various plastic products. Derived from acrylic acid or acrylates, it’s known for its transparency, durability, and versatility. Acrylic is widely used in many industries because it can be moulded, sculpted, or extruded into a variety of forms, from paints and adhesives to textiles and sculptures.
Understanding Acrylic Nails
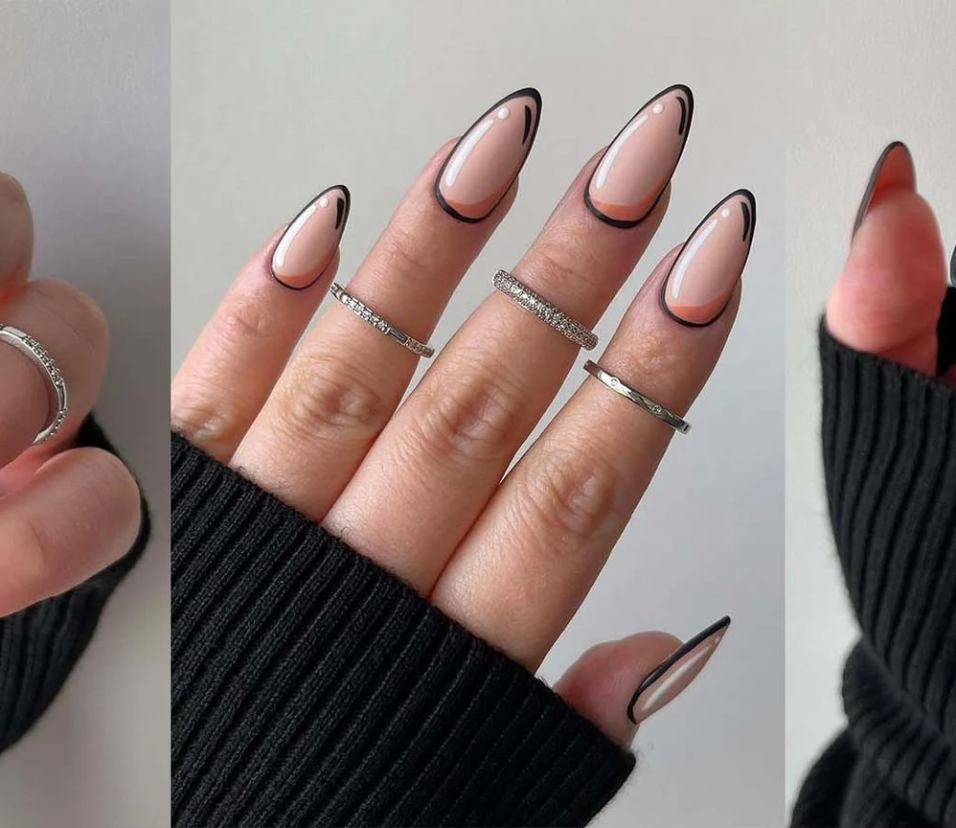
Acrylic nails are artificial enhancements applied over natural nails. They’re created by combining a liquid monomer (primarily ethyl methacrylate) with polymer beads that resemble powder. When mixed, they form a durable and long-lasting coating that hardens. Acrylic nails offer a strong base for nail art and polish, offering countless opportunities for personal expression.
The Application Process
1. Preparation and Nail Assessment
Before applying acrylic nails, a skilled technician assesses your natural nails. They remove existing polish and gently buff the surface to create an ideal canvas. Proper preparation ensures better adhesion and longevity.
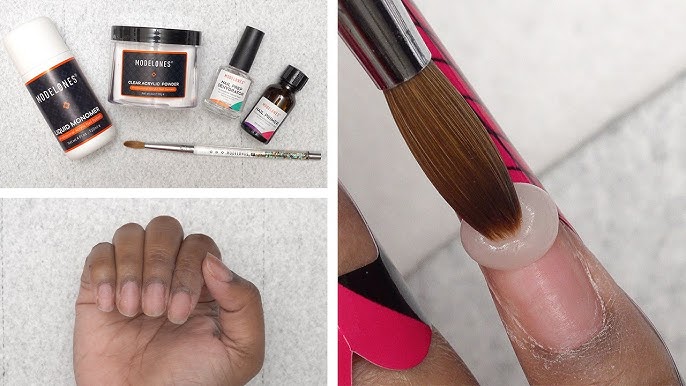
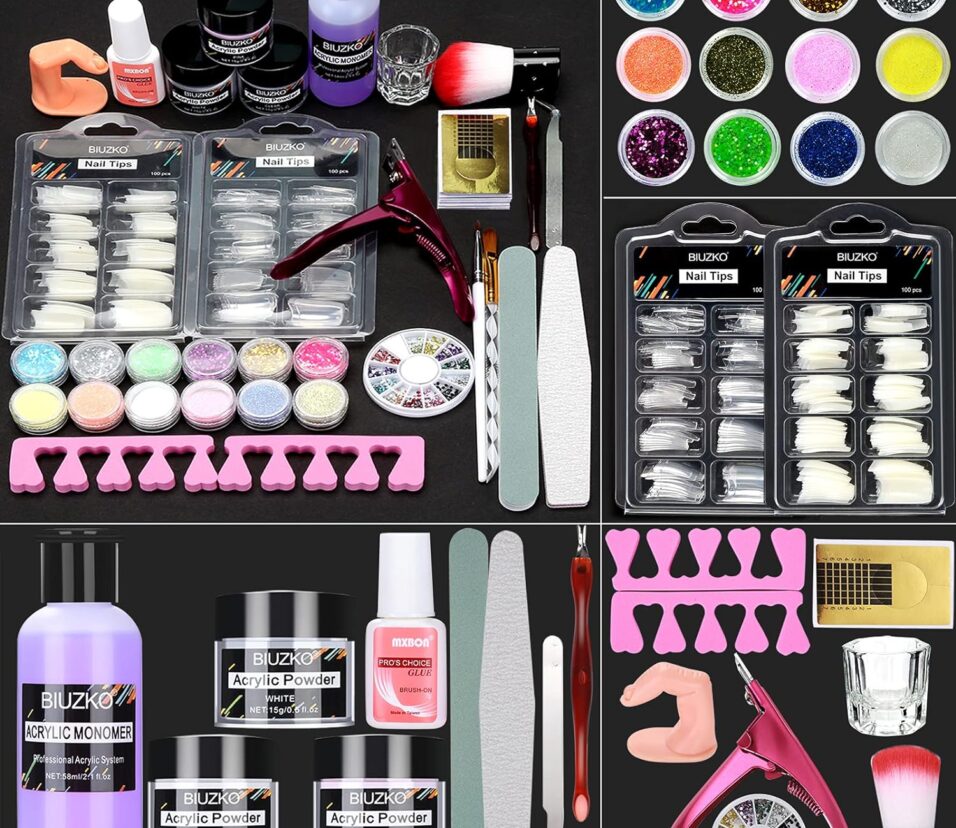
2. Mixing the Acrylic Components
The magic happens when the liquid monomer (usually ethyl methacrylate) is combined with polymer beads (the powder). The technician carefully mixes them to create a thick, workable consistency. This mixture forms the foundation for your acrylic nails.
3. Application Techniques
The technician applies the acrylic mixture to your natural nails using a brush. They sculpt the desired shape, length, and thickness. The liquid monomer initiates polymerization, causing the acrylic to harden. Precision is crucial to achieve a flawless result.
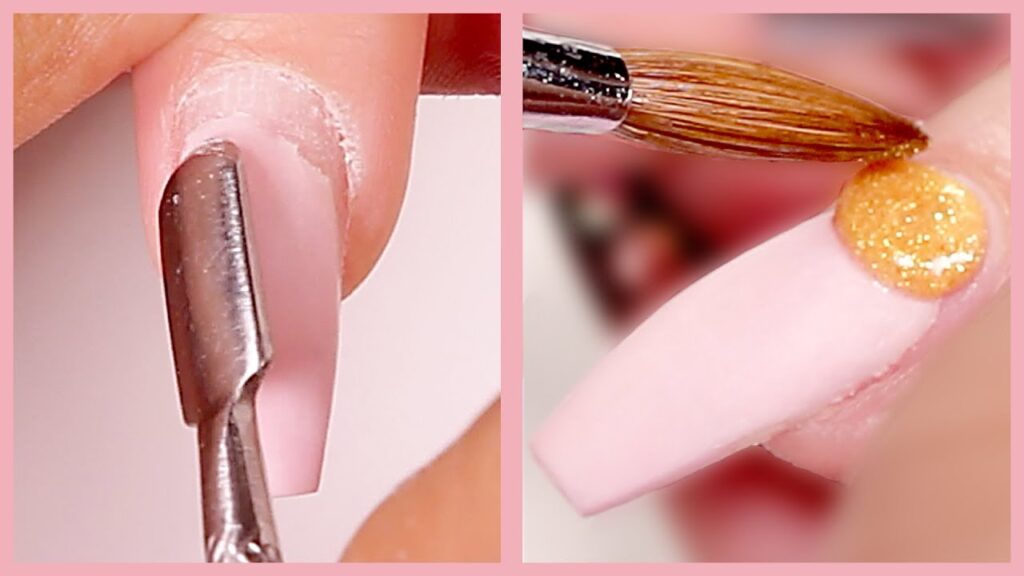
4. Filing and Shaping
Once the acrylic has set the technician files and shapes the nails. This step ensures uniformity, smooth edges, and a natural appearance. They refine the cuticle area and create the perfect nail contour.
5. Buffing and Polishing
Buffing removes any imperfections and enhances the acrylic’s shine. The technician buffs the surface to a high gloss, creating a polished finish. You’re left with beautiful, durable acrylic nails ready for nail art or polish.
How Do I Remove Acrylic Nails Safely?
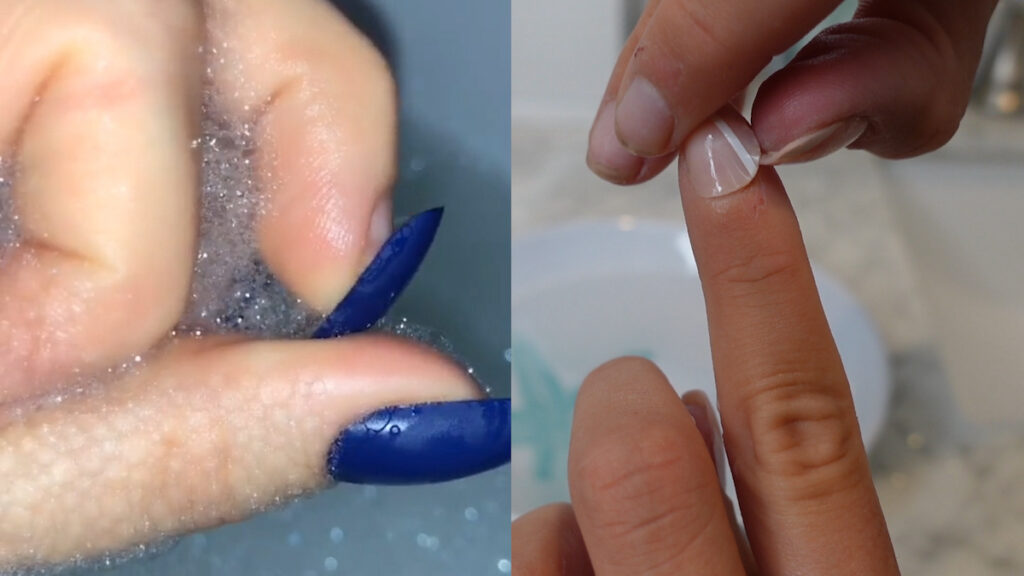
1. Acetone Soak Method:
Tools Needed:
Nail clippers
Nail file with two grits (100/80 grit, if possible)
Nail buffer
Acetone (not just regular polish remover)
Orangewood stick or metal pusher
Cotton balls
Foil or nail polish remover clips
A small bowl
Steps:
1. Trim your acrylic nails using nail clippers.
2. File the top layer of the acrylic nails with the coarse side of the nail file.
3. Soak cotton balls in acetone.
4. Place a soaked cotton ball on each nail.
5. Wrap your fingers and the cotton balls in foil or use nail polish remover clips.
6. Wait for about 10-15 minutes for the acrylic nails to loosen.
7. Gently push off the softened acrylic nails using an orangewood stick or metal pusher.
2. Filing Method:
Tools Needed:
Coarse nail file
Fine nail file
Steps:
1. File off the top layer of the acrylic nails using the coarse nail file.
2. Once the top layer is removed, use the fine nail file to smooth out your natural nails.
3. Floss Pick Method:
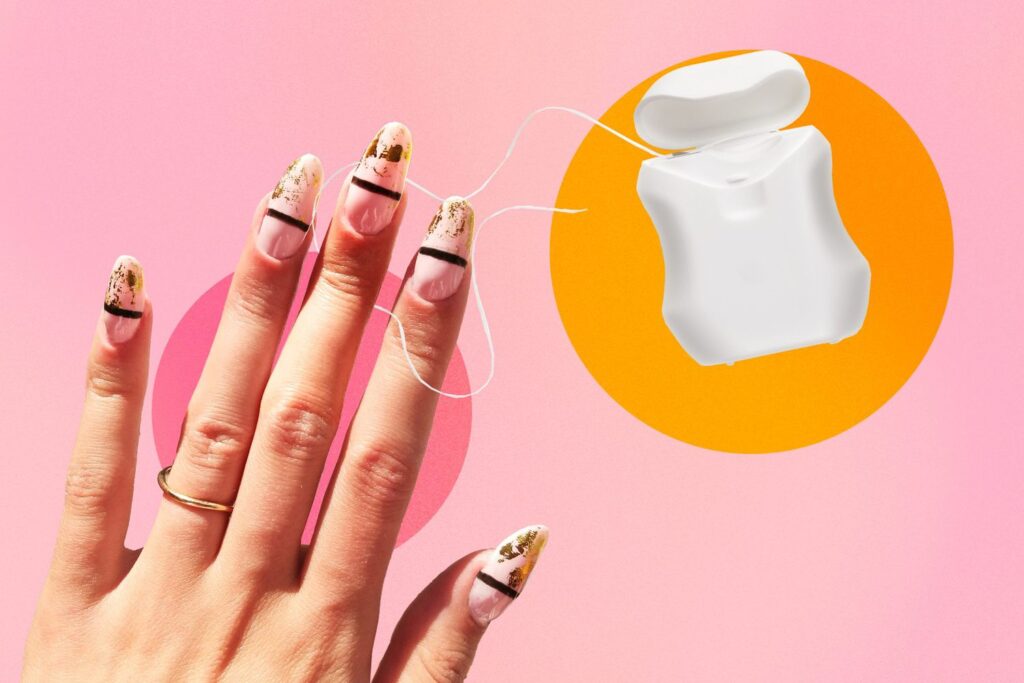
Steps:
1. Pry up the bottom edge of an acrylic nail with a floss pick or cuticle stick.
2. Insert the pick between the acrylic nail and your natural nail.
3. Loosen as much of the acrylic nail as possible.
Remember to be gentle and patient during the removal process. If you’re unsure, consider seeking professional help to avoid damaging your natural nails. Happy nail care!
What Are Some Common Mistakes To Avoid When Applying Acrylic Nails?
Improper Removal
Of all the factors, this one is most important. Acrylic nails can weaken your natural nails over time if they are removed improperly, defeating the purpose of strengthening your natural nails. Always use safe removal techniques to keep your nails healthy.
Using Too Much Acrylic Liquid
Applications that are too thick or lumpy might result from using too much acrylic liquid. Always keep in mind that less is more when applying liquid; use just enough to have a suitable consistency for shaping the acrylic beads.
Ignoring Nail Preparation:
Before putting acrylics, clean, trim, and shine your natural nails. Well-manicured nails offer a superior surface on which to apply acrylic. To guarantee a perfect base, use polishing blocks and nail cleaners.
Not Allowing Your Nails to Breathe:
Natural nails require time to breathe, even though acrylic nails seem amazing. Avoid wearing acrylics nonstop for extended periods of time. Give your nails time to heal and regenerate.
Conclusion of Acrylic (Liquid and Powder) Nails
Acrylic nails offer a world of creativity and durability. Proper preparation, precise application, and gentle removal are key to maintaining healthy nails. Whether you’re a nail enthusiast or a first-timer, embrace the secrets of acrylic nails and flaunt your unique style!
Leave feedback about this