
What Tools and Materials Needed for Star Nails Design
1. Nail Polish:
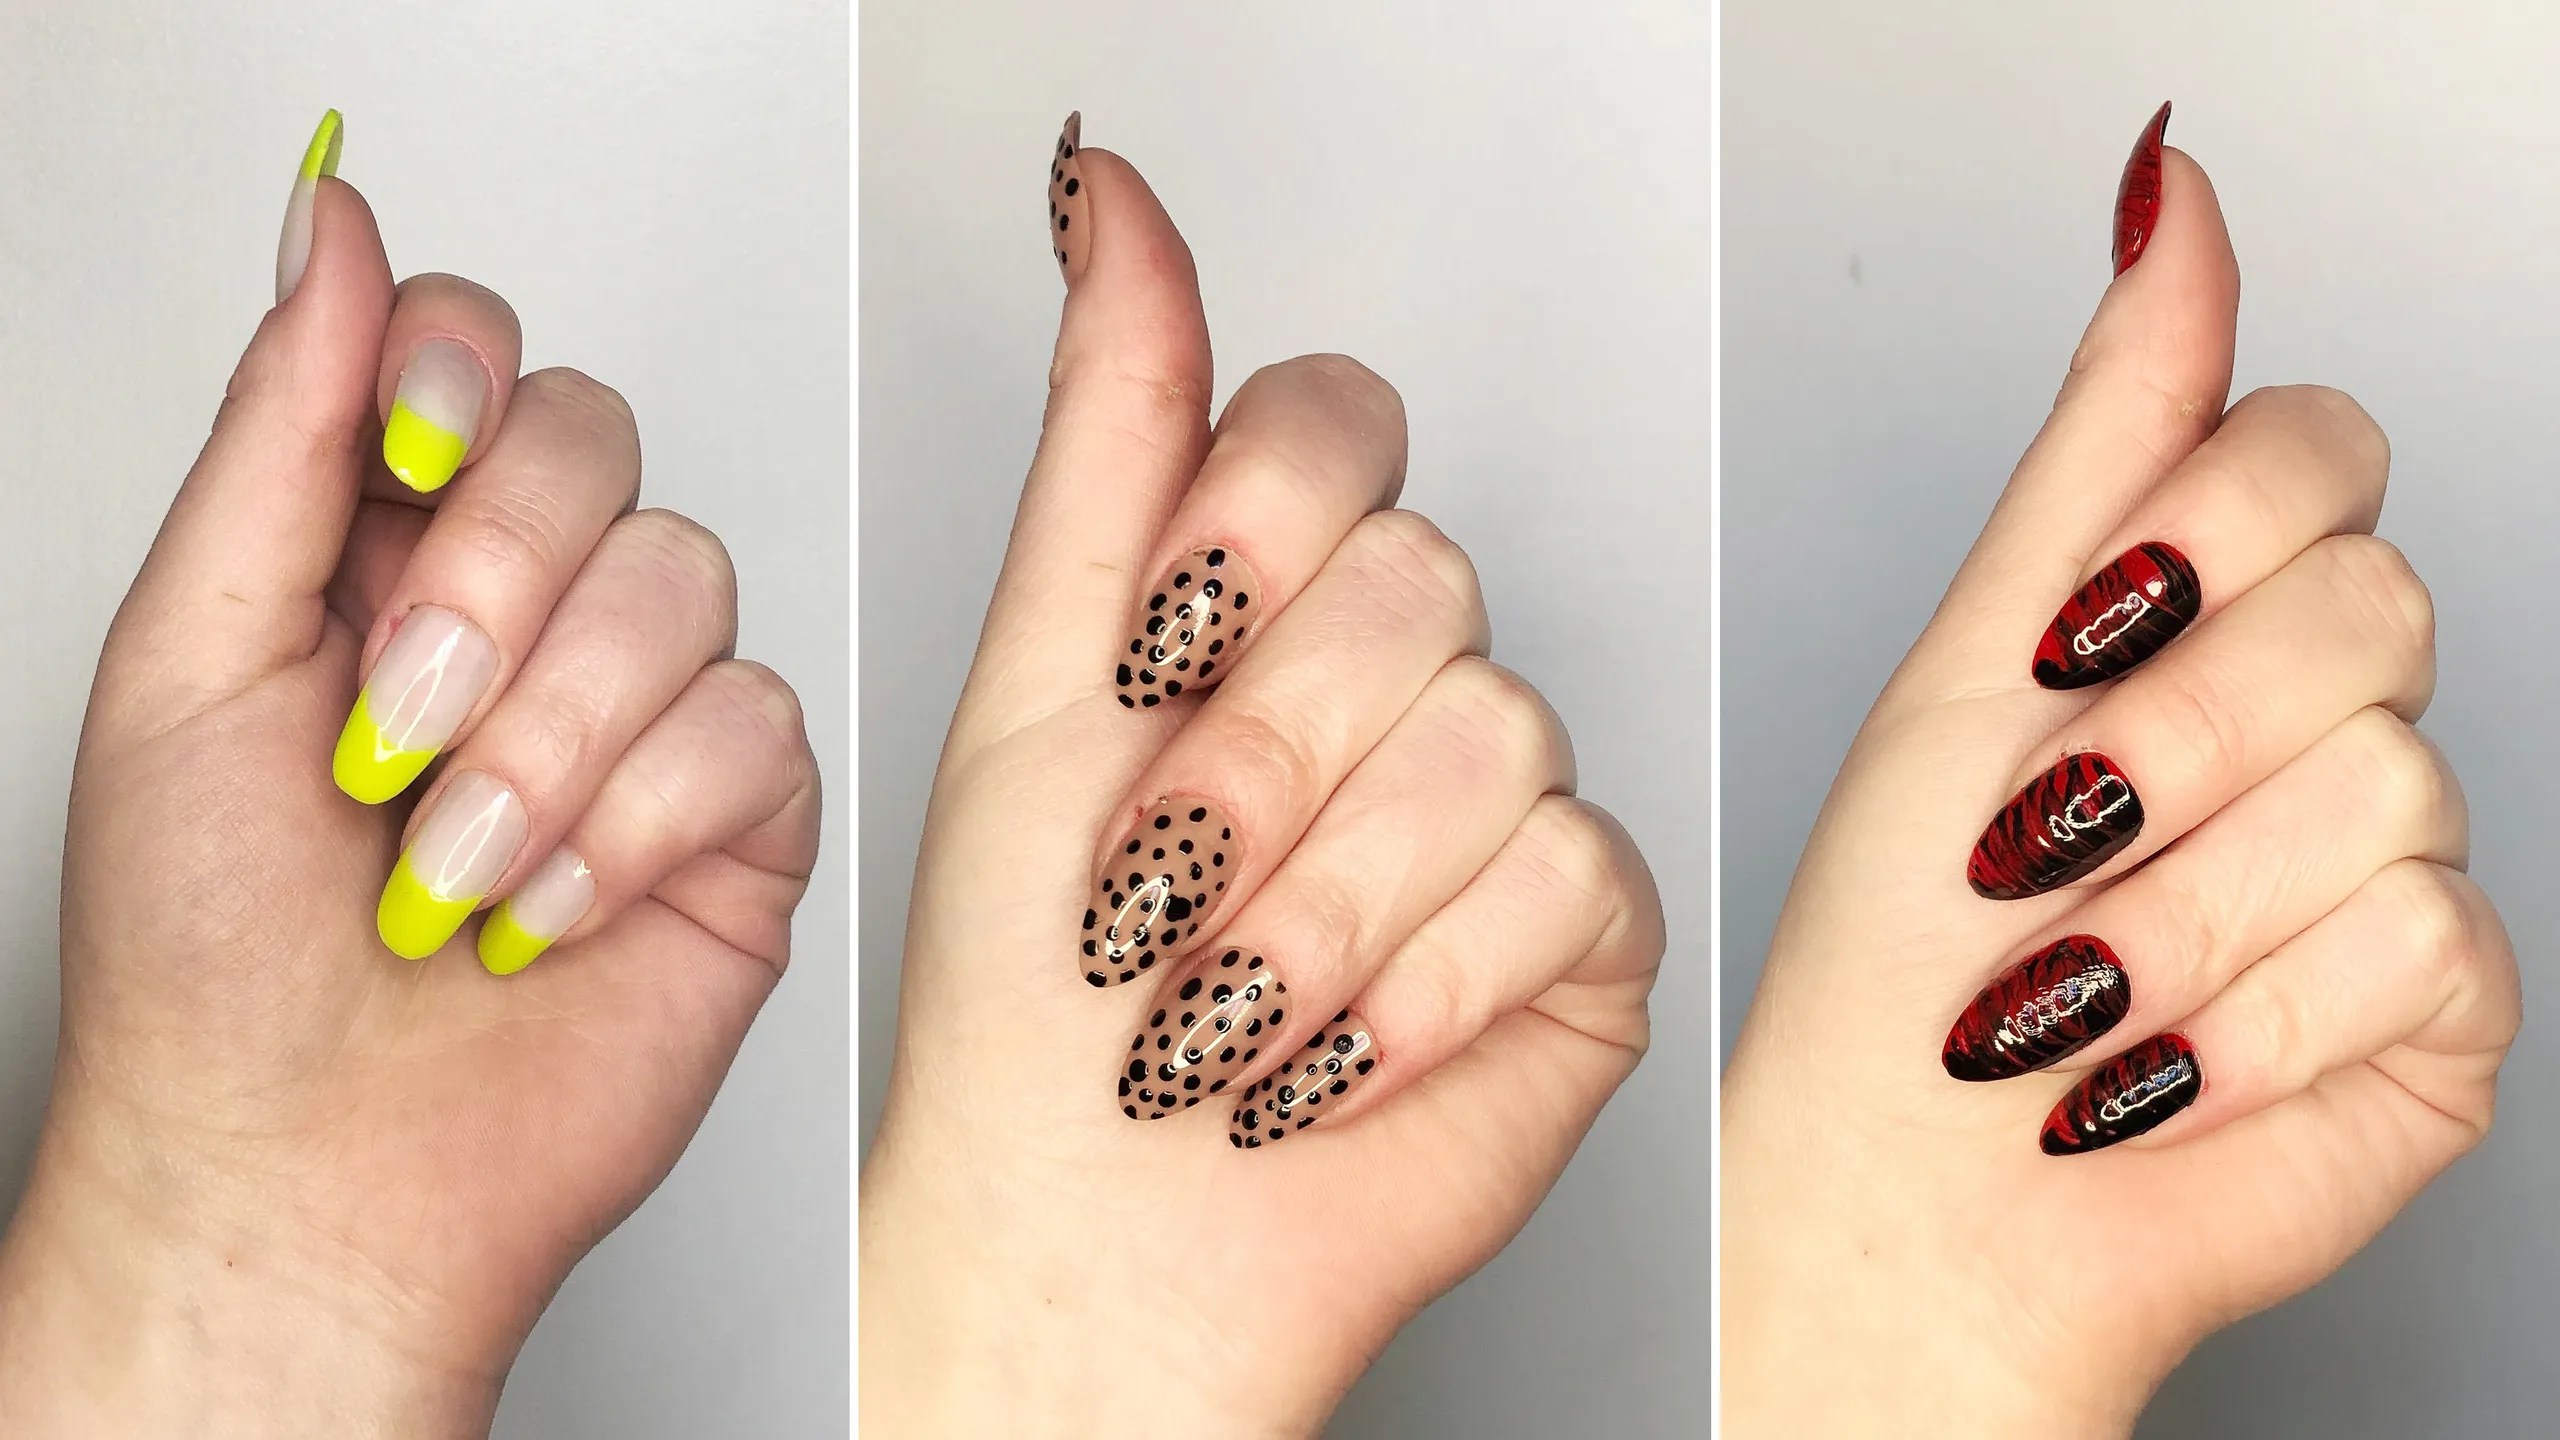
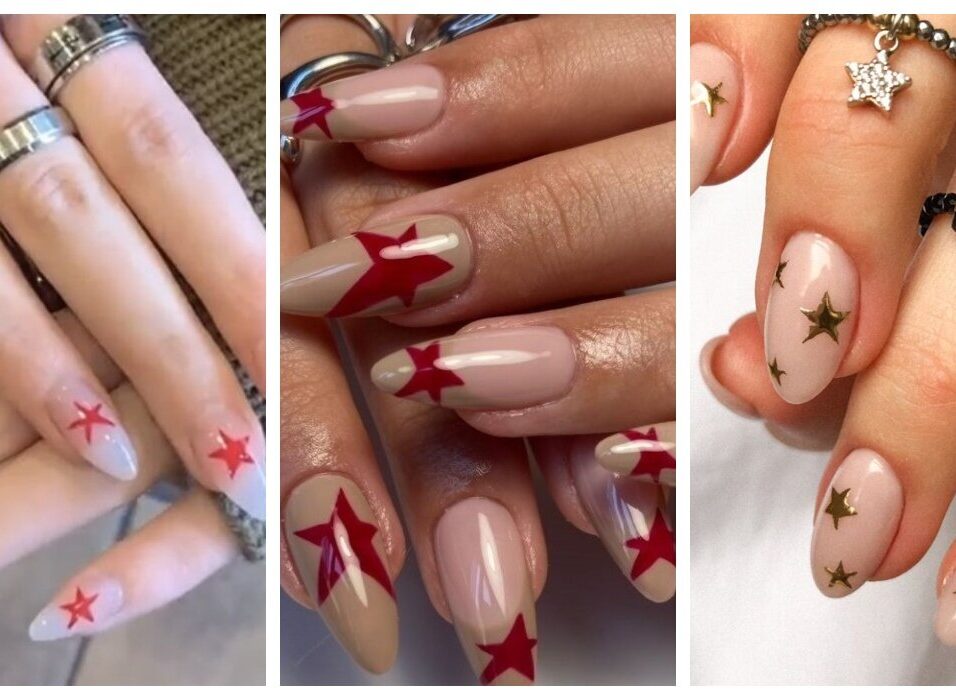
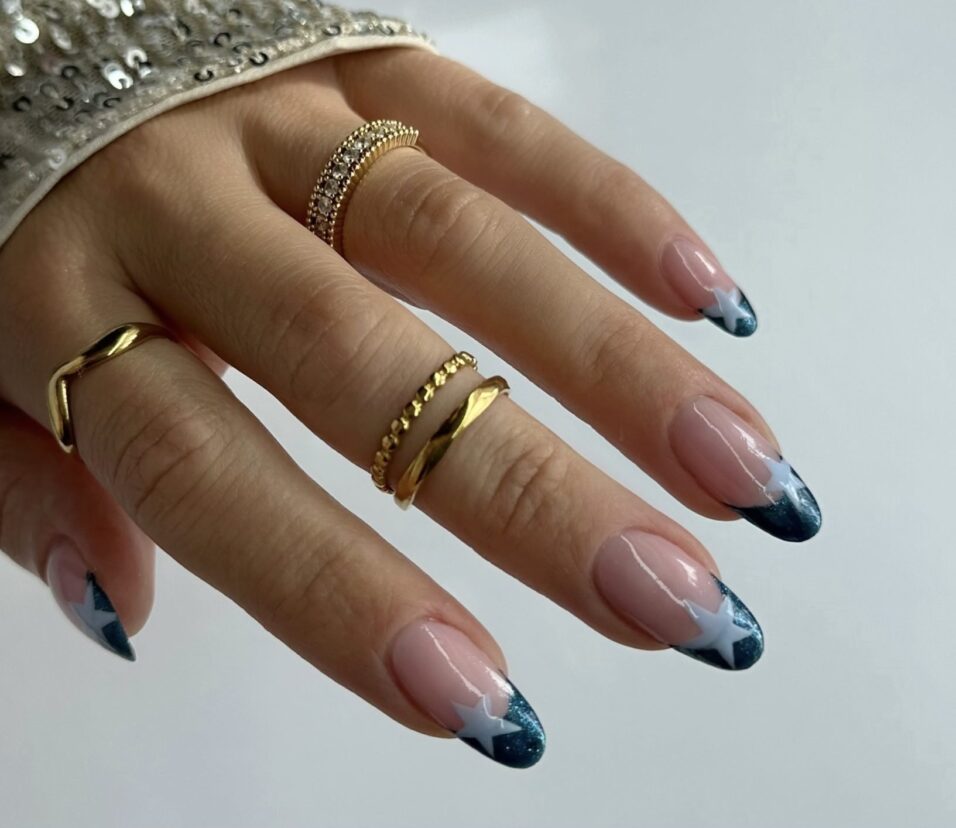
Selecting the right nail polish colours is crucial for star nail art. Begin by choosing a base color for your nails. Consider shades that will contrast well with the stars. For instance, if you opt for navy blue as your base, lighter colours like white or yellow work beautifully for the stars. Apply a couple of coats to achieve good coverage, and ensure your nails are completely dry before moving on to the star nails design.

2. Fine-Tipped Nail Brush or Paintbrush:
A fine-tipped brush is essential for creating precise star shapes. Look for one with soft bristles to maintain control while drawing the arms and details of the stars on your nails. With this tool, you can achieve clean lines and intricate designs.
3. Clear Topcoat:
Seal your star nail art with a clear topcoat. Not only does it add shine, but it also protects your stars from chipping and fading. Apply the topcoat evenly, covering the entire nail surface, including the stars. This step ensures longevity and keeps your nail art looking fresh.
4. Manicure Tweezers:
While not mandatory, manicure tweezers can be helpful, especially if you plan to add tiny star-shaped embellishments. They allow you to handle small nail art elements like rhinestones or decals with precision. If you decide to incorporate these details, tweezers make the process easier and more accurate.
5. Decorative Hole Punch:
For a creative shortcut, consider using a decorative hole punch. This tool allows you to create star-shaped nail polish decals. Simply punch out stars from coloured paper or thin plastic sheets, and then apply them to your nails using clear polish. It’s a quick and fun way to achieve starry nails without freehand painting.
What are some other types of nail art?
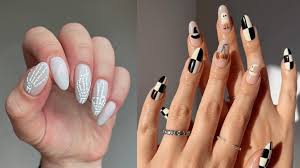
1. Painting With a Brush:
o Use a variety of brushes (such as angled, flat, line, detail, and dotting brushes) to create intricate designs on your star nails. Synthetic bristle brushes work well for this technique.
o Practice and skill are essential for achieving perfect strokes.
2. Sponge Bobbing:
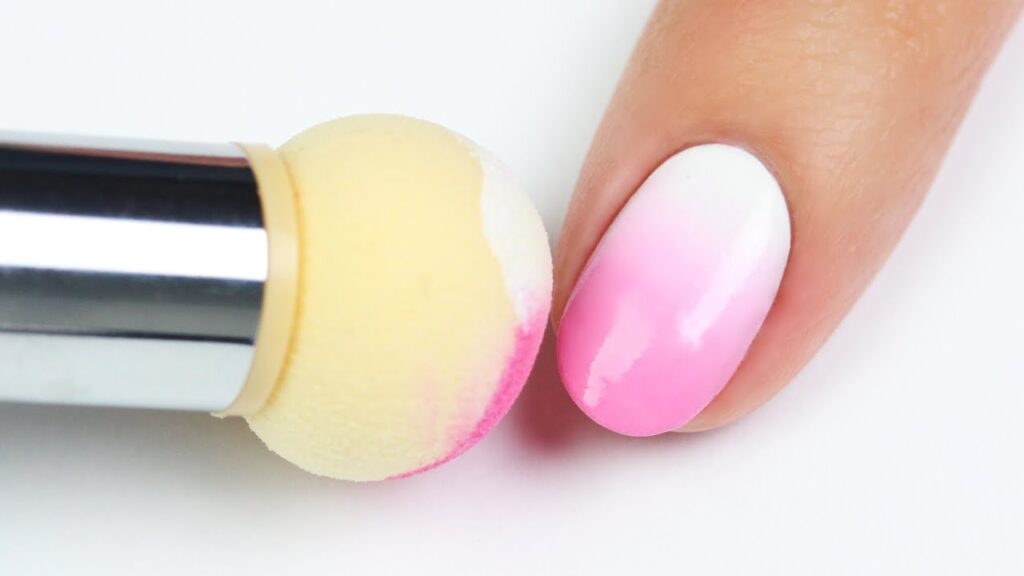
o Create gradient and ombre designs using a sponge. Apply a base coat, let it dry, and then use a sponge to apply nail polish in a sprinkled or bespattered pattern.
o Position the sponge according to your desired design and use acetone to remove any excess edges.
3. Nail Stamping:
o Cover the printed image on a nail stamping plate with a thin layer of special nail polish.
o Scrape off the excess polish, leaving only the pattern on the plate.
o Roll a stamper over the image and transfer it onto your nails.
4. Taping:
o Apply a base color to your nails.
o Cut small pieces of tape and apply them to areas you want to keep in the base color.
o Apply the next coat of your desired color, and then gently remove the tape.
5. Digital Nail Art:
o Digital nail art machines automate the process. Beauty salons often use these machines.
o You can print scanned photographs or images from digital cameras directly onto your nails.
o Note that these machines can be expensive.
6. Stencil Method:
o Apply stencils over dry nail polish to create a background for your nail art.
o The stencil acts as a base for your chosen image or design.
Remember, nail art is all about creativity and experimentation. Feel free to explore different techniques, colours, and styles to achieve unique and eye-catching nail designs!
What are some tips for nail care?
1. Trim Your Nails Straight Across:
o To prevent ingrown nails, trim your nails straight across. Cutting them after a shower or bath when they’re softer is ideal.
o Soften any sharp corners or edges using a nail file or emery board.
o File consistently in one direction to avoid weakening your nails.
2. Avoid Harsh Nail Polishes:
o Steer clear of nail polishes containing ingredients like formaldehyde and butyl phthalate, as they can weaken your nails.
o Give your nails a break by going “all natural” periodically between bold-coloured wears.
3. Use Gentle Nail Products:
o Opt for acetone-free nail polish removers to prevent your nails from drying out.
o Apply a base coat before painting your nails to prevent staining.
o Top coats protect against chipping and reduce the frequency of polish removal.
4. Moisturise Your Nails:
o Keep your star nails hydrated by applying oil (such as almond or avocado oil) to your nail beds and cuticles before bedtime.
o Lip balm can also work as a moisturiser.
o Cuticle moisturisers are available for purchase at drug stores and beauty shops.
5. Include Protein and Omega-3 Fatty Acids in Your Diet:
o Foods like fish, nuts, and beans promote keratin production, which strengthens your nails.
o Consider daily supplements like biotin and fish oil for healthier nails.
Conclusion of Star Nails Design
In conclusion, maintaining healthy nails involves a combination of proper care, nourishment, and creativity. Remember to trim your nails correctly, choose gentle nail products, moisturise regularly, and incorporate nail-friendly nutrients into your diet. Whether you’re rocking star nail art or keeping it simple, your Star nails deserve attention and love!

Leave feedback about this