
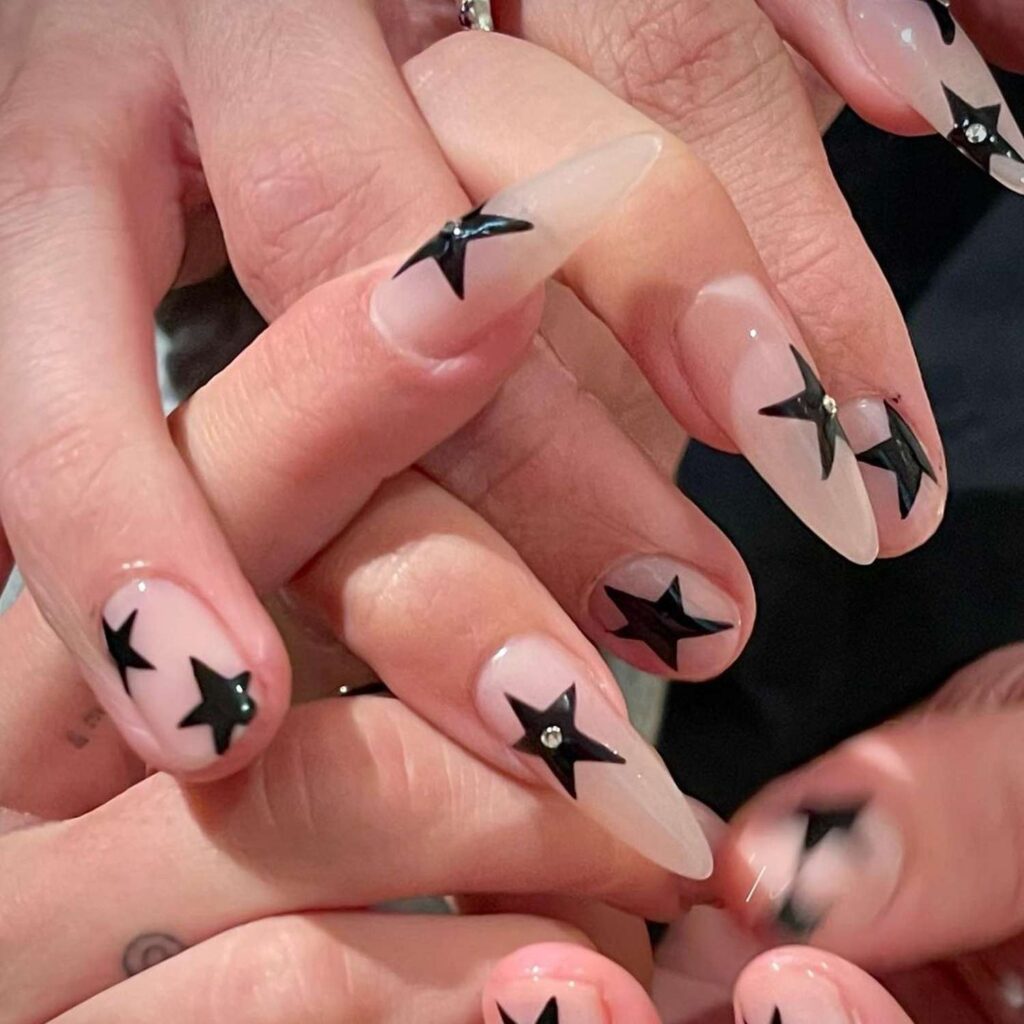
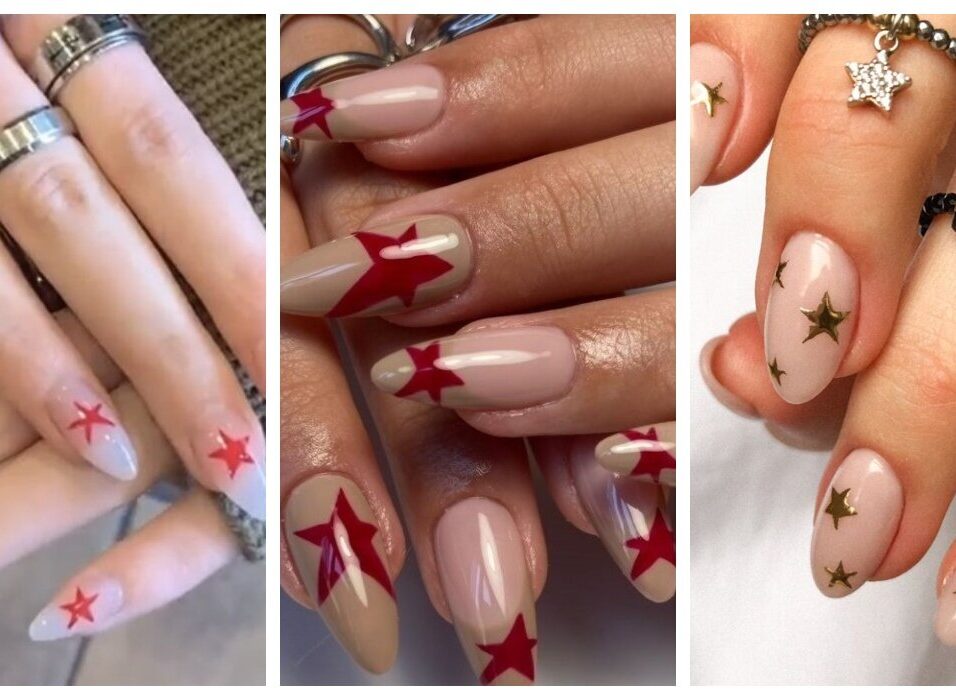
What are some simple but elegant star nail art designs that I can do at home?
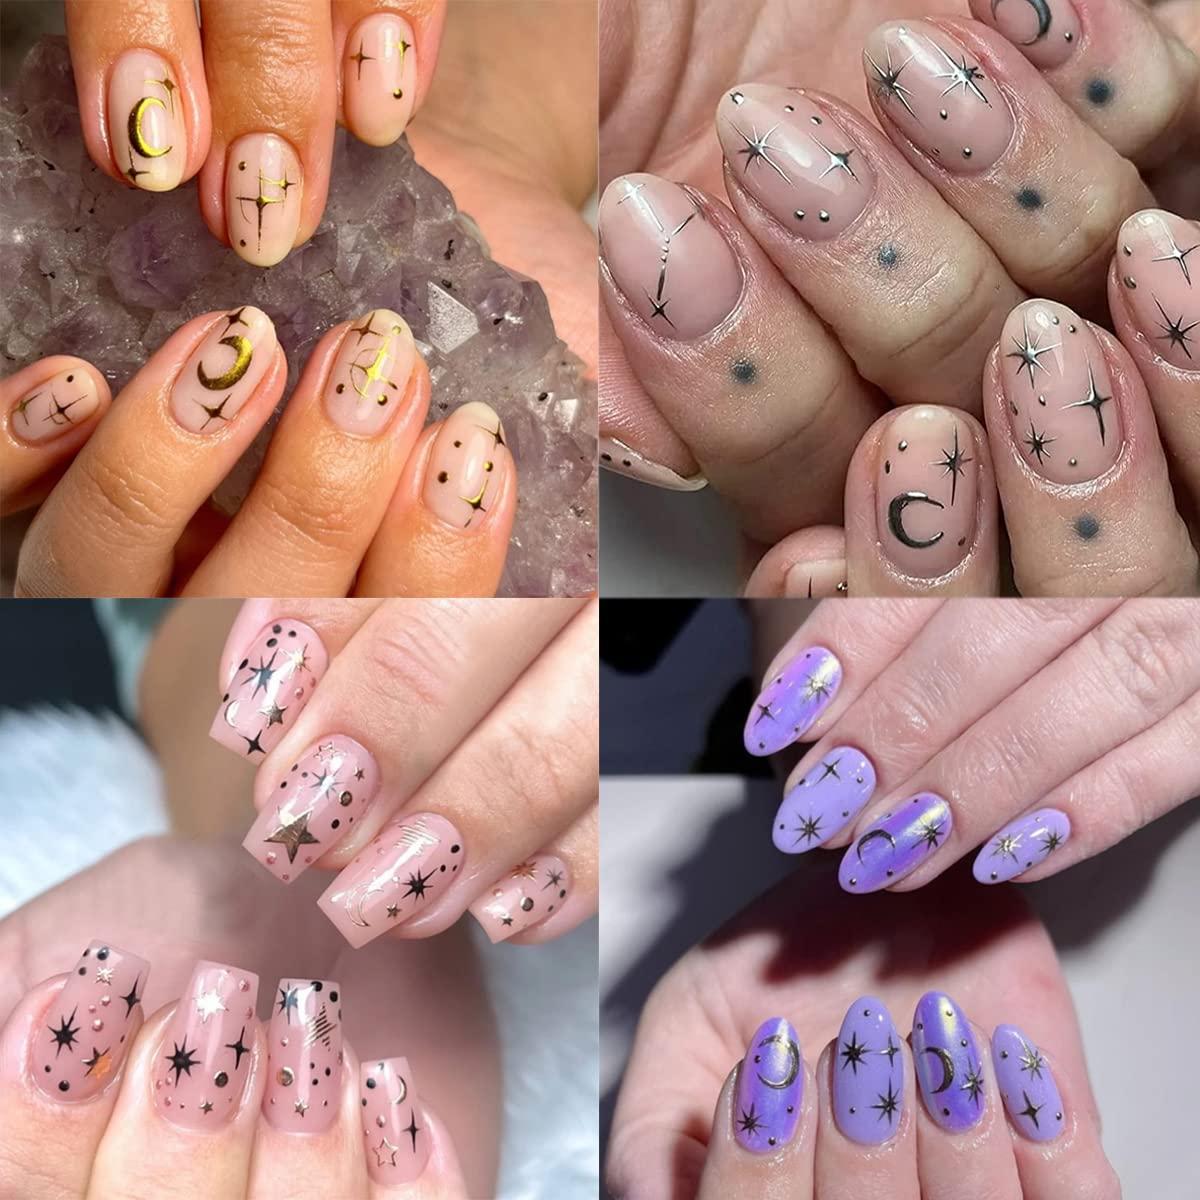
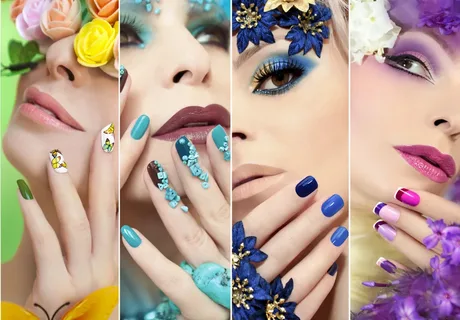
In the realm of nail art, stars symbolise brilliance, aspiration, and celestial beauty. Incorporating star designs into your manicure adds a touch of elegance and charm to your nails. In this guide, we’ll explore five simple yet captivating star nail art designs that you can effortlessly recreate at home. Whether you’re a beginner or a seasoned nail artist, these designs are sure to make your nails shine bright like stars in the night sky.
Getting Started with Star Nail Art Designs
Essential Tools and Materials
- Nail polish colours (black, white, gold, silver, and any other desired colours)
- Nail art brushes or toothpicks
- Base coat and top coat
- Nail polish remover
- Nail stickers or stencils
- Nail file and buffer
Classic Black and White Star Design
Step-by-Step Guide
1. Begin by applying a base coat to protect your nails.
2. Paint all your nails with a black nail polish as the base color.
3. Once the black polish is dry, use a thin star nail art Designs brush or toothpick to carefully draw white stars on each nail.
4. Allow the white stars to dry completely before applying a top coat to seal the design and add shine.
Golden Galaxy Starburst
Step-by-Step Guide
1. Apply a base coat to prepare your nails.
2. Paint your nails with a dark blue or black nail polish to create a galaxy background.
3. Using a small nail art brush or toothpick, create golden starbursts on each nail by drawing thin lines radiating from a central point.
4. Add smaller stars and dots around the starbursts to enhance the galaxy effect.
5. Once the design is dry, apply a top coat to protect and seal your manicure.
Silver Shimmering Stars
Step-by-Step Guide
1. Prep your nails with a base coat.
2. Paint your nails with a light grey or silver nail polish as the base color.
3. Use a nail art brush or toothpick to draw delicate silver stars on each nail.
4. Add tiny dots or glitter accents around the stars for extra sparkle.
5. Finish with a top coat to lock in the design and give your nails a glossy finish.
Rainbow Shooting Stars
Step-by-Step Guide
1. Apply a base coat to protect your nails.
2. Paint each nail with a different color of the rainbow, creating a vibrant base.
3. Using a nail art brush or toothpick, draw shooting stars across your nails using white nail polish.
4. Add glitter or rhinestones to the tails of the shooting stars for a dazzling effect.
5. Seal the design with a top coat to keep your manicure looking fabulous.
Celestial Constellation
Step-by-Step Guide
1. Begin by applying a base coat to protect your nails.
2. Paint your nails with a dark blue or navy nail polish as the base color to mimic the night sky.
3. Using a fine nail art brush or toothpick, create a constellation pattern on each nail by connecting small dots with thin lines.
4. Choose a star pattern such as the Big Dipper or Orion’s Belt, or create your own unique constellation.
5. Once the design is complete, apply a layer of sheer glitter polish to add a sparkling dimension to your celestial nails.
6. Finish with a top coat to seal in the design and add extra shine.
Starry French Tips
Step-by-Step Guide
1. Prep your nails with a base coat to ensure a smooth application.
2. Paint your nails with a sheer or nude-coloured polish as the base.
3. Using a white nail polish and a nail art brush, carefully paint small stars along the tips of your nails, mimicking the classic French manicure style.
4. Vary the size and placement of the stars for a more dynamic look.
5. Allow the stars to dry completely before applying a top coat to protect your star nail art designs and give yours a glossy finish.
Comparison Table of star nail art designs
| Design | Difficulty Level | Required Colours | Time Required |
| Black and White | Easy | Black, White | 30 minutes |
| Golden Galaxy | Moderate | Blue, Gold | 45 minutes |
| Silver Shimmering | Easy | Grey, Silver | 40 minutes |
| Rainbow Shooting | Moderate | Rainbow Colors | 50 minutes |
| Design | Difficulty Level | Required Colours | Time Required |
| Celestial Constellation | Moderate | Blue, White | 50 minutes |
| Starry French Tips | Easy | Nude, White | 35 minutes |
FAQs of star nail art designs
Q1: Can I use nail stickers instead of painting stars?
A1: Yes, nail stickers are a convenient alternative and can save time.
Q2: How can I fix mistakes while painting stars?
A2: Dip a small brush in nail polish remover and carefully erase any mistakes.
Q3: Do I need special skills to create these designs?
A3: No, these designs can be achieved by beginners with a little practice and patience.
Q4: Can I use nail art pens for creating the constellation pattern?
A4: Yes, nail art pens can be a convenient tool for creating precise lines when drawing constellations.
Q5: How long does the nail polish need to dry between each step?
A5: It’s essential to allow each layer of nail polish to dry completely before proceeding to the next step to prevent smudging and ensure a clean, polished finish.
Conclusion of star nail art designs
With these simple yet elegant star nail art designs, you can add a touch of celestial beauty to your manicure without leaving the comfort of your home. Experiment with different color combinations and techniques to create your own unique star-studded nail masterpieces.

Leave feedback about this