
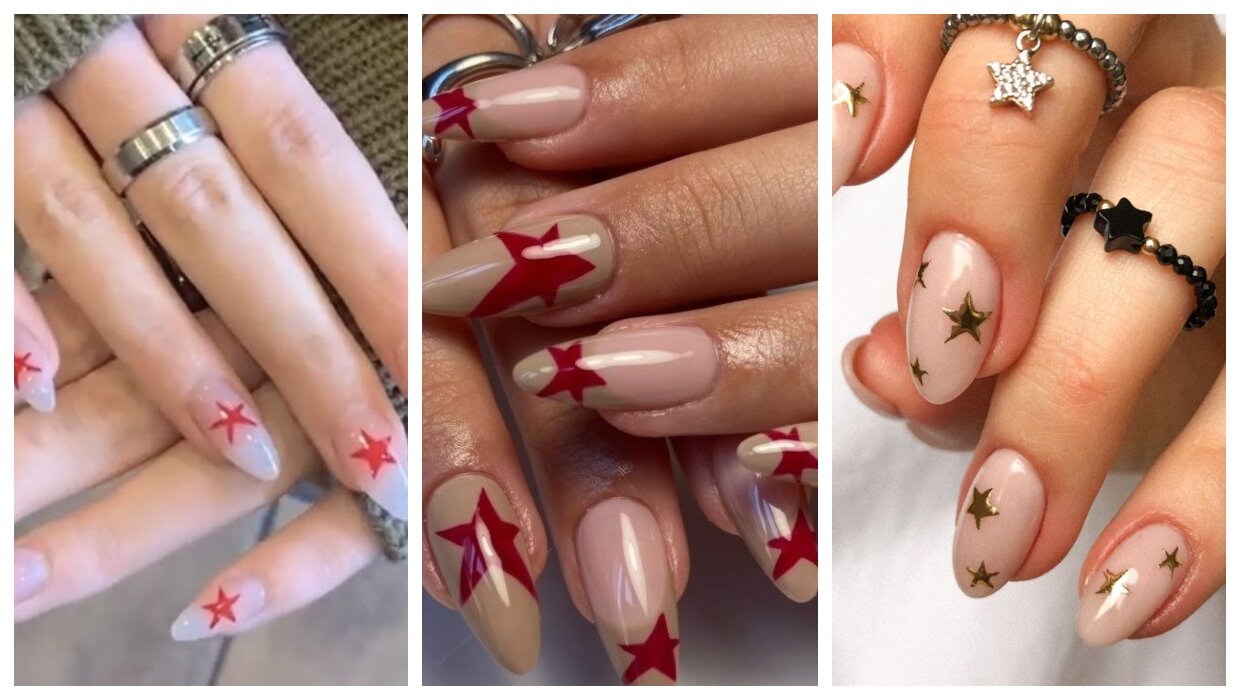
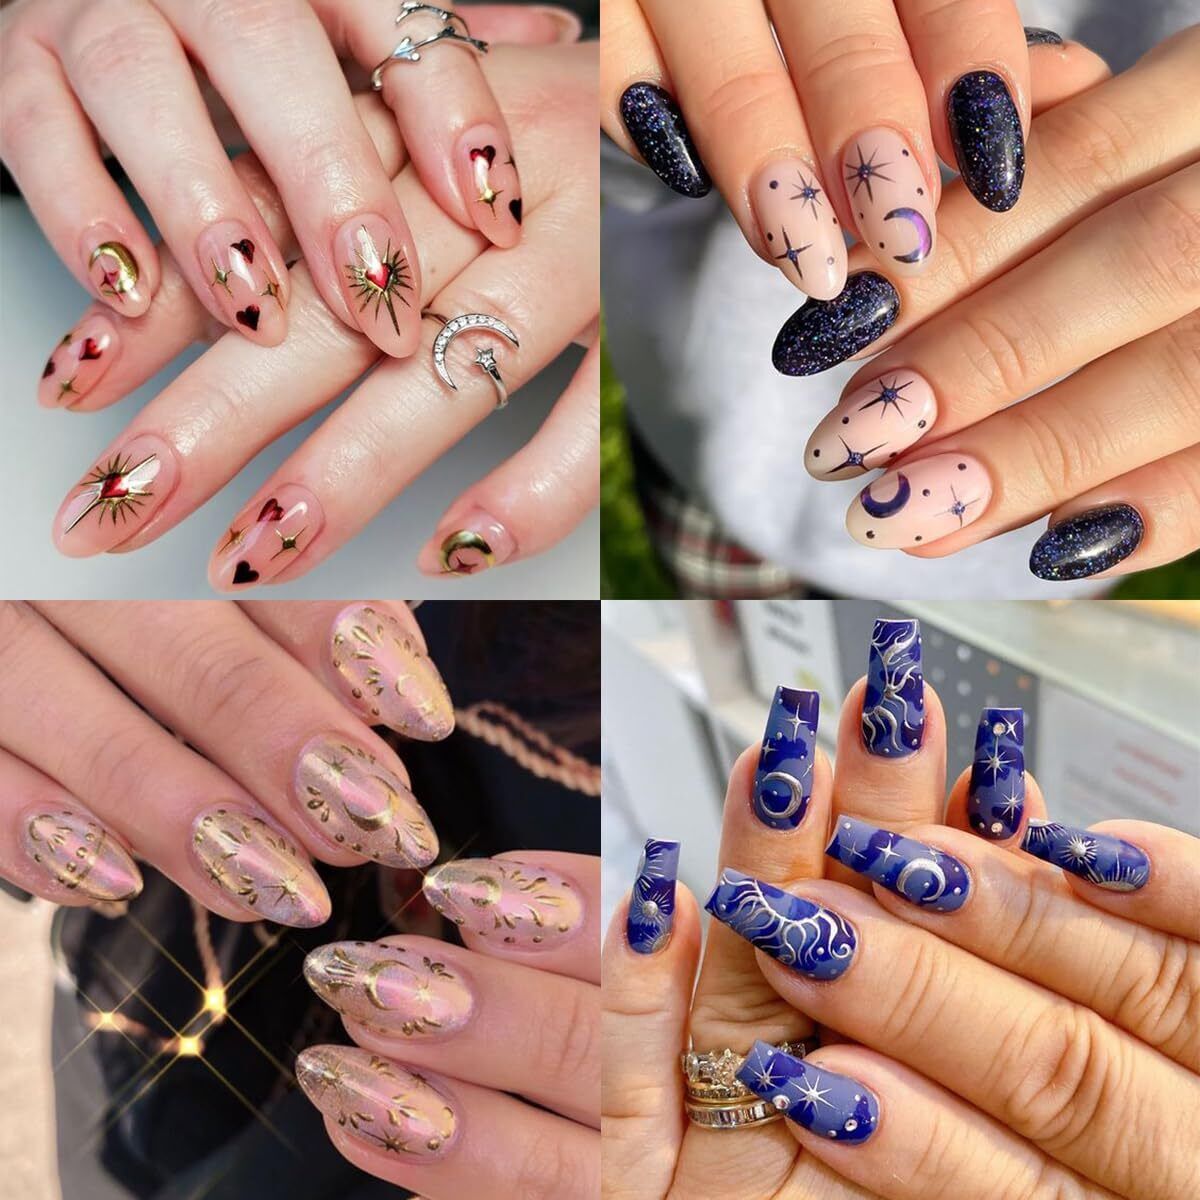
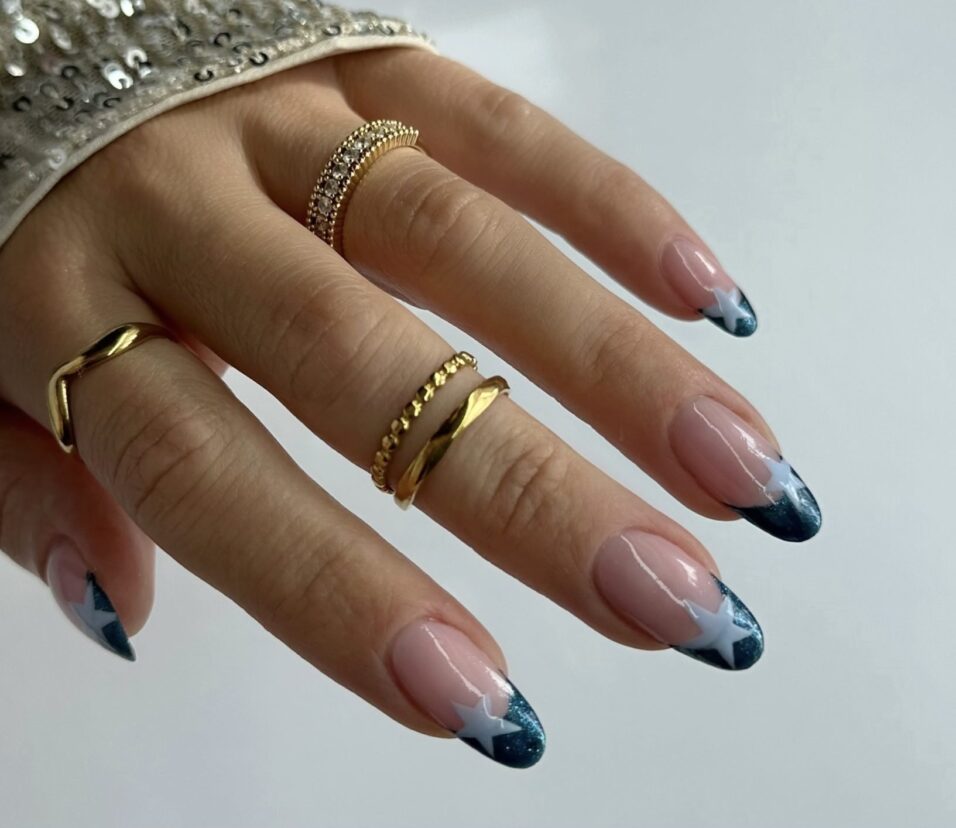
Simple Star Nails :Less is More
Materials Needed for Simple Star Nails
– Clear nail polish or base coat
– Nail polish in your desired color(s)
– Nail dotting tools or toothpicks
– Top coat
Steps for Simple Star Nails
1. Start with clean, filed, and degreased nails. Apply a clear base coat and let it dry completely.
2. Choose your main nail polish color and paint all your nails with 2 coats, allowing each coat to dry in between.
3. Using a dotting tool or the end of a toothpick, make 5 small dots near the top of your nail to create a star shape. Space the dots out evenly.
4. Fill in the spaces between the dots with the same nail polish color to complete the star shape. Allow to fully dry.
5. Optionally, you can add a contrasting color for the star points by carefully painting small triangles at the tips of the star.
6. Finish with a clear top coat to seal in the design and add shine.
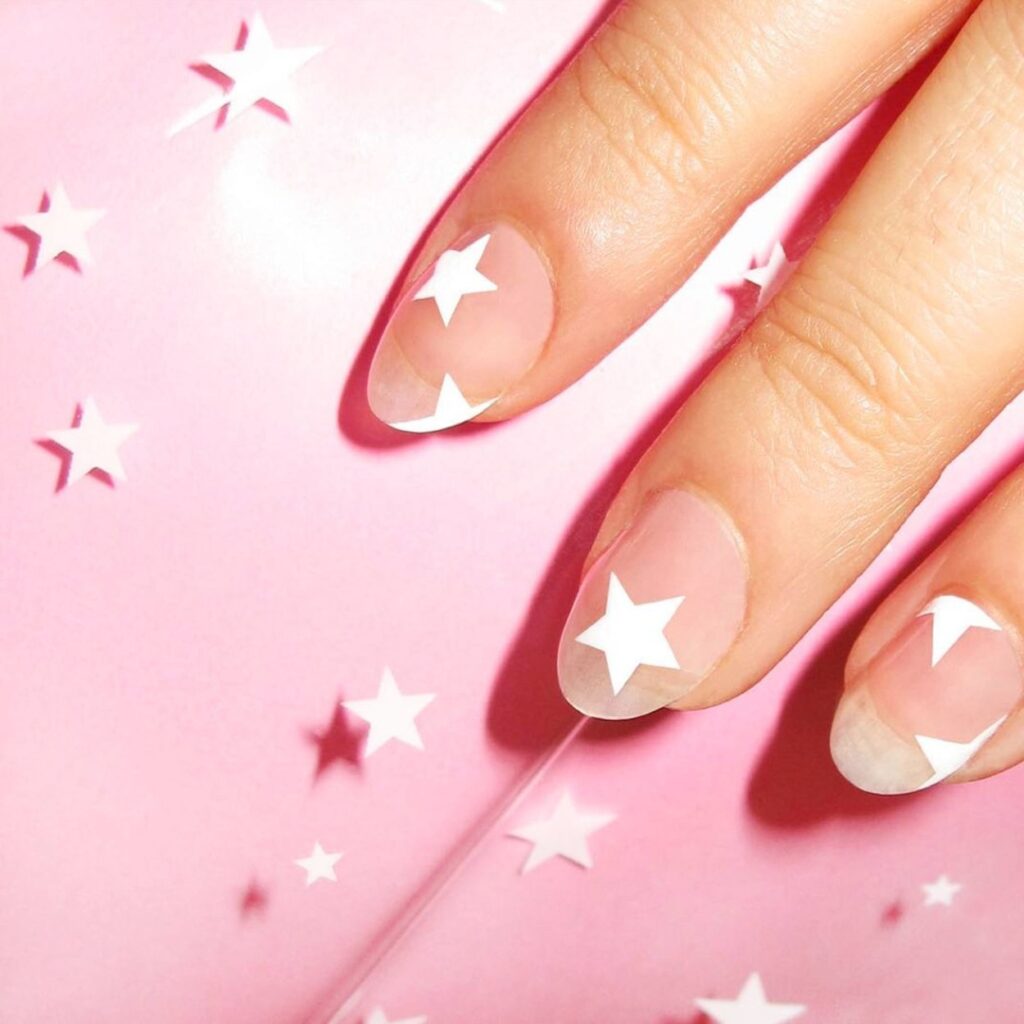
Negative Space Stars:
– Paint your nails with your base color.
– Use a dotting tool or toothpick to create a star shape, leaving the star outline as negative space (unpainted).
– Fill in the background around the star outline with a contrasting nail polish color.
Foil Simple Star Nails:
– Apply a clear base coat.
– Paint your nails with a solid color.
– Cut out star shapes from star-patterned nail foil or sticker sheets.
– Carefully place the star foil pieces onto your nails and smooth down.
– Seal with a top coat.
Glitter Star Nails:
– Paint your nails with a solid color.
– Once dry, use a dotting tool to create star shapes using clear or white nail glitter polish.
– Allow the glitter to dry completely.
– Apply a glossy top coat.
Gradient Star Nails:
– Paint your nails with a gradient of colors, fading from light to dark.
– Using a dotting tool, create star shapes in the lightest shade of the gradient.
– Fill in the stars with white or silver nail polish.
– Finish with a clear top coat.
Textured Star Nails:
– Apply a ridge-filling base coat.
– Paint your nails with a matte or satin finish nail polish.
– Use a dotting tool to create star shapes and fill them in with a glitter or textured polish.
– Add a high-shine top coat for contrast.
Galaxy/Cosmic Star Nails:
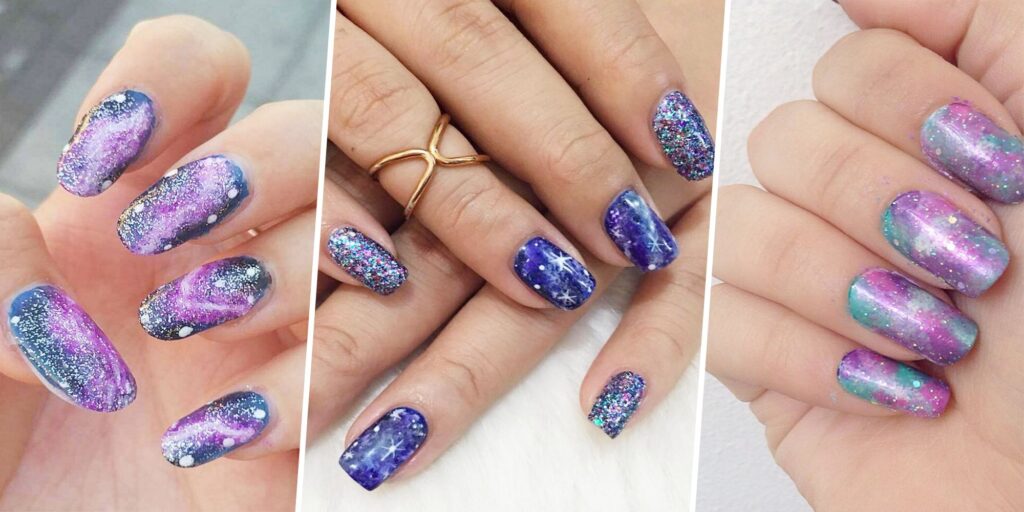
– Paint your nails with a dark blue or black base color.
– Use a makeup sponge to dab on different shades of blue, purple, and white nail polish to create a galaxy effect.
– Once dry, use a dotting tool to add small white dots as stars.
– Finish with a glossy top coat.
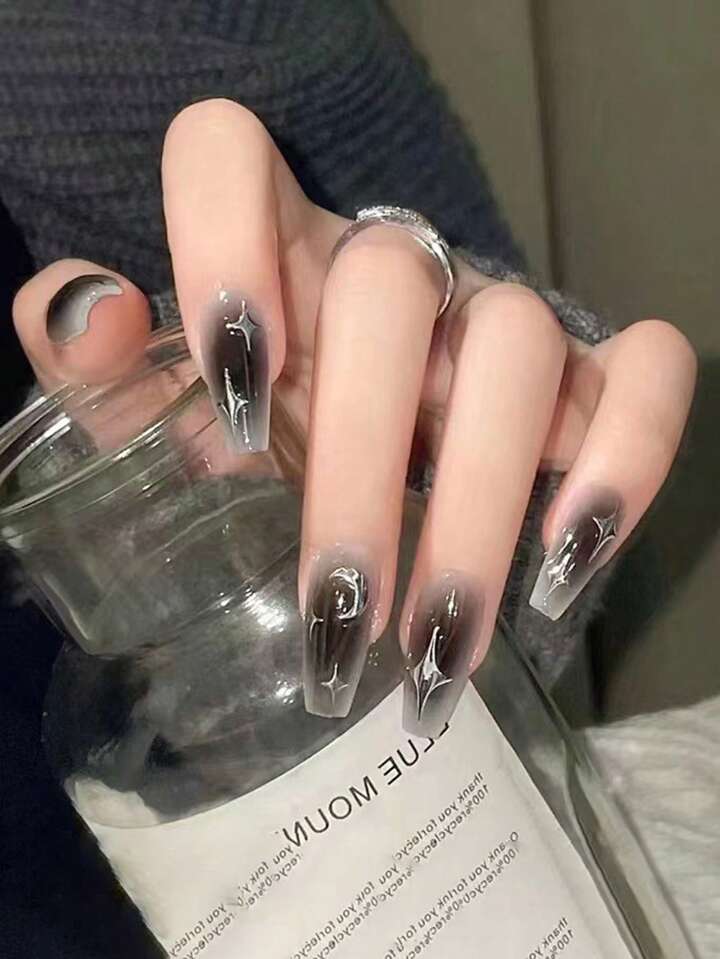
Ombre Star Nails:
– Apply a base coat and paint your nails with a light color at the cuticle, fading to a darker shade at the tip.
– Use a dotting tool to create star shapes in the lightest area of the ombre.
– Fill in the stars with a contrasting color, like white or silver.
– Seal with a top coat.
Holographic Star Nails:
– Start with a clear or white base coat.
– Layer on a holographic or iridescent nail polish.
– Use a dotting tool to create star shapes on each nail.
– For extra sparkle, add a few dots of a contrasting holographic polish within the stars.
– Finish with a glossy top coat.
Reverse Stamped Simple Star Nails:
– Apply a solid colored nail polish as your base.
– Use a star-patterned nail stamping plate and stamper to transfer the star design to your nails.
– Fill in the stamped stars with a contrasting nail polish color.
– Seal with a top coat.
Mix & Match Star Nails:
– Paint each nail a different solid color.
– On each nail, use a dotting tool to create star designs in varying sizes and colors.
– For example, you could have neon stars, glitter stars, and metallic stars on different nails.
– Finish with a clear top coat.
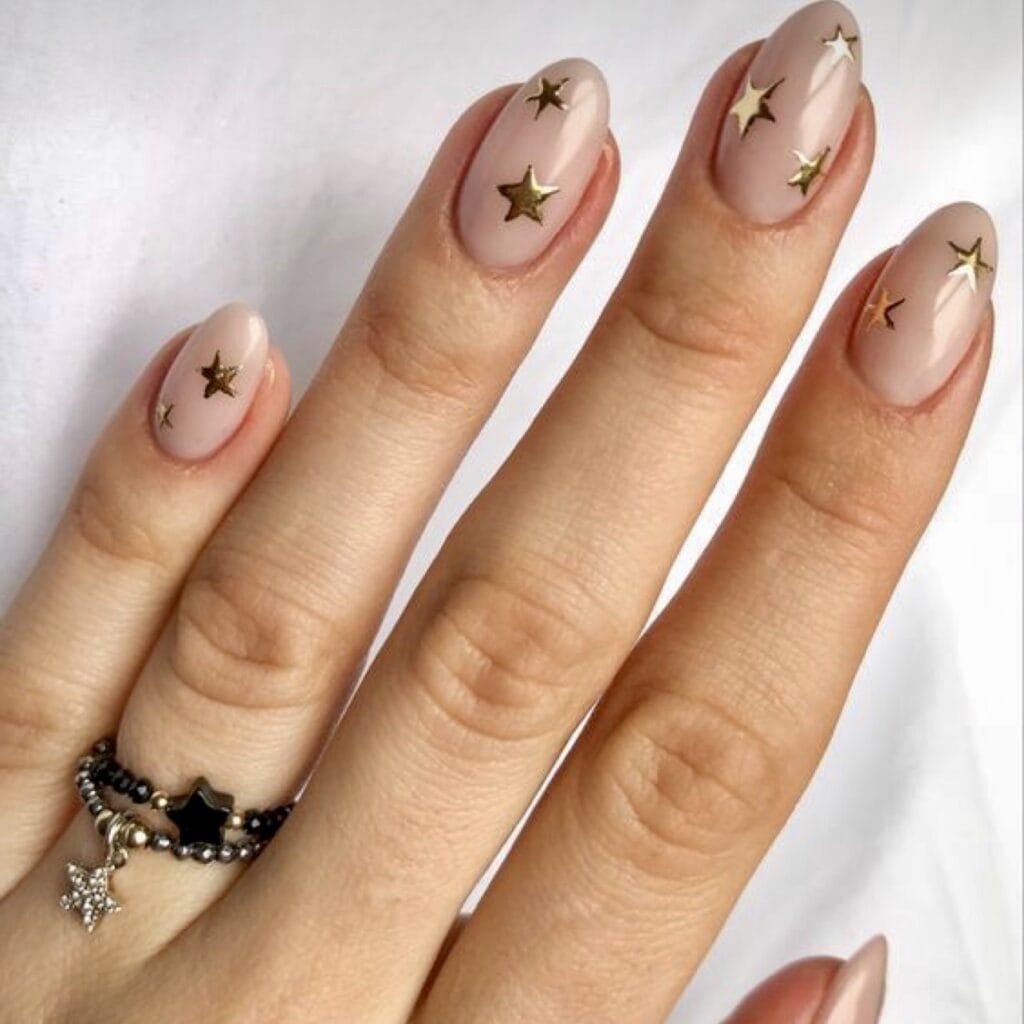
Scattered Star Nails:
– Apply a nude or light colored base coat.
– Use a dotting tool to randomly place small star shapes all over the nail in different sizes.
– Fill in the stars with a contrasting color like white, silver, or gold.
– Finish with a glossy top coat.
Mismatched Star Nails:
– Paint each nail a different solid color.
– On each nail, use a dotting tool to create unique star designs.
– Make the stars different sizes, orientations, and colors on each nail.
– This creates a fun, mismatched star nail look.
Gradient Star Ombré:
– Apply a gradient polish, starting light at the cuticle and getting darker at the tip.
– Use a dotting tool to create star shapes in the lightest area of the gradient.
– Fill in the stars with a contrasting color like white or gold.
– Add a glossy top coat.
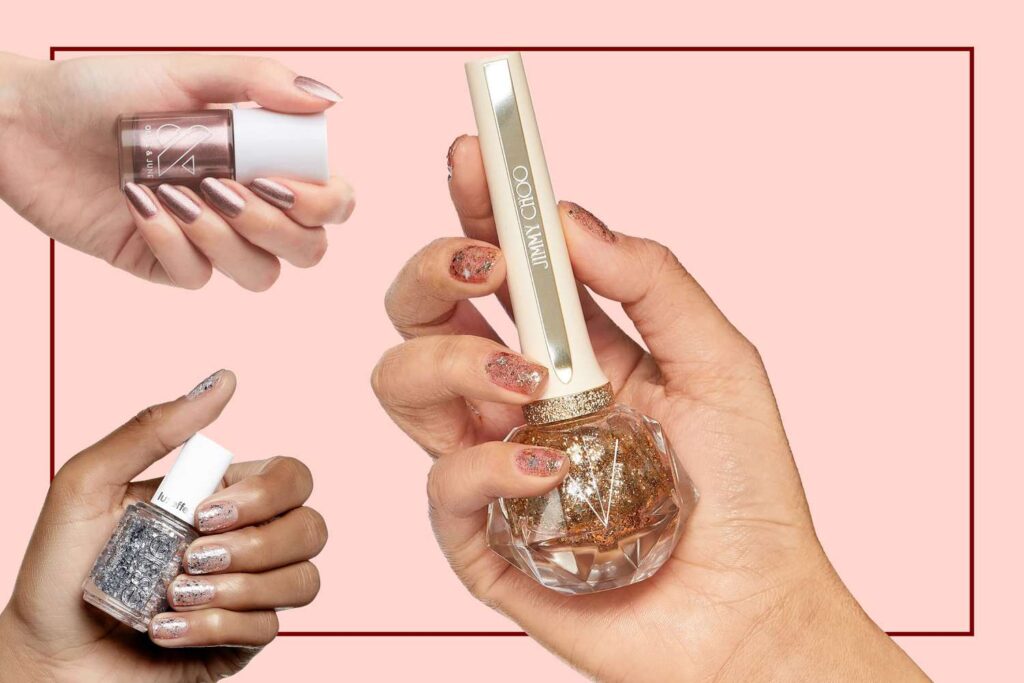
Chunky Glitter Star Nails:
– Paint your nails with a clear or jelly base coat.
– Generously apply a chunky glitter nail polish, concentrating it at the cuticle.
– Use a dotting tool to create star shapes in the glitter.
– Add a thicker, high-shine top coat.
Negative Space Star Tips:
– Apply a base coat and paint your nails with a solid color.
– Use striping tape or a nail art brush to create a V-shaped “French tip” on each nail.
– Fill in the V-shaped tips with a contrasting color, leaving the base of the nail in the original color.
– Remove the tape and finish with a top coat.
Metallic Star Nails:
– Apply a base coat and paint your nails with metallic nail polish, like gold or silver.
– Use a dotting tool to create star shapes randomly across the nails.
– Fill in the star outlines with a contrasting metallic polish.
– Finish with a top coat for extra shine.
Twinkling Starry Night Nails:
– Paint your nails with a dark blue or black polish to create a night sky effect.
– Use a white or glow-in-the-dark nail polish and a dotting tool to add small, randomly placed star shapes.
– For an extra twinkly look, add a sprinkling of iridescent or holo glitter polish over the stars.
– Seal with a glossy top coat.
Geometric Simple Star Nails:
– Start with a nude or light colored base.
– Using striping tape, create geometric star patterns by masking off sections of the nail.
– Paint the exposed areas with a contrasting color.
– Remove the tape to reveal the geometric star design.
– Finish with a top coat.
Reverse Stamped Star Nails (2.0):
– Apply a colored base coat and let it dry completely.
– Use a stamping plate with a star pattern and a clear stamper to transfer the design.
– Fill in the stamped stars with a contrasting nail polish color.
– Top with a glossy seal.
Watercolor Simple Star Nails:
– Paint your nails with a light, watery base color.
– Use a damp brush to “paint” watercolor-style star shapes in contrasting shades.
– Let the colors blend and blot with a paper towel for a soft, ethereal effect.
– Finish with a clear top coat.

Leave feedback about this