
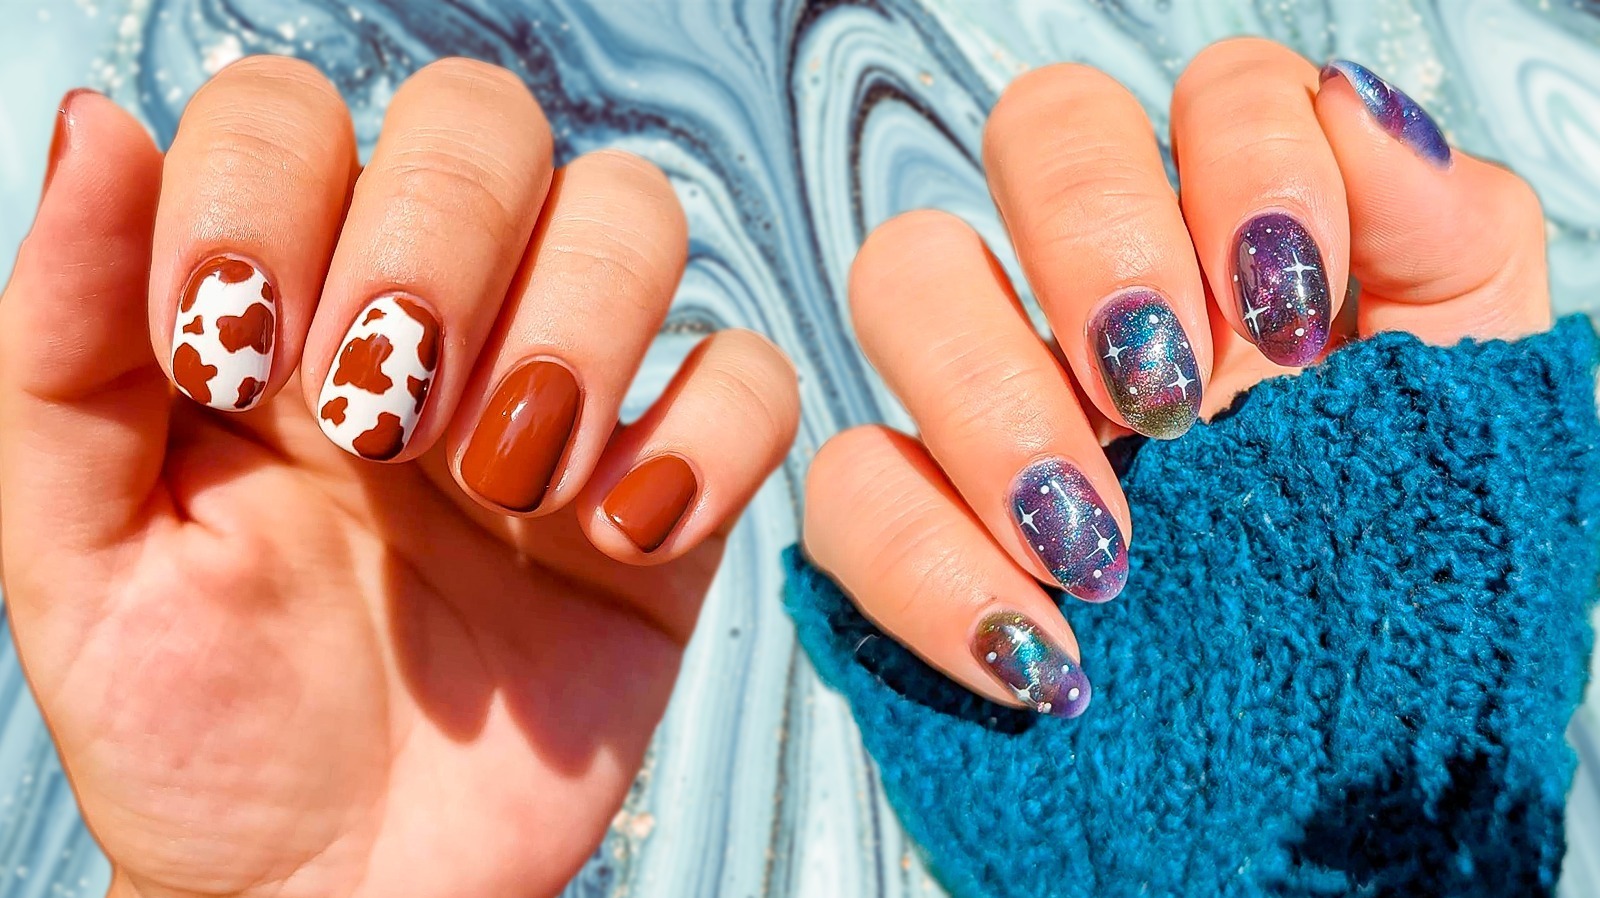
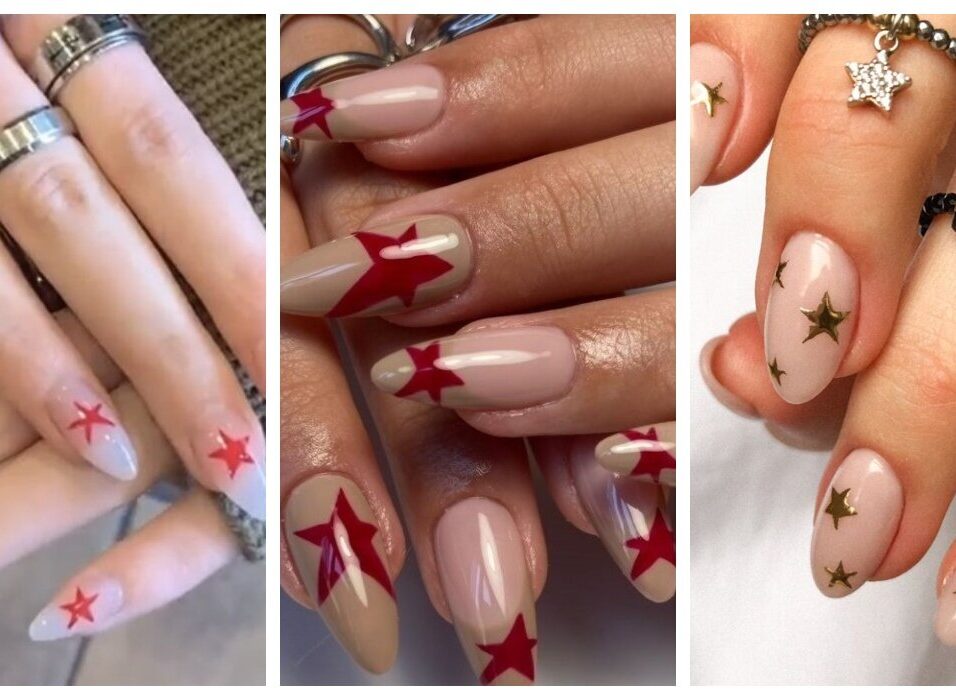
How to Do Star nail Art Designs: Glitter Nail Polish & Small Stars
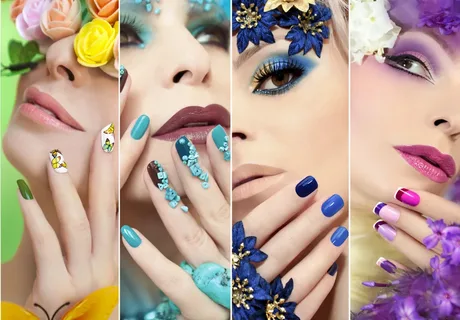
Welcome to the dazzling world of star nail art designs! Whether you’re a beginner or a seasoned nail artist, creating star-themed nail designs can add a touch of magic and elegance to your style. In this comprehensive guide, we’ll walk you through the process of achieving stunning star nail art using glitter nail polish and small stars. Get ready to elevate your nail game to celestial heights!
Understanding the Basics of Nail Art
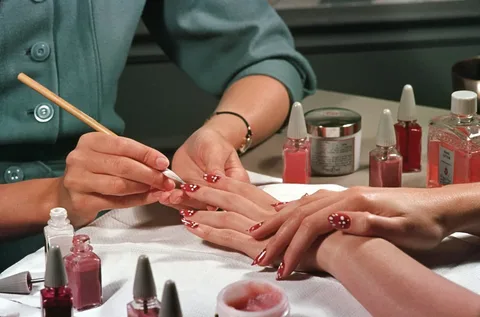
Understanding the basics of nail art is essential for achieving stunning results. Nail preparation is the first step, involving shaping, cuticle care, and cleansing to create a smooth canvas. Selecting the right tools and products, including quality nail polish and supplies, ensures optimal outcomes. A base coat is then applied to protect the natural nail and provide a smooth surface for nail art application. This is followed by the creative process, where techniques such as gradient application, stamping, or freehand designs are employed to achieve desired looks. Finally, sealing the design with a top coat ensures longevity and adds shine. Mastery of these fundamental techniques sets the stage for limitless creativity in nail artistry.
Choosing the Right Nail Polish and Supplies
Selecting the right nail polish and supplies is paramount for successful nail art endeavours. Begin by choosing high-quality nail polish in various shades, including glitter options for added flair. Ensure you have a clear or neutral base coat to protect your nails and provide a smooth foundation for nail art. Additionally, a top coat is essential for sealing and prolonging the life of your design.
In terms of supplies, gather small star-shaped nail embellishments, nail glue, and detailing brushes for precision work. Tweezers or a small dotting tool can be handy for placing embellishments with accuracy. Having nail polish remover and cleanup brushes on hand will aid in correcting any mistakes and achieving a polished finish.
Preparing Your Nails:

Start by prepping your nails for the star nail art designs. Trim and shape your nails to your desired length and style. Push back your cuticles and remove any excess skin around the nail bed. Then, cleanse your nails to remove any dirt, oil, or old nail polish residue.
Applying the Base Coat:
Applying a base coat is crucial for protecting your natural nails and ensuring long-lasting nail art. Choose a clear or neutral base coat and apply it to each nail. Allow the base coat to dry completely before moving on to the next step.
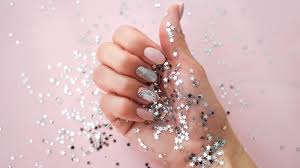
Creating the Glitter Gradient:
To achieve a celestial backdrop for your star nail art, create a glitter gradient using your chosen glitter nail polish shades. Start by applying a thin layer of glitter polish to the base of your nails, building up the intensity towards the tips. Use a sponge or a small brush to blend the glitter for a seamless transition.
Adding Small Stars:
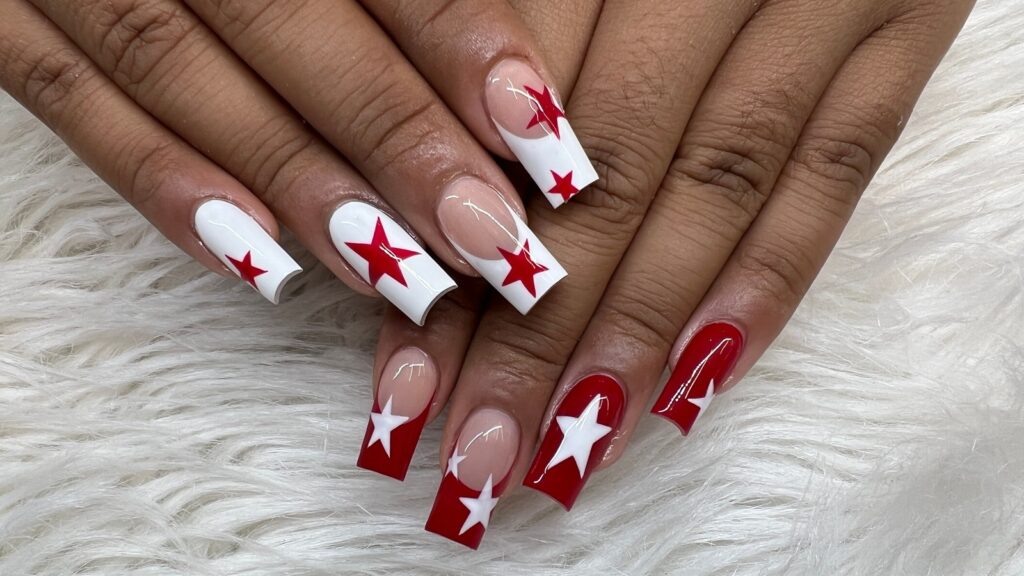
Now, it’s time to adorn your nails with small star-shaped embellishments. Using a small dotting tool or tweezers, place the stars onto your nails while the glitter polish is still tacky. You can arrange the stars in various patterns or across your nails, depending on your preference.
Securing the Stars:
To ensure that the stars stay in place, apply a small amount of nail glue to the back of each star before pressing it onto your nail. Gently press down on the stars to secure them in position, taking care not to smudge the surrounding nail polish.
Sealing the Design:
Once the stars are in place, seal your star nail art designs with a clear top coat. This not only adds shine and gloss to your nails but also helps to protect the nail art from chipping and peeling. Apply the top coat over each nail, making sure to cover the stars and glitter gradient.
Finishing Touches and Cleanup:
After applying the top coat, allow your nails to dry completely before handling any objects. Once dry, use a clean-up brush or cotton swab dipped in nail polish remover to tidy up any excess polish or glue around the edges of your nails. This will give your star nail art a polished and professional finish.
Conclusion of Star nail Art Designs
You’ve mastered the art of creating stunning star nail designs using glitter nail polish and small stars. Whether you’re looking to make a bold fashion statement or add a touch of whimsy to your everyday look, star nail art is sure to turn heads and inspire awe. So, unleash your creativity and let your nails shine bright like the stars!

Leave feedback about this