
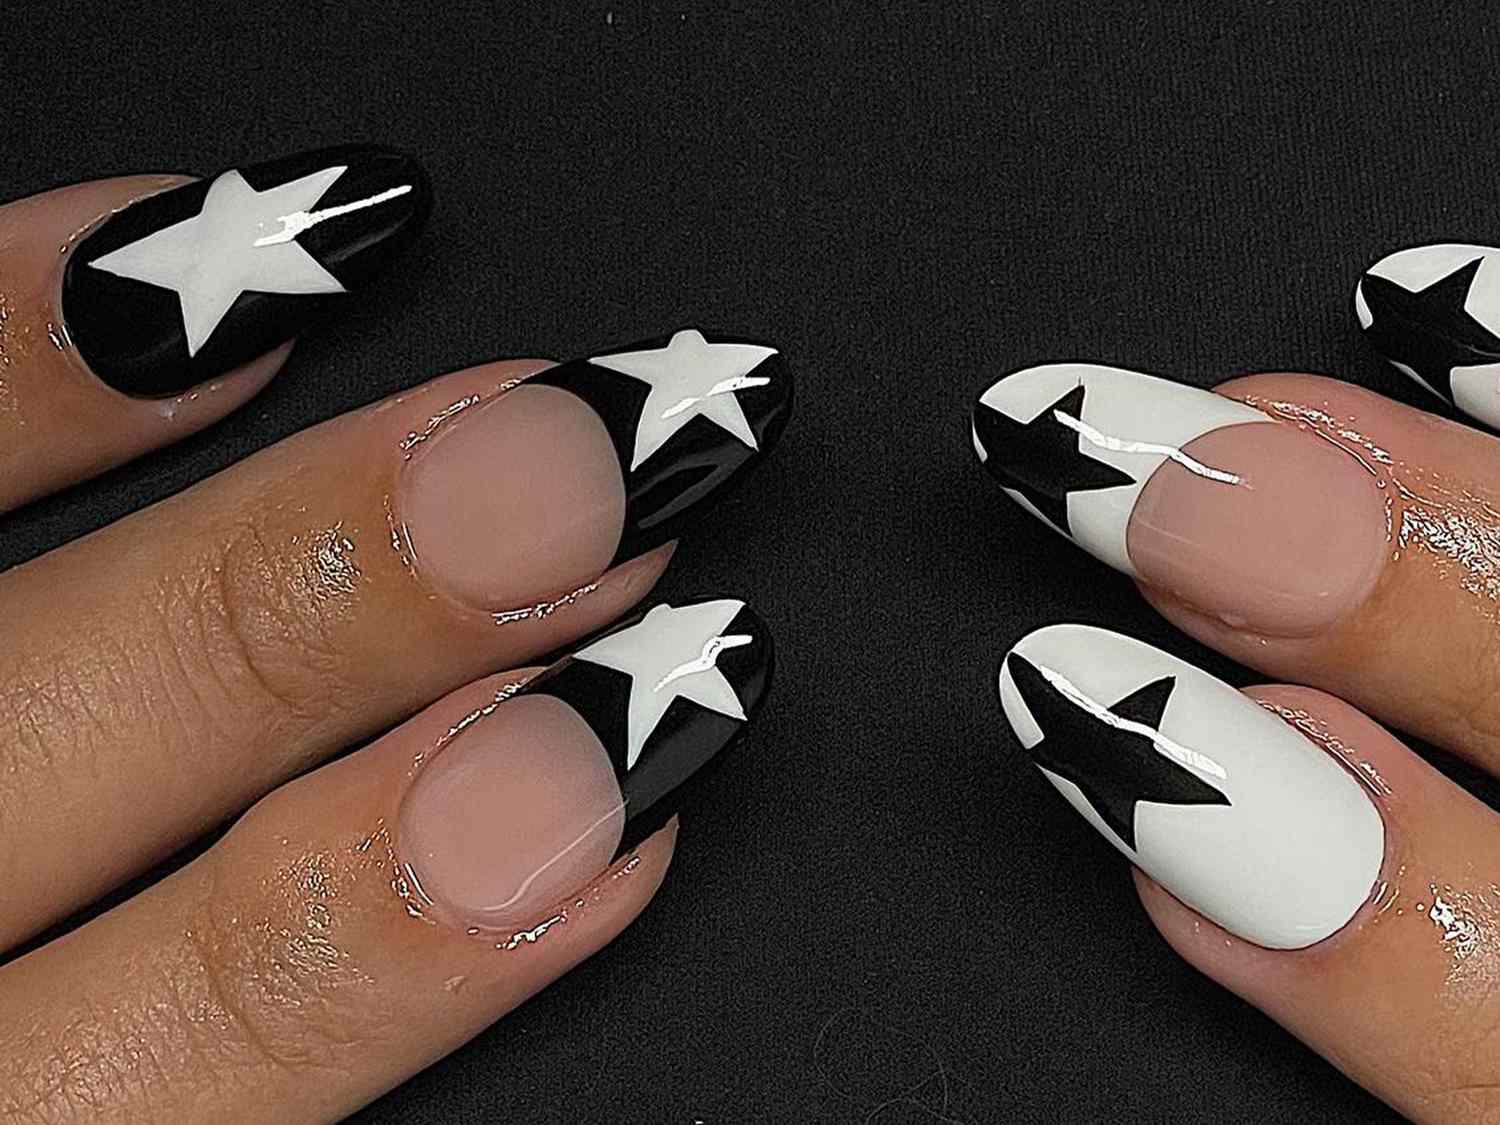
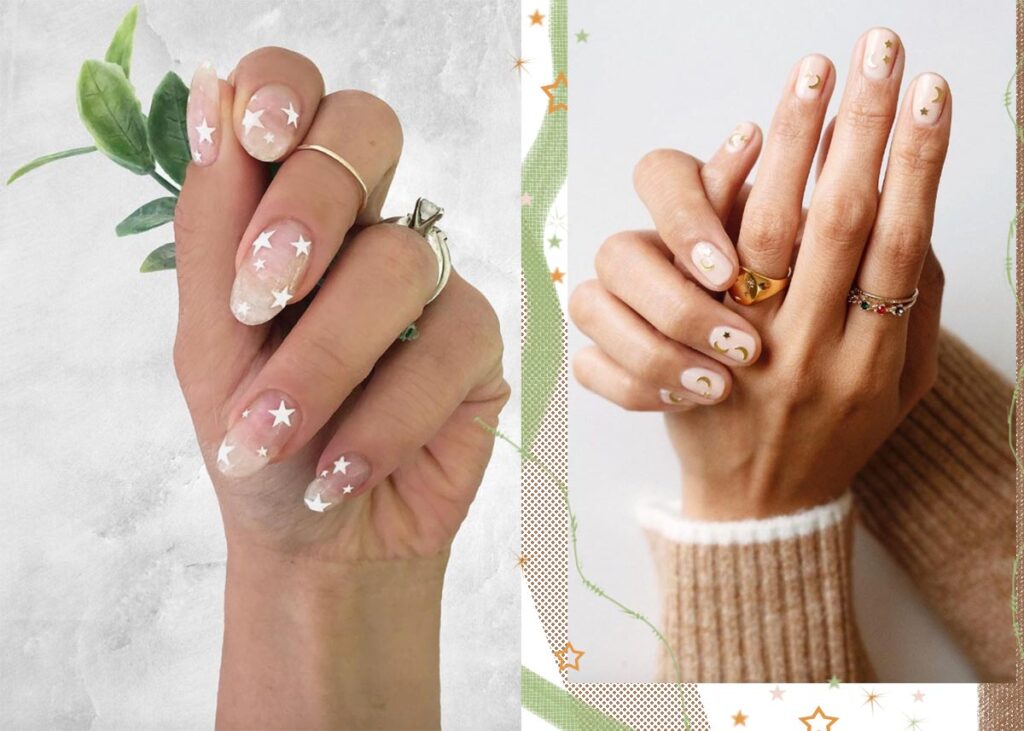
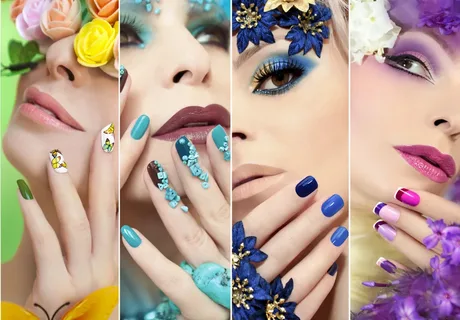
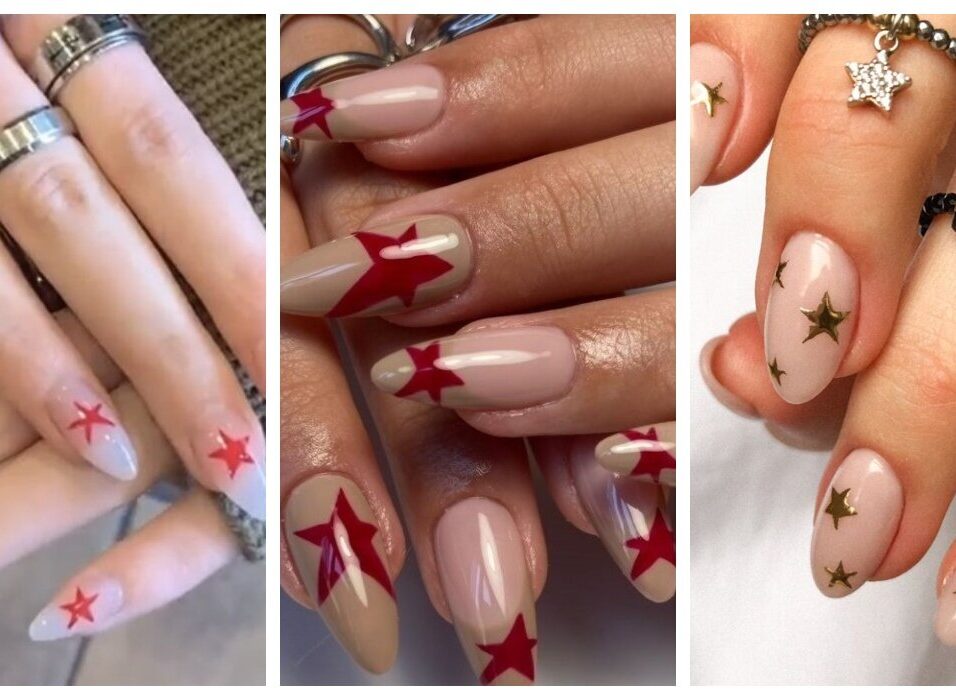
How to Wear Star Nails Every Day
1. Choose a neutral base color:
Start with a neutral nail polish color like nude, beige, or pale pink as the base. This will allow the star nails design to pop.
2. Use a clear or glittery top coat:
Apply a clear or glittery top coat over the star design to help it last longer and give your nails a glossy finish.
3. Invest in good quality star nail stickers or decals:
Look for star nail stickers or decals that are made of high-quality materials and will stay on your nails for several days.
4. Apply a thin layer of top coat over the stars:
After applying the star nail stickers or decals, seal them in with a thin layer of top coat. This will help them stay in place and prevent them from peeling off.
5. Maintain your manicure:
To keep your star nails looking fresh, be sure to fill in any gaps or chipped areas with nail polish or touch up the star design as needed.
6. Consider using a base coat:
Applying a base coat before your nail color can help the star design adhere better and last longer.
7. Avoid excessive water exposure:
Try to limit the amount of time your hands are in water, as this can cause the star design to lift or peel off prematurely.
8. Mix and match designs:
Don’t be afraid to get creative and mix different star designs and sizes on each nail. This can create a unique and eye-catching look.
9. Use holographic or iridescent star stickers:
For an extra special effect, try using holographic or iridescent star nails stickers. This will give your nails a mesmerizing, otherworldly appearance.
10. Experiment with placement:
Play around with the placement of the stars on your nails. You can have them clustered together, spaced out, or even have them pointing in different directions.
11. Pair with other nail art:
Star nails can also be combined with other nail art techniques, such as stripes, dots, or even additional designs like planets or galaxies.
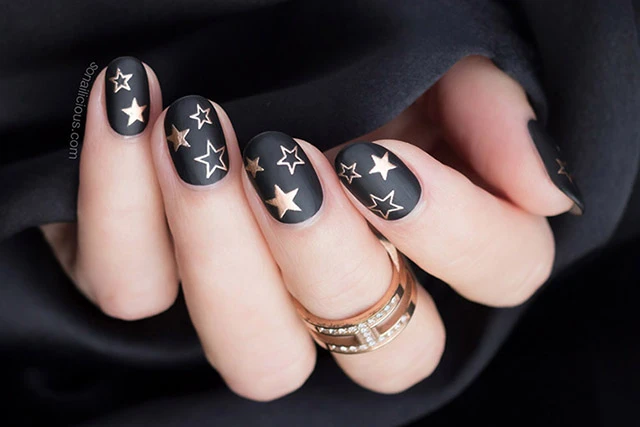
12. Change up the base color:
While neutral shades work well, don’t be afraid to experiment with bolder or more vibrant base colors to make the star design pop even more.
13. Use a star nail stamp:
For a more precise and uniform star design, consider using a star nail stamp. This can help you achieve the perfect star placement every time.
14. Invest in a star nail file:
A star-shaped nail file can be a useful tool for shaping and trimming the edges of your star nails to keep them looking neat and polished.
15. Incorporate seasonal themes:
You can switch up your star nail design to match the current season. For example, use red and green stars for the holidays, or pastel stars for spring.
16. Try glow-in-the-dark stars:
For a fun and unique effect, use glow-in-the-dark star nail stickers or paint. This will make your nails look like they’re glowing at night.
17. Use star nail guides:
If you’re not confident in your freehand star painting skills, use star-shaped nail guides or stencils to help you achieve the perfect star shape and placement.
18. Experiment with different star sizes:
Mix and match star sizes on your nails to create depth and visual interest. Larger stars can be the focal point, while smaller stars can fill in the gaps.
19. Add glitter or rhinestones:
Take your star nails up a notch by adding some glitter, rhinestones, or other embellishments around the star design.
20. Try a star gradient:
Create a gradient effect by placing larger stars at the base of the nail and gradually using smaller stars towards the tip.
21. Use a star nail art pen:
For more precise and intricate star designs, invest in a star nail art pen that allows you to draw the stars directly onto your nails.
22. Incorporate star-themed accessories:
Match your star nails with star-themed jewelry, clothing, or other accessories to complete the look.
23. Use star-shaped nail studs or charms:
Adhere small star-shaped metal studs or charms to your nail design for a 3D effect.
24. Try a star nail stamping plate:
Use a nail stamping plate with star designs to quickly and easily stamp the pattern onto your nails.
25. Embrace negative space:
Leave some of the nail bare around the star design for a modern, minimalist look.
26. Create a star nail accent:

Place a single statement star nail on one or two fingers, while keeping the rest of your nails in a solid color.
27. Ombre star nails:
Fade the star design from the nail bed to the tip, creating an ombre effect.
28. Holographic star nails:
Apply a holographic top coat over your star design for a mesmerizing, multi-dimensional look.
29. Use star-shaped nail stencils:
Stencils can help you achieve precise, uniform star shapes on your nails.
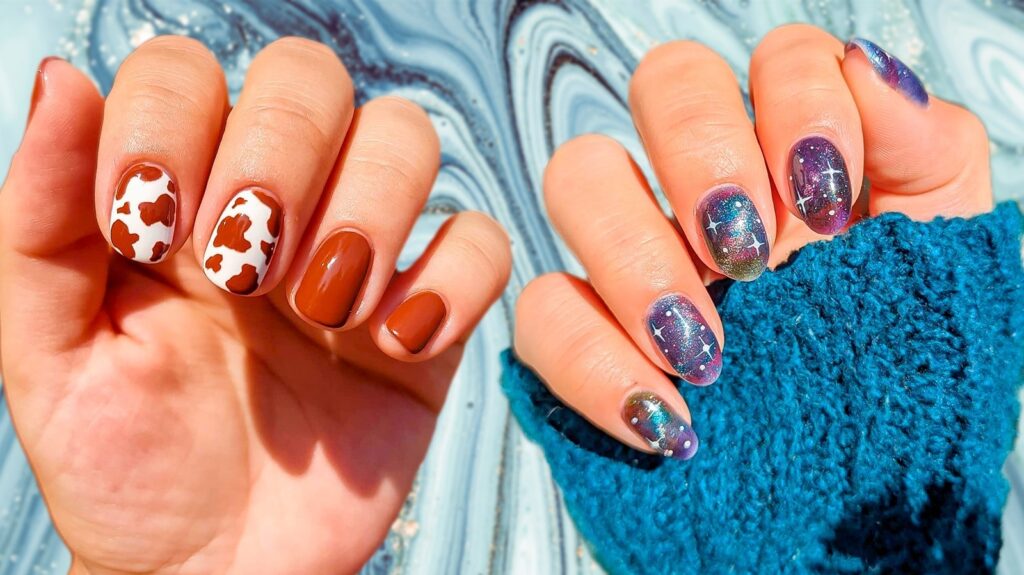
30. Pair with galaxy or cosmic nail art:
Combine your star nails with a galaxy or cosmic-inspired design for an out-of-this-world look.
31. Incorporate star-themed nail charms:
Attach small star-shaped charms, chains, or other decorations to your star nails.
32. Experiment with different color combinations:
Try pairing your star design with unexpected color pairings, like pastels, neons, or metallic shades.
33. Try a star nail art gradient:
Create a gradient effect by using different shades or sizes of stars, starting with larger stars at the cuticle and gradually getting smaller towards the tip.
34. Use glow-in-the-dark star stickers:
For a fun and playful look, apply glow-in-the-dark star nail stickers that will shine in the dark.
35. Incorporate star-themed nail charms or jewelry:
Attach small star-shaped charms, chains, or other decorative elements to your nails for an extra touch of sparkle.
36. Combine star nails with other celestial designs:
Pair your star nails with moon, planet, or galaxy-inspired nail art for a cohesive cosmic look.
37. Use a star nail stamp or stencil:
For precise and consistent star shapes, invest in a star-shaped nail stamp or stencil to make application easier.
38. Try a negative space star design:
Leave some of the natural nail visible around the star pattern for a modern, minimalist aesthetic.
39. Experiment with different star placements:
Position the stars in various arrangements, such as clustered, scattered, or in a straight line, to mix up the look.
40. Add glitter or holographic elements:
Top your star nails with a glittery or holographic topcoat to make them pop even more.
41. Use a star-shaped nail file:
A specialized star-shaped nail file can help you shape and trim your nails with the star design in mind.
42. Combine star nails with other nail art techniques:
Incorporate stripes, dots, or abstract designs alongside your star pattern for a unique, multi-dimensional look.
43. Try a star nail art gradient:
Fade the star pattern from dark to light or vice versa for an ombre effect.
44. Use star-themed nail decals or wraps:
Look for pre-designed star nail stickers, wraps, or appliqués for a quick and easy application.
45. Incorporate star-themed nail accessories:
Attach small star-shaped rhinestones, studs, or other decorative elements to your star nails.
46. Experiment with different star sizes:
Mix and match large and small star designs on the same nail for visual interest.
47. Create a star nail art accent:
Opt for a single statement star nail on one or two fingers, while keeping the rest of your nails in a solid color.

Leave feedback about this