

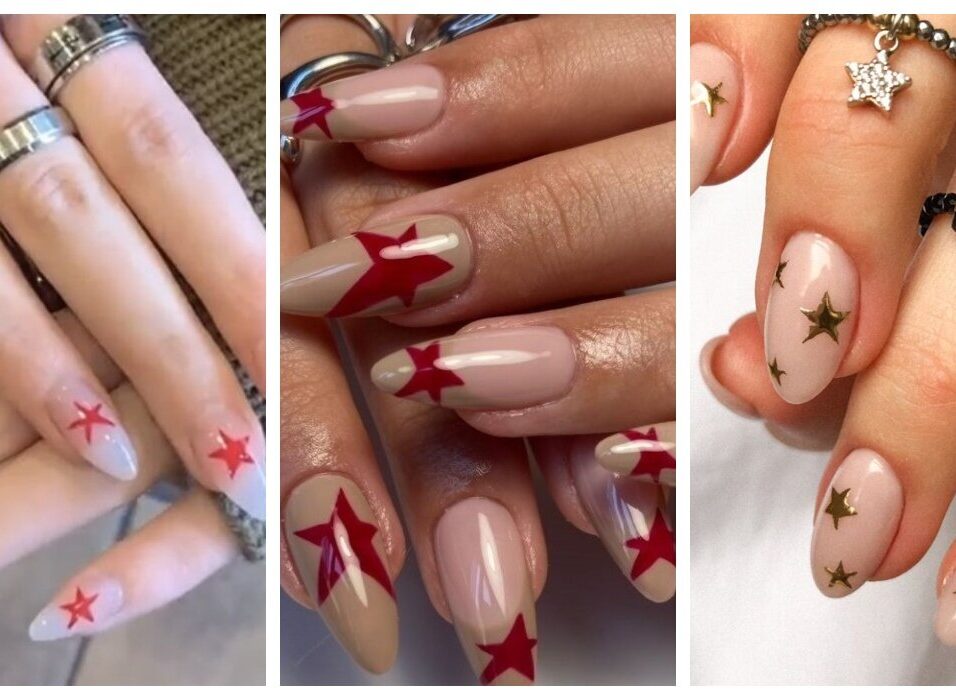
How to Get the Nail Designs With Stars Trend
In the realm of fashion-forward nail art, one trend has been shining brighter than the rest: nail designs adorned with stars. From subtle accents to bold statements, stars have become the celestial motif of choice for many nail enthusiasts. In this comprehensive guide, we’ll delve into the world of nail designs with stars, exploring their origins, providing practical tips, and guiding you through a step-by-step tutorial to achieve this captivating look at home.
Understanding the Nail Designs with Stars Trend:
Nail art has undergone a remarkable evolution, transitioning from simple polishes to intricate designs that rival works of art. Among these innovations, the emergence of nail designs featuring stars has captured the imagination of beauty enthusiasts worldwide. Celebrities and influencers alike have embraced this trend, showcasing stunning variations on social media platforms and red carpets, solidifying stars as the must-have embellishment for nails in the current fashion landscape.
Preparing Your Nails:
Before embarking on your celestial nail journey, it’s crucial to ensure your nails are primed for perfection. Begin by trimming, filing, and shaping your nails to your desired length and style. Smooth out any rough edges and buff the surface to create a clean canvas for your nail designs with stars masterpiece.
Choosing the Right Materials:
Nail Polish:
Base Coat:
Start with a quality base coat to protect your nails and create a smooth surface for your design.
Color Palette:
Choose nail polish colours that complement each other and suit your desired aesthetic. Opt for opaque shades to make the stars stand out.
Nail Art Brushes:
Fine-Tipped Brushes:
Invest in a set of fine-tipped nail art brushes for precision detailing. These brushes will allow you to paint intricate star designs with ease.
Detailing Brush:
A thin detailing brush is ideal for creating small, delicate stars or adding intricate embellishments to your design.
Star-Shaped Nail Stickers or Decals:
Pre-made Stickers:
Look for star-shaped nail stickers or decals in various sizes and designs. These pre-made options can save time and ensure uniformity in your nail art.
Adhesive Quality:
Choose stickers or decals with strong adhesive properties to prevent them from peeling off .
Glitter and Embellishments:
Glitter Polish:
Consider adding a touch of sparkle to your nail designs with glitter nail polish. Choose fine or chunky glitter depending on your preference.
Rhinestones or Studs:
For extra glamour, incorporate rhinestones or metal studs into your design. Select colours and shapes that complement your chosen color palette.
Top Coat:
Sealing Finish:
Finish your nail art with a high-quality top coat to seal the design and protect it from chipping.
Glossy or Matte:
Choose between a glossy or matte top coat based on your desired finish. A glossy top coat will enhance the shine of your design, while a matte top coat will create a chic, understated look.
Tips for Selecting Materials:
Quality Matters:
Invest in high-quality nail polish and accessories to ensure vibrant colours, smooth application, and long-lasting results.
Experiment with Brands:
Explore different nail polish brands and nail art suppliers to find products that suit your preferences and budget.
Consider Versatility:
Choose materials that offer versatility, allowing you to create a variety of nail designs beyond stars.
Read Reviews:
Before making a buy, read reviews from other nail enthusiasts to gauge the quality and performance of the products.
Step-by-Step Tutorial for Nail Designs with Stars
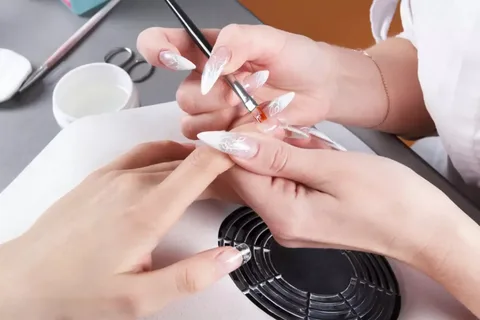
Prepare Your Workspace:
Set up your manicure station with all your materials within reach.
Apply a Base Coat:
Start by applying a thin layer of base coat to each nail and allow it to dry completely.
Select Your Color Palette:
Choose your desired nail polish colours for the base and star designs. Consider complementary or contrasting hues for a striking effect.
Paint Your Base:
Apply your chosen base color to each nail and let it dry .
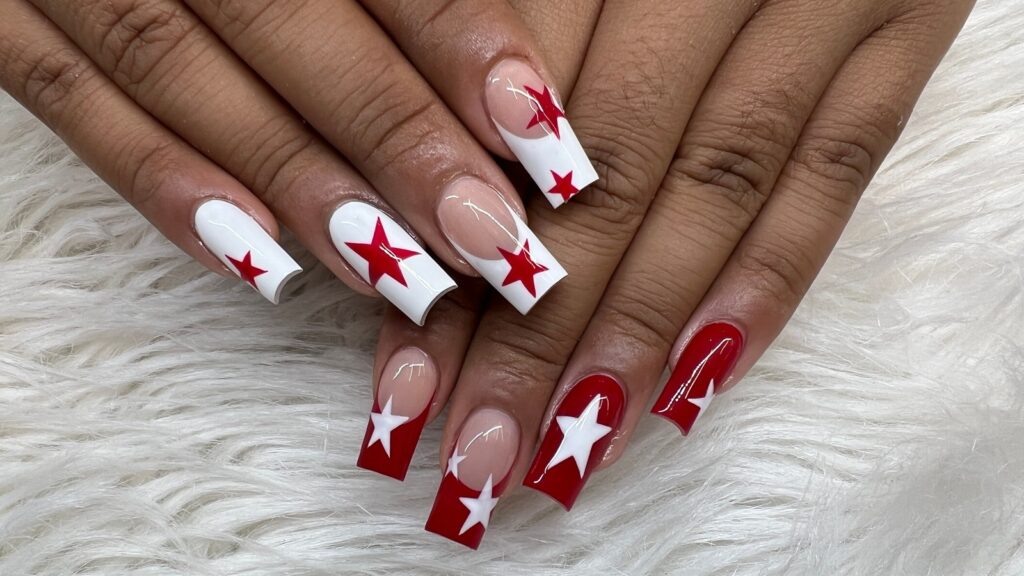
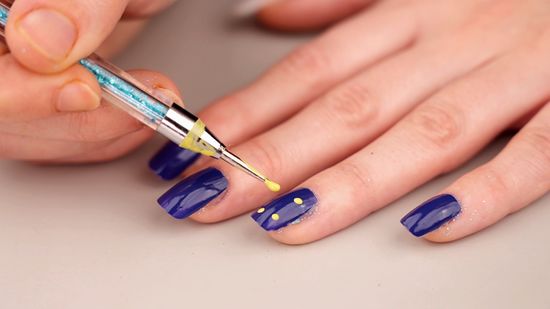
Add the Stars:
Using tweezers place star-shaped nail stickers or decals onto your nails. Or, use a nail art brush to paint stars freehand onto your nails.
Embellish as Desired:
Get creative with glitter, rhinestones, or other embellishments to enhance your starry design.
Apply a Top Coat:
Seal your nail art masterpiece with a generous layer of top coat to protect the design and impart a glossy finish.
Finishing Touches and Maintenance:
Congratulations! You’ve adorned your nails with dazzling stars. To ensure your nail designs with stars remain pristine, avoid exposing your nails to water immediately after application, and be gentle with your hands to prevent chipping. When it’s time for a change, remove the design using nail polish remover and nourish your nails with moisturising treatments.
Conclusion of Nail Designs with Stars
The allure of nail designs with stars knows no bounds, offering endless possibilities for self-expression and creativity. Whether you opt for subtle accents or bold statements, this celestial trend is sure to elevate your manicure game to stellar heights. So, gather your materials, unleash your imagination, and let your nails shine bright like the stars.

Leave feedback about this