
What are some of the best simple star nail design?
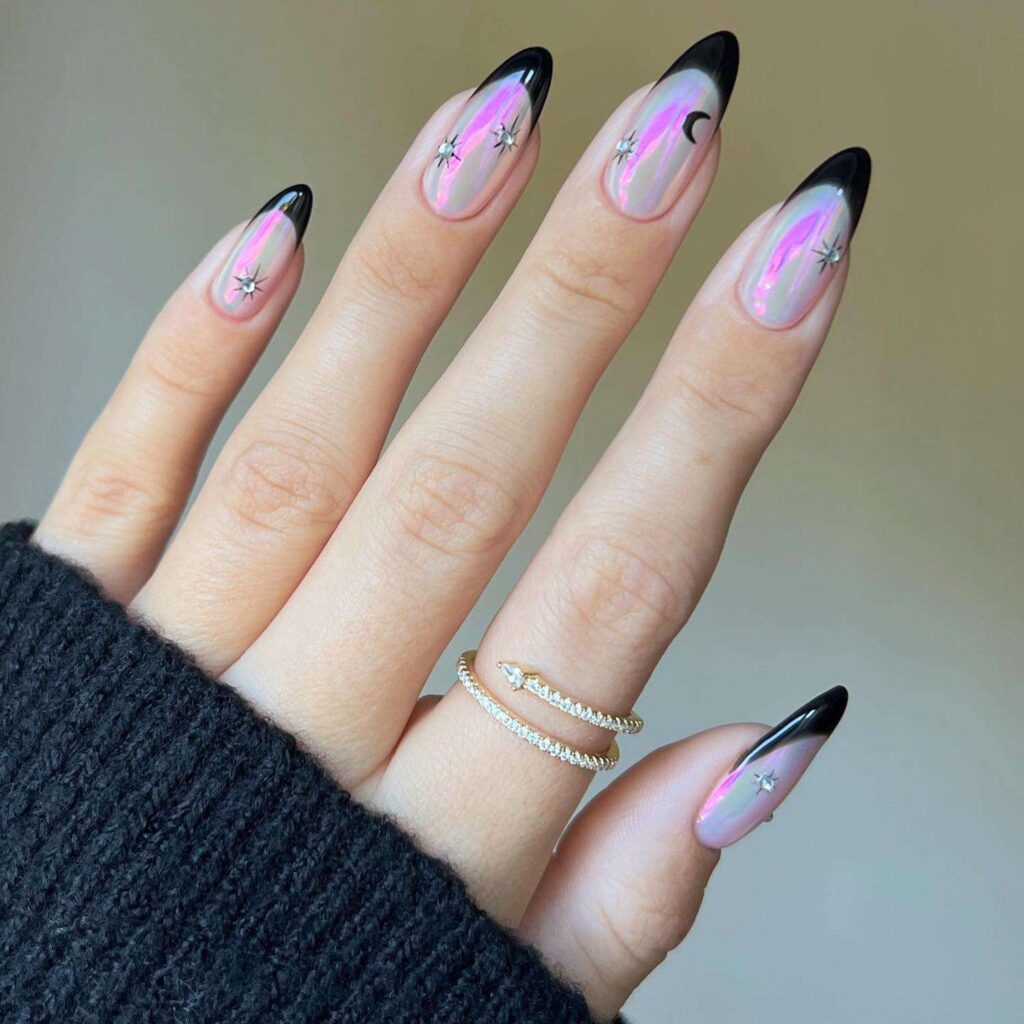
Are you ready to elevate your nail game with dazzling star designs? Stars are timeless symbols of elegance and sophistication that add a touch of celestial charm to your fingertips. In this guide, we’ll delve into the world of simple star nail design, providing you with step-by-step instructions, tips, and inspiration to create stunning nail art. Whether you’re a novice or a seasoned nail enthusiast, these designs are perfect for anyone looking to make a celestial statement.
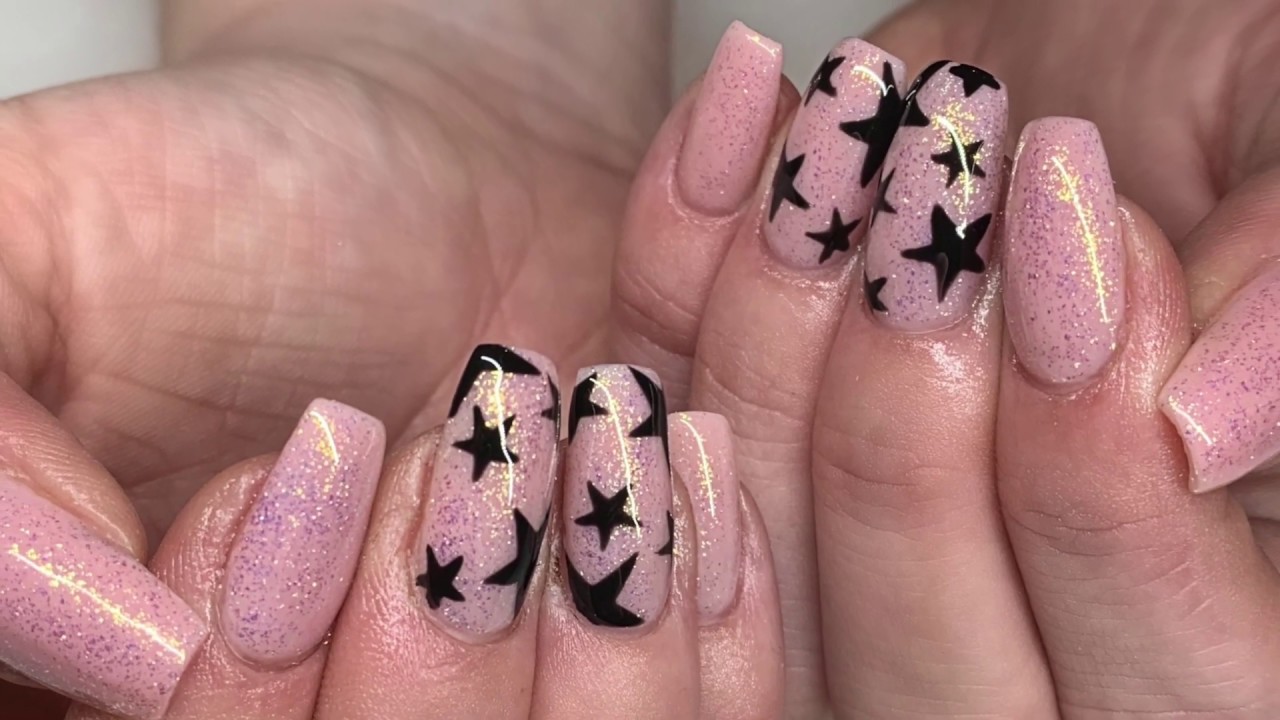
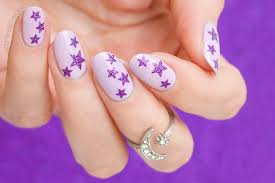
Classic Star Outline Design:
Materials Needed:
Nail polish, nail art brush or toothpick, top coat.
Step-by-Step Guide:
Apply a base coat and let it dry.
Paint nails with base color and let it dry completely.
Using a nail art brush or toothpick, carefully draw star outlines on each nail.
Fill in the stars with your chosen color.
Seal with top coat for a glossy finish.
Tips for Perfecting the Look:
Practice drawing simple star nail design on paper first, use a steady hand, and clean up any mistakes with a small brush dipped in nail polish remover.
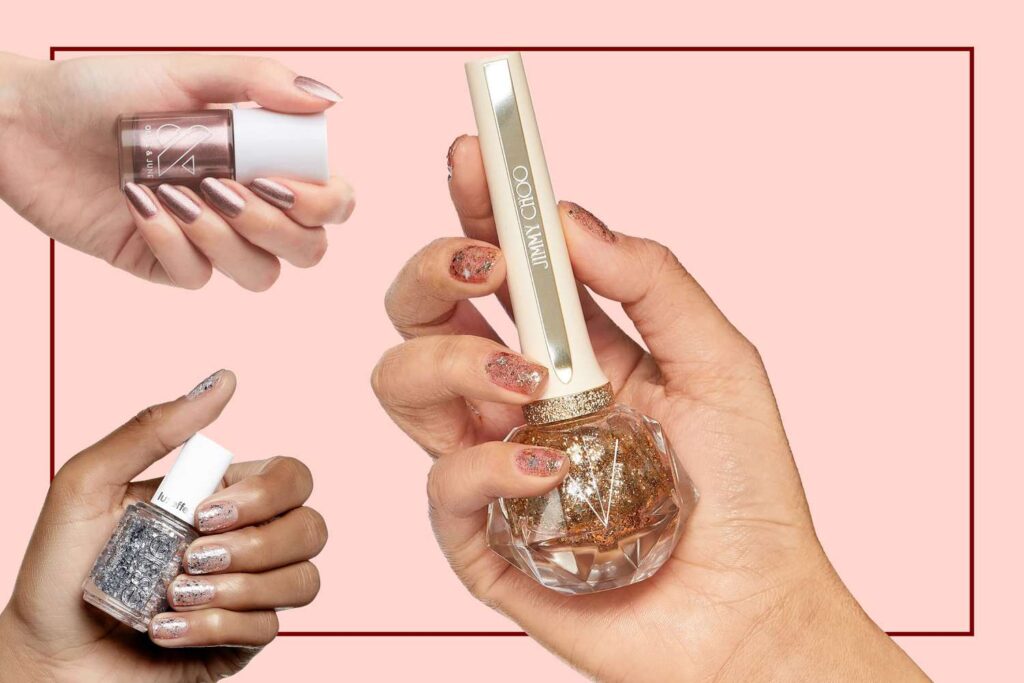
Glittery Star Accent Nails:
Required Supplies:
Glitter nail polish, small star nail stickers or stencils, top coat.
Application Process:
Apply a base coat and let it dry.
Paint nails with glitter base color and let it dry completely.
Place star stickers or stencils on desired nails.
Paint over the stickers with your chosen star color.
Carefully remove the stickers/stencils while the polish is still wet.
Seal with top coat for a sparkling finish.
Maintaining the Sparkle:
Reapply top coat every few days to keep the glitter from chipping.
Negative Space Star Nails:
What you’ll need:
Nail polish, striping tape or nail art tape, top coat.
Creating the Negative Space:
Apply a base coat and let it dry.
Place striping tape diagonally across each nail to create a star shape.
Paint nails with base color and let it dry completely.
Carefully remove the tape to reveal the negative space star.
Fill in the star with your chosen color.
Seal with top coat for a sleek finish.
Variations to Try:
Experiment with different star shapes and placement for unique designs.
Constellation Nail Art:
Gathering Your Tools:
Nail polish, dotting tool or toothpick, top coat.
Mapping Out the Constellations:
Apply a base coat and let it dry.
Paint nails with base color and let it dry completely.
Using a dotting tool or toothpick, create constellation patterns on each nail.
Connect the dots to form the constellations.
Seal with top coat to preserve the design.
Adding Finishing Touches:
Add small rhinestones or glitter accents to represent simple star nail design within the constellations.
Starry French Tips:
Essential Tools:
Nail polish, French tip guides, top coat.
French Tip Technique:
Apply a base coat and let it dry.
Place French tip guides on each nail, leaving space for the stars.
Paint nails with base color and let it dry completely.
Apply tip color to the free edge of the nail using the guides.
Remove the guides carefully while the polish is still wet.
Using a nail art brush or toothpick, add stars to the base of each nail.
Seal with top coat for a polished finish.
Customising Your French Tips:
Experiment with different tip colours and star placements for a unique look.
Star Stamping Designs:
Supplies you’ll require:
Nail polish, stamping plate with star designs, stamper and scraper, top coat.
Using Nail Stamps Effectively:
Apply a base coat and let it dry.
Paint nails with base color and let it dry completely.
Apply stamping polish to the star design on the stamping plate.
Scrape off excess polish with the scraper and quickly transfer the design onto the stamper.
Gently press the stamper onto each nail to transfer the design.
Seal with top coat to protect the stamped design.
Experimenting with Colors and Patterns:
Mix and match stamping colours for a playful twist on classic star designs.
Minimalist Star Accents:
Items you’ll need:
Nail polish, small nail art brush, top coat.
Placing the Minimalist Stars:
Apply a base coat and let it dry.
Paint nails with base color and let it dry completely.
Using a small nail art brush, create simple star accents on each nail.
Keep the design minimalistic by limiting the number of stars.
Seal with top coat for a clean finish.
Keeping It Chic and Simple:
Opt for neutral base colours and metallic star accents for an understated yet stylish look.
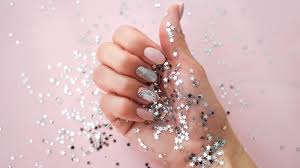
Starry Gradient Nails:
Necessary Supplies:
Nail polish, makeup sponge, star-shaped nail vinyls or stickers, top coat.
Achieving the Gradient Effect:
Apply a base coat and let it dry.
Paint nails with base color and let it dry completely.
Apply gradient colours onto a makeup sponge in overlapping layers.
Dab the sponge onto each nail to create a gradient effect.
Place star-shaped nail vinyls or stickers on desired nails.
Seal with top coat to blend the colours and secure the stars.
Blending Colours Seamlessly:
Choose gradient colours that complement each other for a smooth transition.
Star Decals and Stickers:
Procuring Your Materials:
Star-shaped nail decals or stickers, clear nail polish, top coat.
Applying the Decals or Stickers:
Apply a base coat and let it dry.
Paint nails with base color and let it dry completely.
Carefully place star decals or stickers onto each nail.
Press down gently to ensure they adhere to the nail surface.
Seal with clear nail polish or top coat for longevity.
Seal the Deal with Top Coat:
Apply an extra layer of top coat around the edges of the decals/stickers to prevent lifting.
Star-Inspired Nail Jewellery:
Finding the Right Nail Jewellery:
Star-shaped nail charms, adhesive nail glue, top coat.
Applying Nail Jewellery Safely
Apply a base coat and let it dry.
Paint nails
Apply a small amount of adhesive nail glue to the back of the nail charm.
Carefully place the nail charm onto the desired nail, pressing gently to ensure it sticks.
Allow the adhesive to dry completely before applying the top coat.
Seal the entire nail with the top coat, including the nail charm, to secure it in place.
Removing Nail Jewellery without Damage:
Soak nails in warm, soapy water to loosen the adhesive, and then gently peel off the nail charm using a cuticle pusher or orangewood stick.
Comparison Table of Simple Star Nail Design
| Design | Difficulty | Required Materials | Duration of Wear |
| Classic Star Outline | Easy | Nail polish, nail art brush, top coat | 5-7 days |
| Glittery Star Accent | Easy | Glitter nail polish, star stickers | 3-5 days |
| Negative Space Star | Medium | Nail polish, striping tape, top coat | 5-7 days |
| Constellation Nail Art | Medium | Nail polish, dotting tool, top coat | 7-10 days |
| Starry French Tips | Easy | Nail polish, French tip guides | 5-7 days |
| Star Stamping Designs | Medium | Nail polish, stamping plate, stamper | 7-10 days |
| Minimalist Star Accents | Easy | Nail polish, small nail art brush | 5-7 days |
| Starry Gradient Nails | Medium | Nail polish, makeup sponge, nail vinyls | 7-10 days |
| Star Decals and Stickers | Easy | Star decals, clear nail polish | 3-5 days |
| Star-Inspired Nail Jewellery | Easy | Nail charms, adhesive nail glue | 5-7 days |
FAQS of Simple Star Nail Design
Q1: How long do star nail designs typically last?
A1: The duration of star nail designs depends on factors such as the quality of nail polish used, the application technique, and how well you maintain your nails. On average, most designs can last between 5 to 10 days.
Q2: Can I use regular nail polish for these designs?
A2: Yes, regular nail polish can be used for all the designs mentioned in this guide. However, using high-quality nail polish and applying a top coat can help prolong the longevity of your nail art.
Q3: Are star nail designs suitable for short nails?
A3: Absolutely! Star nail designs can be adapted to suit nails of any length. For shorter nails, consider using smaller star accents or creating minimalist designs to enhance the overall look.
Q4: How can I make my star nail design last longer?
A4: To make your star nail design last longer, ensure that you apply a base coat before painting your nails, use high-quality nail polish, seal your design with a top coat, and avoid exposing your nails to harsh chemicals or excessive water.
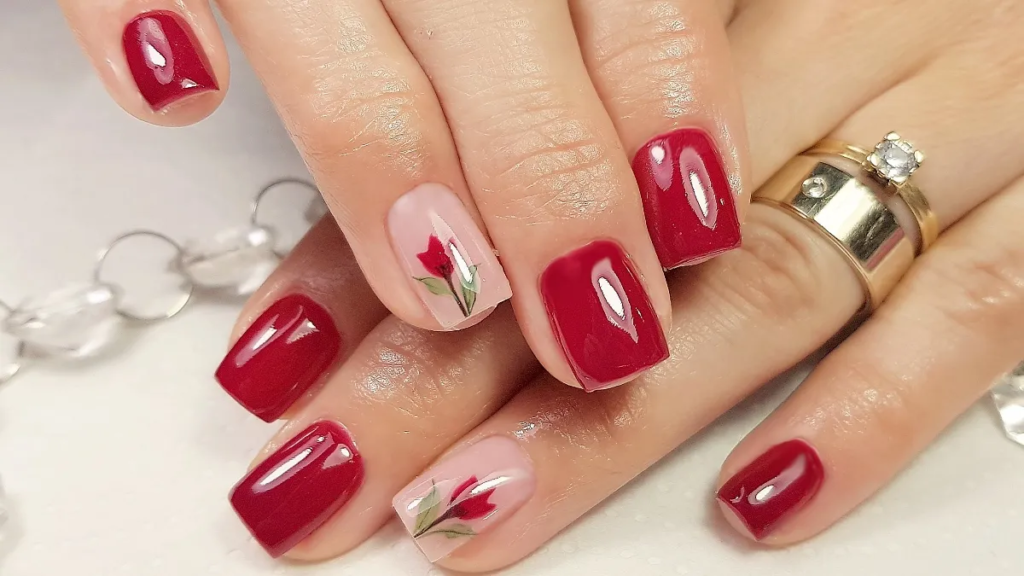
Q5: Can I incorporate other shapes with star designs?
A5: Yes, you can definitely incorporate other shapes with star designs to create unique and personalised nail art. Experiment with geometric shapes, flowers, or even animal prints to add an extra dimension to your star-inspired nails.
Conclusion of Simple Star Nail Design
Mastering simple star nail design opens up a world of creative possibilities for expressing your style and personality. Whether you prefer classic outlines, glittery accents, or intricate constellations, there’s a star design that’s perfect for you. By following the step-by-step instructions, tips, and suggestions outlined in this guide, you’ll be well on your way to achieving stunning star-inspired nails that are sure to turn heads wherever you go. So, unleash your inner nail artist, get creative, and let your fingertips shine bright like the stars!

Leave feedback about this