
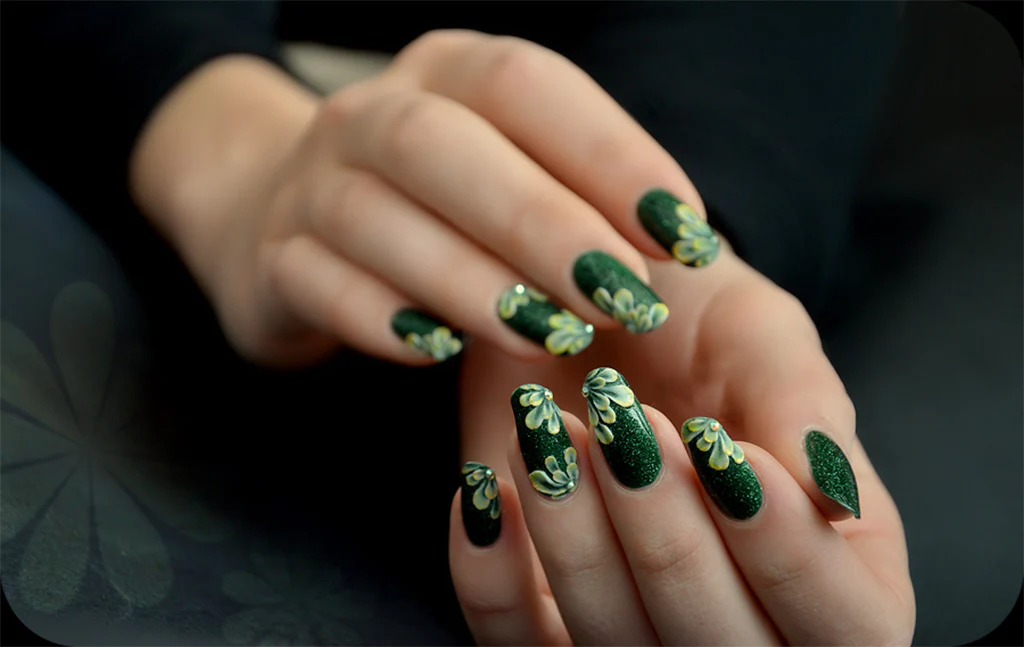
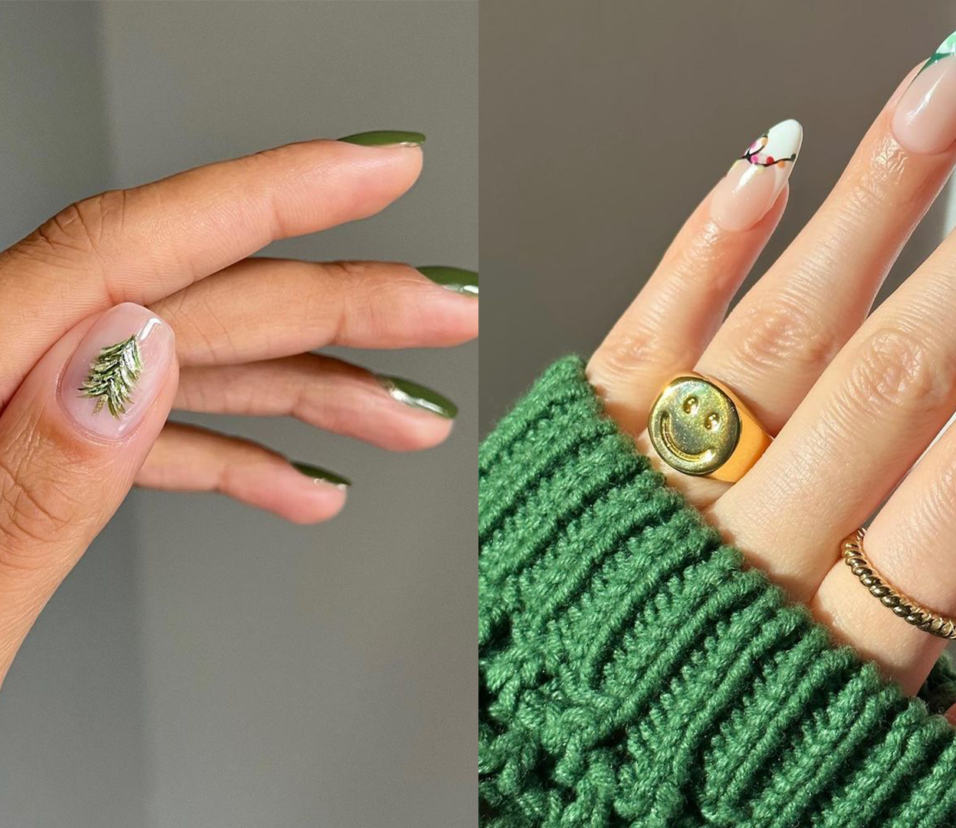
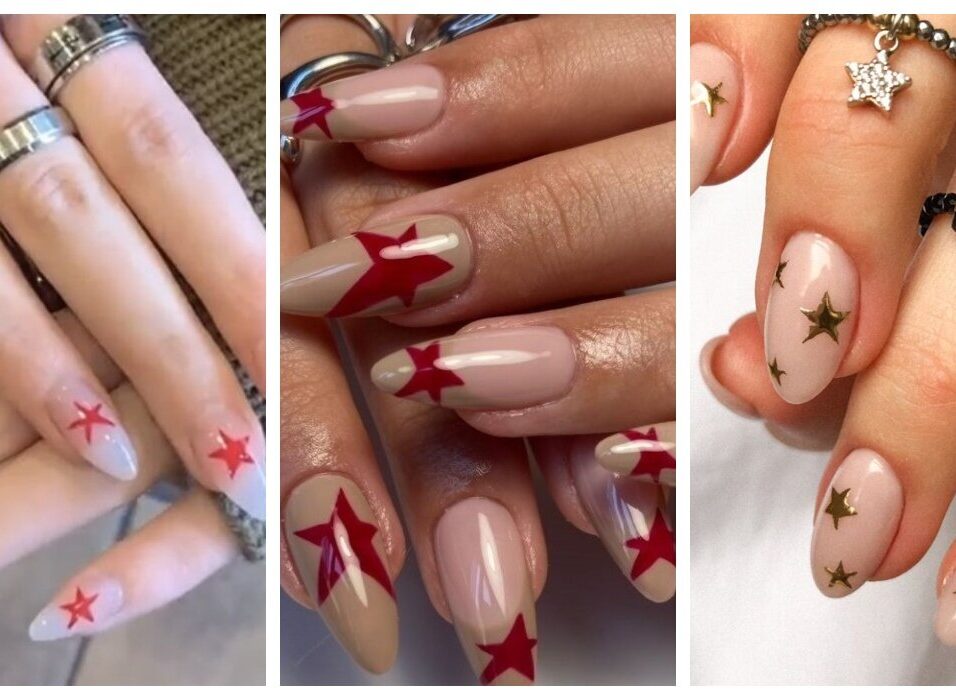
Star Nails for Beginners :Cheap and Easy
Simple and budget-friendly star nails designs for beginners:
1. Glitter Star Nails:

– Apply a clear or light-colored nail polish as the base.
– Using a small dotting tool or toothpick, create star shapes by dotting glitter polish or acrylic paint in a contrasting color.
– Finish with a top coat.
2. Stamped Star Nails:
– Start with a colored nail polish base.
– Use a star-shaped nail stamp and transfer the design onto your nails.
– You can stamp the stars in a different color or use a holographic or metallic stamping polish.
3. Sponged Star Nails:
– Apply a base color of your choice.
– Cut a small sponge into a star shape.
– Dip the sponge into a contrasting nail polish and dab it onto your nails to create a sponged star pattern.
– Finish with a top coat.
4. Striped Star Nails:
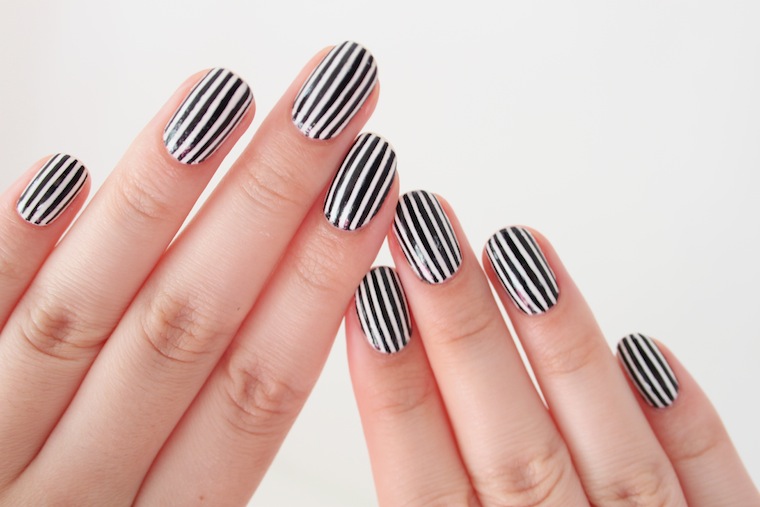
– Paint your nails with a base color.
– Using nail tape or a striping brush, create diagonal lines to form a star shape.
– Fill in the sections with a contrasting color.
– Remove the tape and apply a top coat.
5. Freehand Star Nails:
– Start with a base color.
– Using a small brush or a toothpick, carefully draw star shapes directly onto your nails.
– You can fill in the stars with a different color or leave them as an outline.
– Finish with a top coat.
6. Star Accent Nails:
– Paint your nails with a solid color base.
– On one or two nails, create a star design using a nail art brush or dotting tool.
– You can use a contrasting color or a metallic polish to make the stars stand out.
7. Negative Space Star Nails:
– Apply a base color to your nails.
– Use striping tape or a small piece of paper to create a star shape.
– Paint over the exposed area with a different color, leaving the star shape as a negative space.
– Remove the tape and finish with a top coat.
8. Layered Star Nails:
– Start with a colored base coat.
– Use a star-shaped nail stencil or create a star shape using striping tape.
– Apply a contrasting polish over the stencil or tape.
– Remove the stencil or tape to reveal the layered star design.
9. Glitter Star Tips:
– Paint your nails with a nude or light-colored polish.
– On the tips of your nails, use a small brush to create a star shape with a glitter polish.
– You can also try using a glitter ombre effect, starting with more glitter at the tips and fading it down towards the cuticles.
10. Holographic Star Nails:
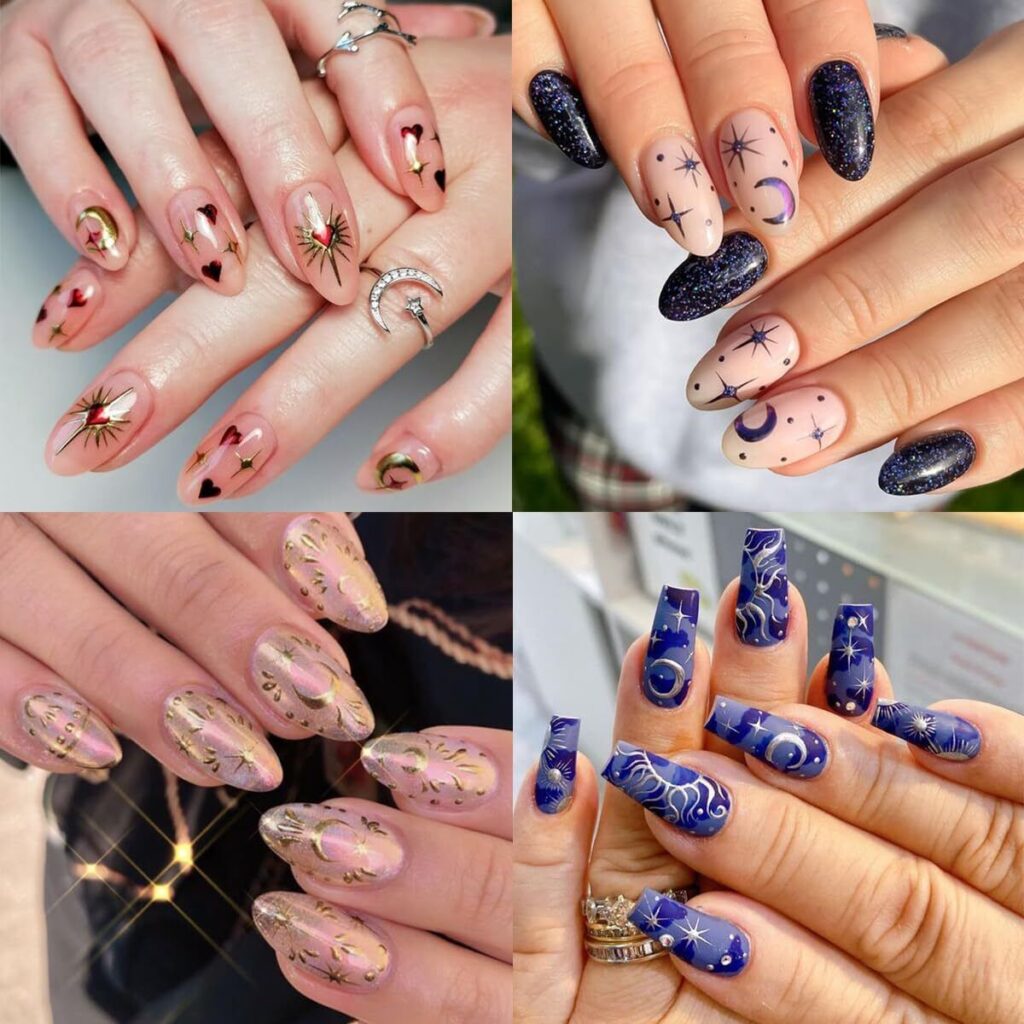
– Begin with a black or dark-colored base coat.
– Use a holographic or iridescent nail polish to create star shapes on your nails.
– For a more dramatic effect, you can add a few scattered holographic glitter pieces.
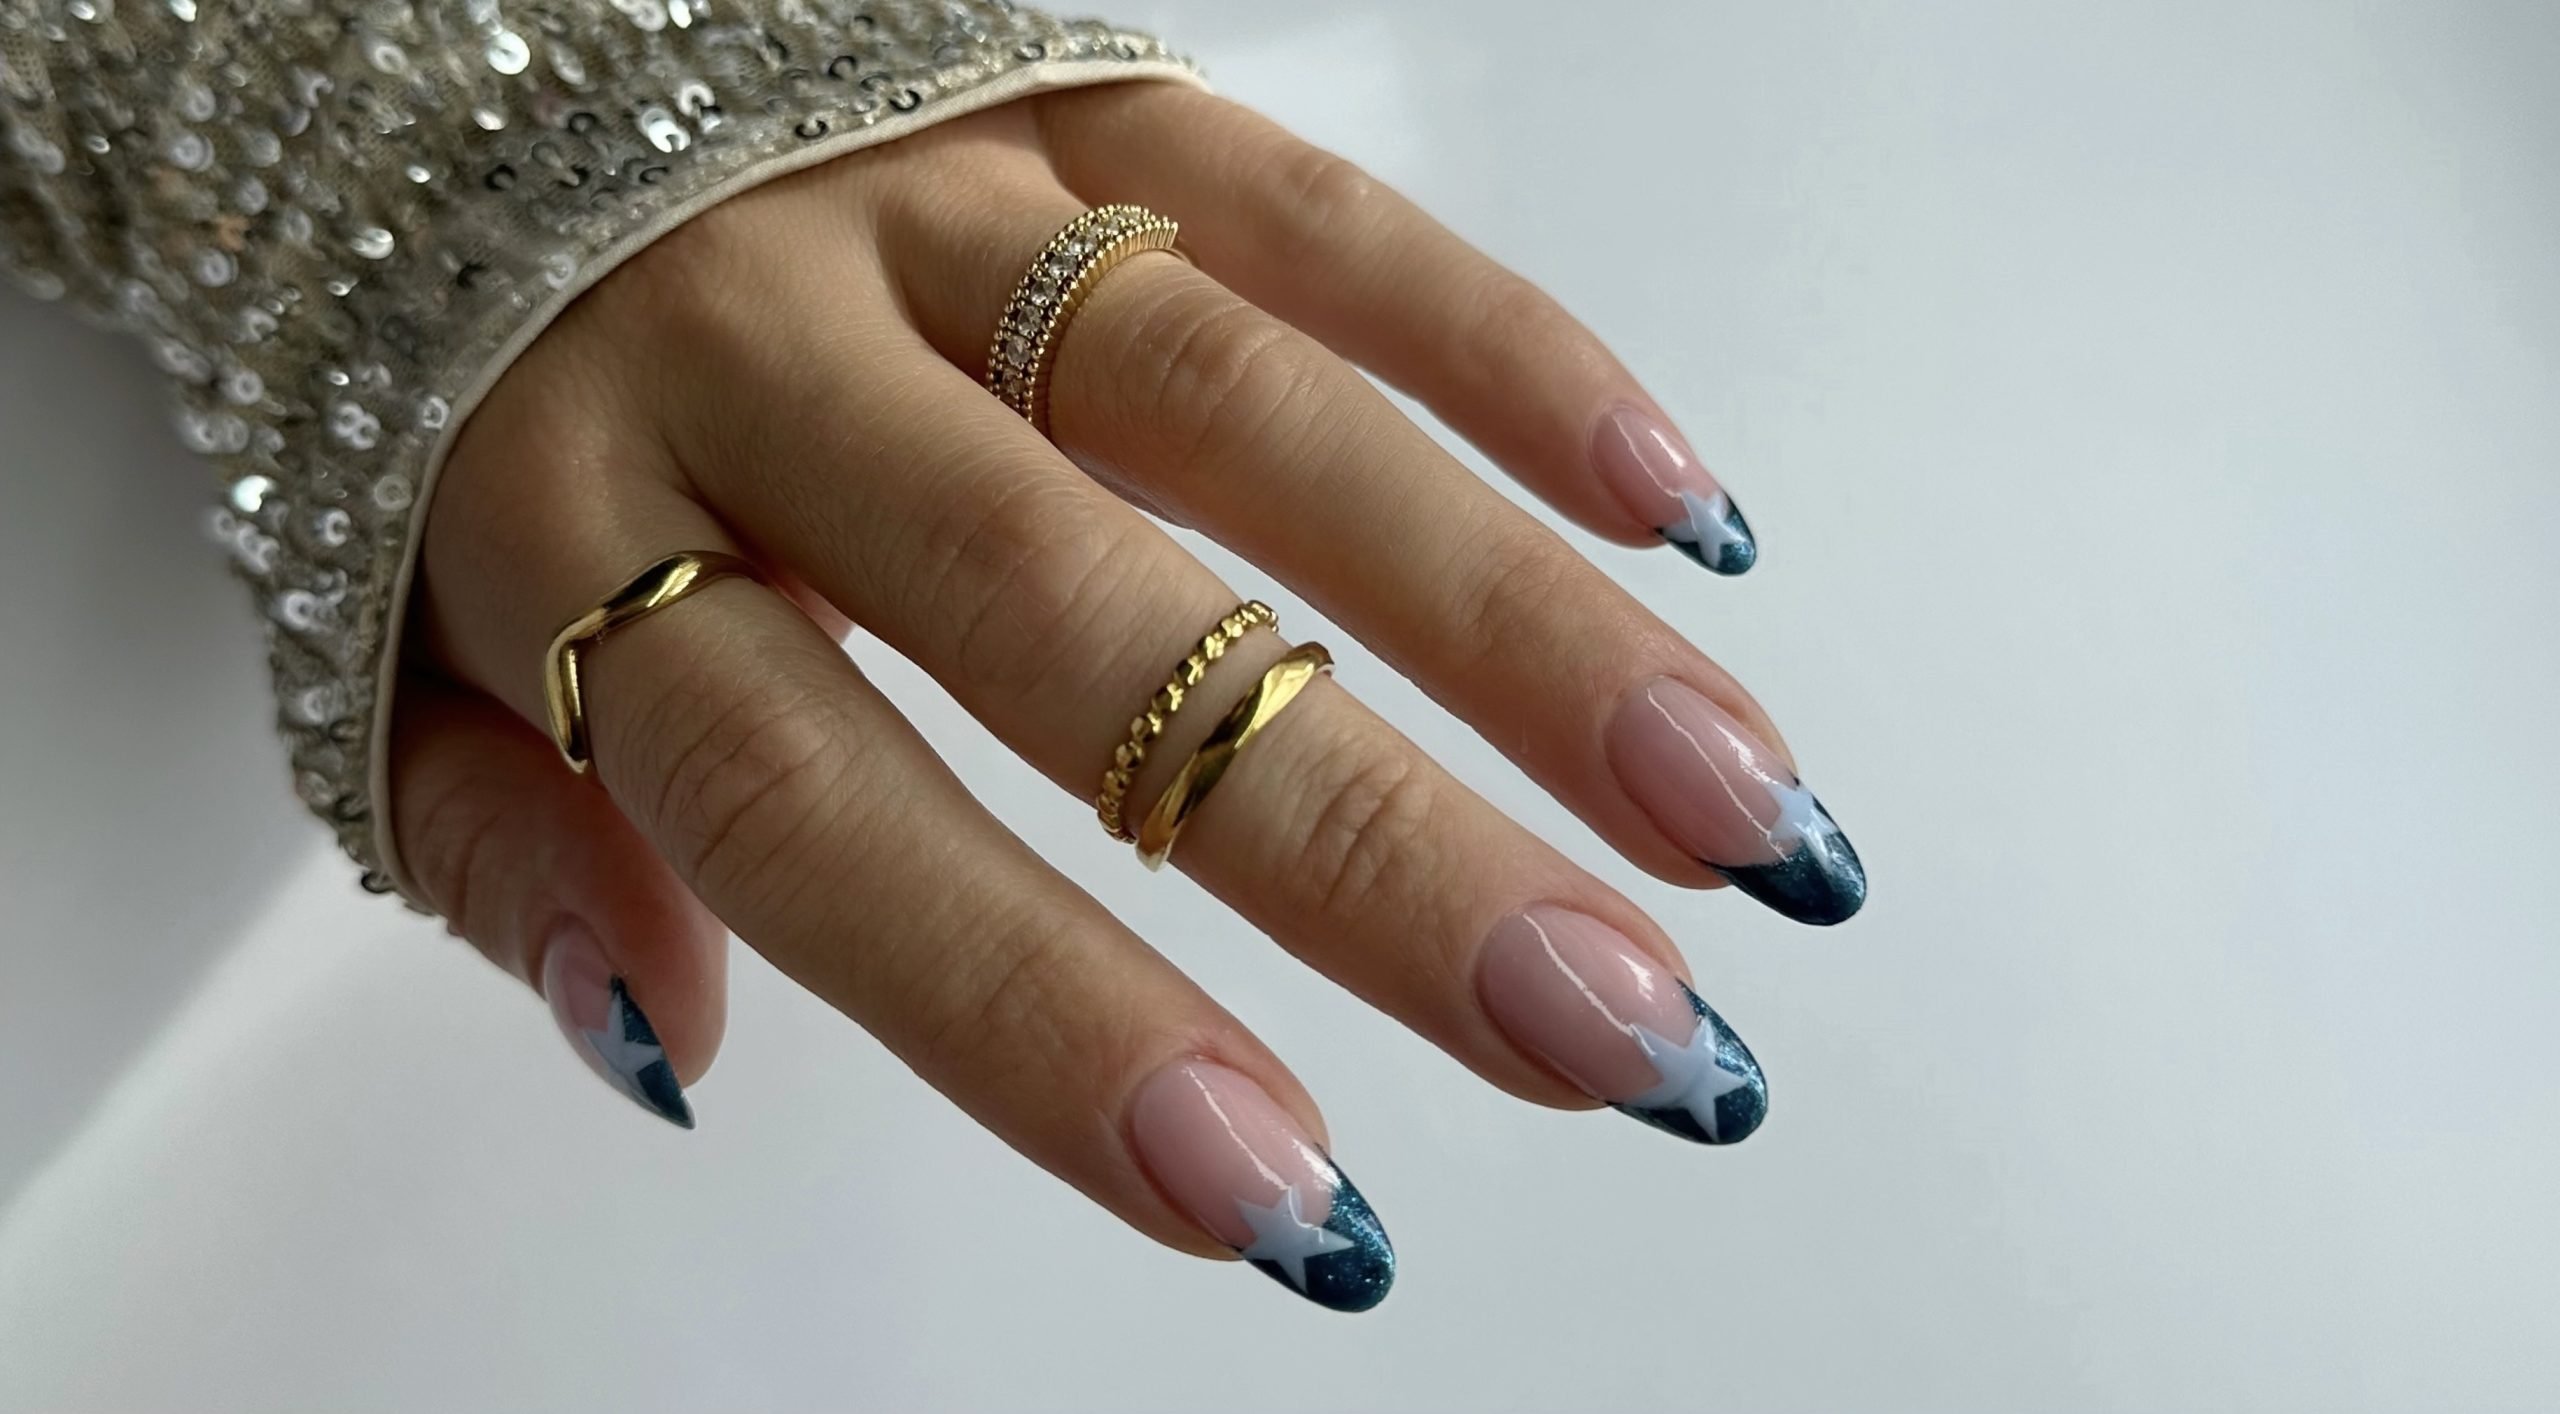
11. Starry Night Nails:
– Apply a dark blue or black nail polish as the base.
– Use a small dotting tool or a toothpick to create white or silver star shapes randomly across your nails.
– You can also add a few larger stars using a fine-tipped nail art brush.
– Finish with a glossy top coat.
12. Gradient Star Nails:
– Start with a light-colored base coat.
– Use a makeup sponge to create a gradient effect, going from light to dark or from one color to another.
– While the gradient is still wet, use a toothpick or dotting tool to dot on star shapes in a contrasting color.
– Seal with a top coat.
13. Reverse Stamped Star Nails:
– Paint your nails with a light or metallic polish.
– Use a star-shaped nail stamping plate and a dark or contrasting color stamping polish.
– Stamp the star design directly onto your nails, creating a reverse stamping effect.
– Finish with a glossy top coat.
14. Glow-in-the-Dark Star Nails:
– Apply a glow-in-the-dark nail polish as the base coat.
– Use a dotting tool or a fine-tipped brush to create star shapes with a contrasting color, such as white or a metallic shade.
– Once dry, the stars will glow in the dark for a fun and eye-catching effect.
15. Textured Star Nails:
– Start with a smooth base coat.
– Use a textured or matte nail polish to paint your nails.
– While the polish is still wet, use a toothpick or small brush to create star shapes.
– The contrast between the smooth base and the textured stars will create an interesting design.
16. Foil Star Nails:
– Apply a base color to your nails and let it dry.
– Cut out small star shapes from star-patterned foil or metallic foil sheets.
– Carefully place the foil star shapes onto your nails and secure them with a clear top coat.
17. Stenciled Star Nails:
– Paint your nails with a solid color base.
– Use star-shaped nail stencils or create your own stencils using tape or hole reinforcement labels.
– Apply a contrasting color nail polish over the stencils, then peel them off to reveal the star design.
18. Dual-Colored Star Nails:
– Paint your nails with two different nail polish colors, dividing the nail in half.
– Use a small nail art brush or a toothpick to carefully paint star shapes on the contrasting color section.
– This creates a fun and vibrant dual-colored star pattern.
19. Ombre Star Nails:
– Start with a light base color on your nails.
– Using a makeup sponge, create an ombre effect by sponging on a darker shade towards the tips of your nails.
– While the ombre is still wet, use a dotting tool or a small brush to add star shapes in a contrasting color.
– Finish with a top coat.
20. Stamped Star Gradient Nails:
– Apply a gradient base color to your nails, starting with a light shade at the cuticles and gradually getting darker towards the tips.
– Use a star-shaped nail stamp and a metallic or holographic stamping polish to create a star design over the gradient.
– Seal with a glossy top coat.

Leave feedback about this