
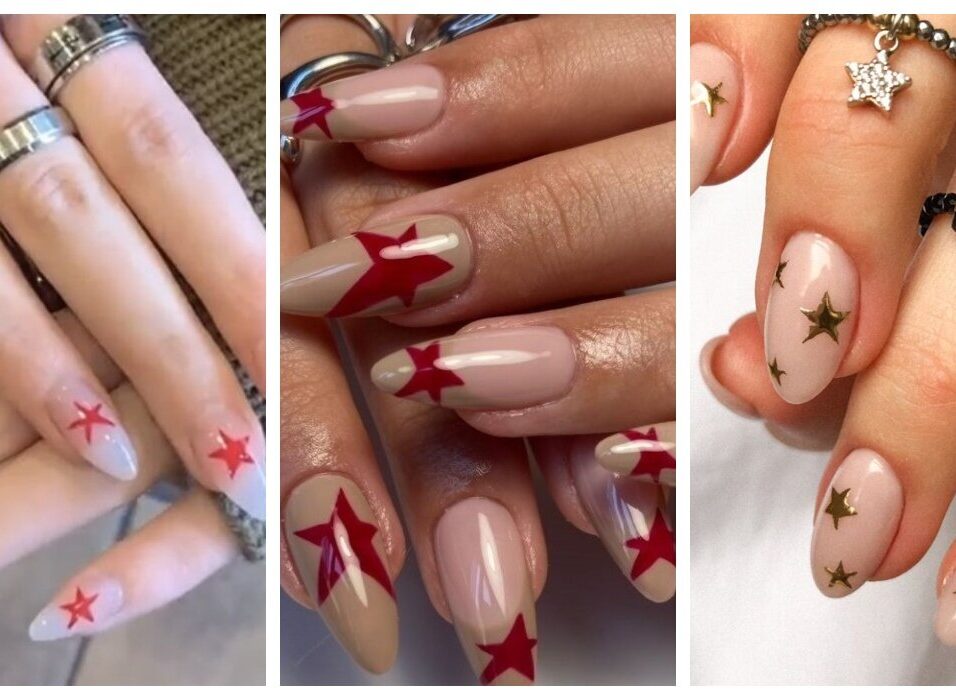
Basic Star Nail Design Techniques
Welcome to the dazzling world of nail art! Whether you’re a seasoned nail technician or an enthusiastic beginner, mastering basic star nail design techniques can elevate your nail art game to new heights. Stars are timeless symbols of beauty and wonder, making them the perfect choice for creating eye-catching nail designs. In this comprehensive guide, we’ll explore various techniques and tips to help you create stunning star nail designs that will leave everyone starry-eyed.
Understanding Star Nail Art Basics
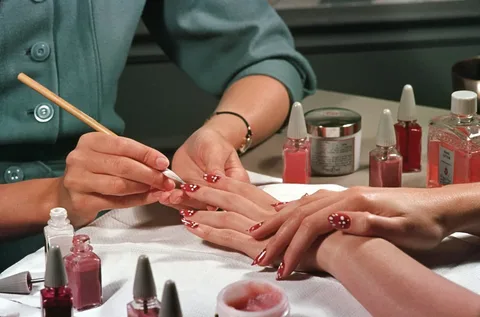
Nail art begins with a clean canvas. Start by ensuring your nails are free of any polish residue and trimmed to your desired length and shape. Next, push back your cuticles using a cuticle pusher or orange stick to create a clean nail bed. Apply a base coat to protect your nails and promote polish adherence.
When it comes to nail polish, quality matters. Invest in high-quality polishes that offer smooth application and long-lasting wear. Experiment with different colours, finishes, and textures to discover your signature style.
To create intricate designs, you’ll need the right tools. Invest in a set of fine nail art brushes, dotting tools, and striping tape to execute precise details with ease. Practise basic techniques like dotting, striping, and layering to build your skills and confidence.
Finally, finish your nail art with a top coat to seal in your design and add shine. With a solid understanding of these nail art basics, you’ll be well-equipped to explore a world of endless creativity and expression.
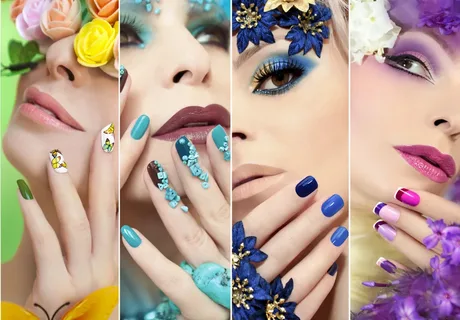
Choosing the Right Colors and Finishes

Selecting the perfect colours and finishes is essential for creating captivating nail art designs. Consider the mood and theme you want to convey with your nail art. Vibrant and bold colours like electric blue, fiery red and emerald green can make a statement, while pastel shades offer a softer and more delicate aesthetic.
Experiment with different finishes to add depth and dimension to your designs. Matte finishes offer a modern and understated look, while glossy finishes provide a classic and polished appearance. Metallic and shimmer finishes add sparkle and shine, perfect for adding a touch of glamour to your nail art.
Don’t be afraid to mix and match colours and finishes creating unique and eye-catching combinations. Whether you’re going for a sophisticated monochromatic look or a playful rainbow-inspired design, choosing the right colours and finishes is the first step towards creating stunning nail art masterpieces.
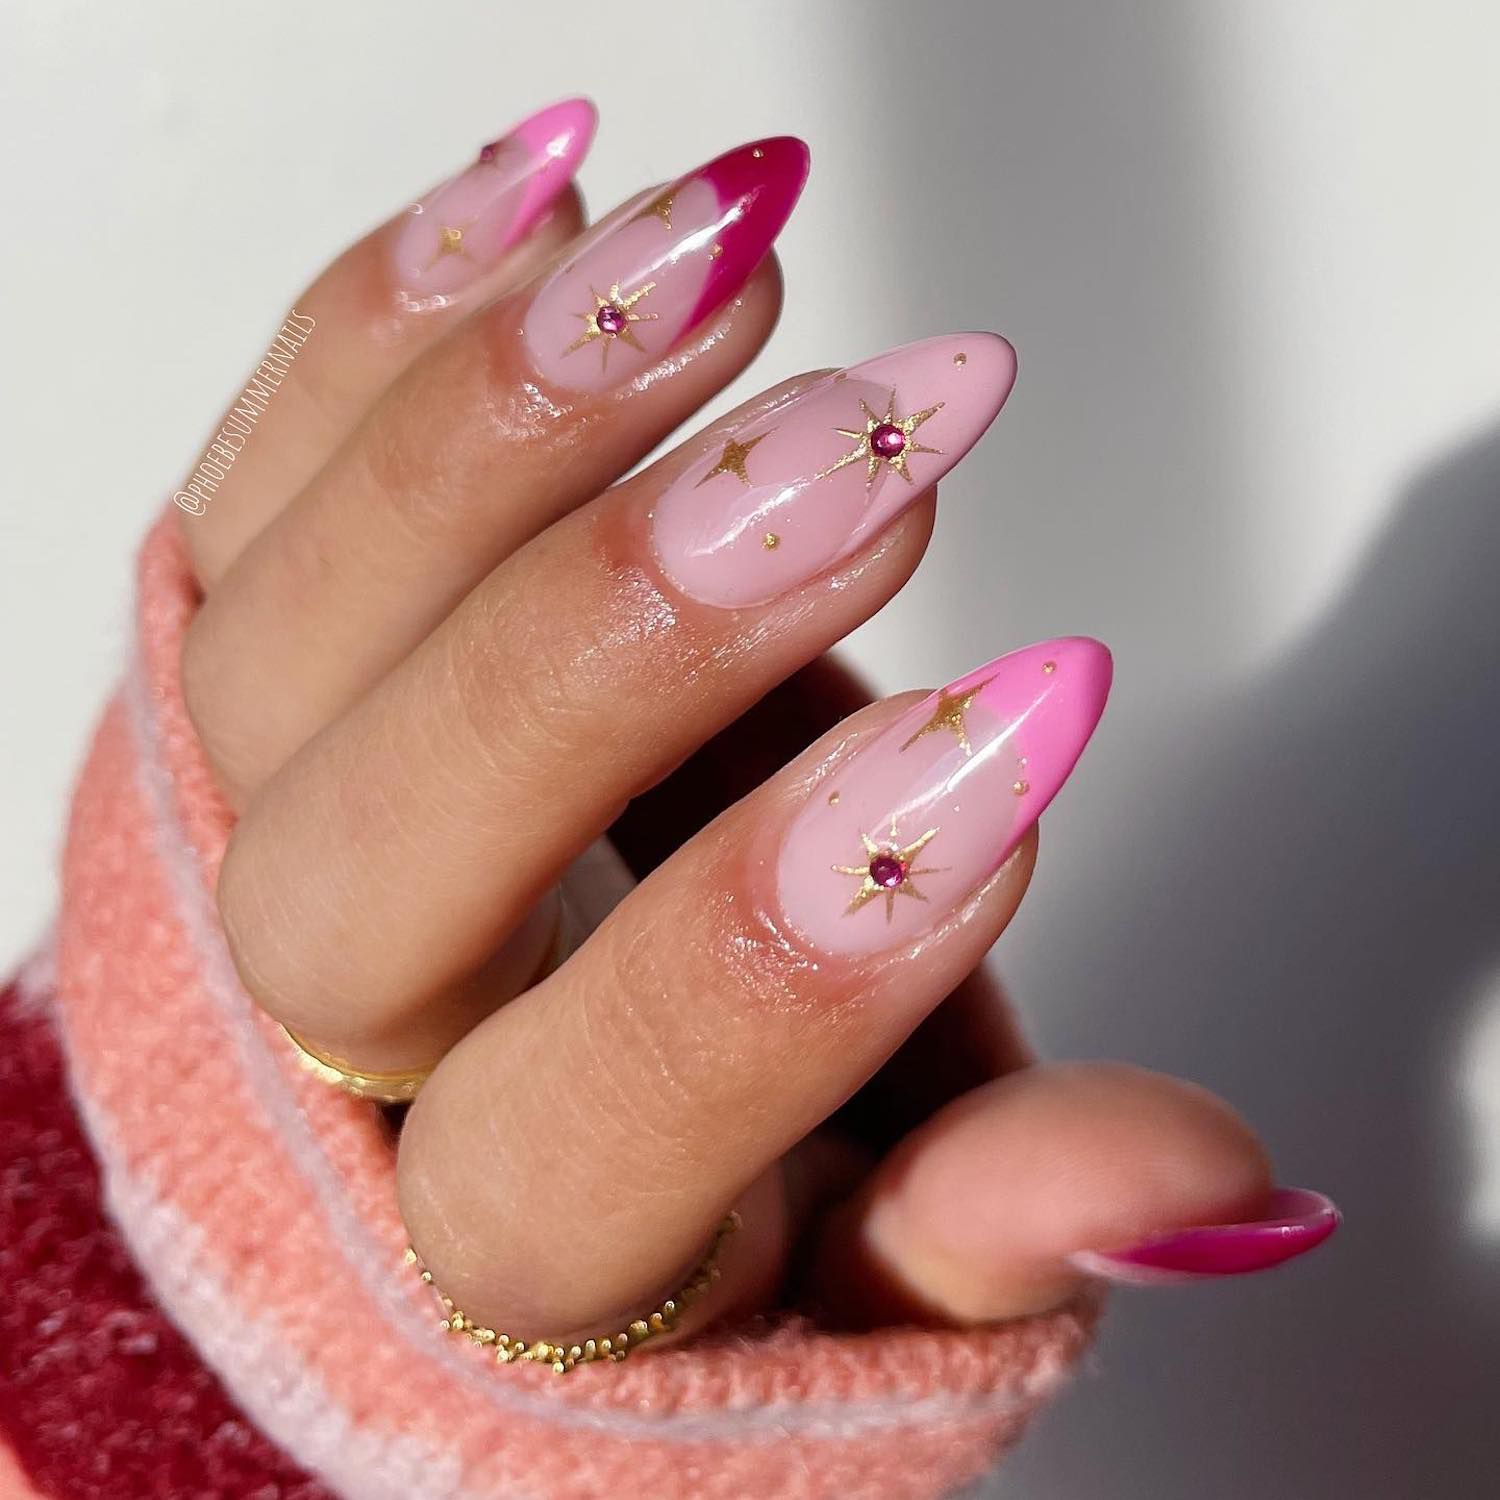
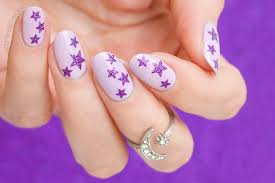
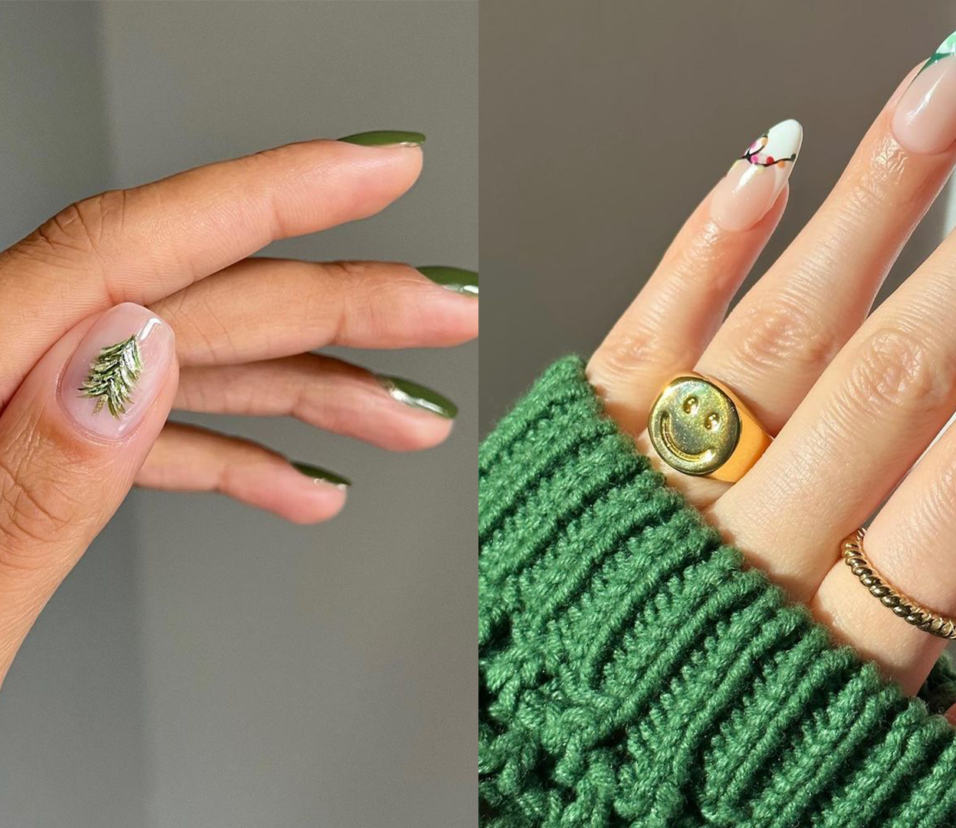
Creating Simple Star Nail Design
Start by applying a base coat to your nails to protect them and ensure smooth polish application. Once dry, choose a solid color as your base and apply it to each nail. Allow the base color to dry completely before proceeding.
Using a fine nail art brush or a toothpick dipped in a contrasting color, draw stars onto your nails. Begin by creating the outline of the star shape, starting with a central point and extending lines outward to form the star’s points. You can opt for classic five-point stars or experiment with different variations like shooting stars or star clusters.
Once you’ve outlined the stars, fill them in with the same or a different color for added dimension. Take your time to ensure clean lines and symmetrical shapes. If needed, use a nail polish remover pen or a small brush dipped in remover to tidy up any mistakes.
Finish your nail art with a top coat to seal in your design and add shine. Voila! You’ve created simple yet stunning star nail design that are sure to turn heads and spark conversation. Experiment with different color combinations and placement to personalise your look and unleash your creativity.
Maintenance and Care Tips
After creating your fabulous star nail design, proper maintenance is key to keeping them looking their best. Avoid activities that may cause chipping or peeling, such as excessive water exposure or rough handling.
Moisturise your nails and cuticles to keep them hydrated and healthy. Use a nourishing cuticle oil or cream to prevent dryness and promote nail growth.
If any of your embellishments become loose or start to lift. It removes them with a nail tool or tweezers and as needed using nail glue.
Consider wearing gloves when engaging in activities that may damage your nails, such as household chores or gardening.
Schedule regular touch-up appointments with your nail technician to maintain the integrity of your nail designs and address any chips or imperfections.

Conclusion of Star Nail Design
With dedication and practice, mastering basic star nail design techniques is well within your reach. Whether you prefer simple and understated designs or bold and elaborate creations. Let your creativity shine bright like a star. Get ready to dazzle the world, one star nail at a time!

Leave feedback about this